Description
If your Tesla X or S suffers from the common inner tire wear or acceleration shudder issues, this kit will completely eliminate these problems and allow you to both achieve up to 2-5x more life out of your rear tires as well as prevent premature half shaft wear. Simultaneously, improved handling, responsiveness, aerodynamics, and efficiency can all be seen after the installation of this kit. All our products are made with the highest quality materials and craftsmanship for years of endurance and are backed by a 3-year or lifetime warranty.
Acceleration Shudder & Inner Tire Wear On The Model S and X
Many all-wheel drive versions of the Tesla Model S and X suffer from what has come to be known as “acceleration shudder” or vibration that comes from the front end of the vehicle while accelerating at around 35 miles per hour. This problem can also present itself as a clicking or clunking sound from the front of the vehicle also while accelerating through a turn and is symptomatic of premature wear on the front half shafts. It is important to note that vibration in the front of the vehicle could also be coming from another source such as unbalanced tires or Tesla’s built in lane-departure warning, but this type of vibration will likely occur consistently and not only through acceleration.
The source of this problem stems from the outer CV joints in your Tesla’s front half-shafts, which help transmit power from the motor to the front wheels. The chassis for the current day Model S and X are still based on the original Model S in 2012, which only had the rear wheel drive option in mind. During the development of the all wheel drive versions, Tesla made a compromise to mount the front motor in a sub-optimal position rather than redesign the whole chassis ground up, which causes the half shafts to be positioned at an angle that is too extreme for smooth rotation. The front motor sits up much higher than the front wheels so that the half-shafts have to transfer power at a steep angle down to the wheels below which are well off-axis from the motor. Combining such a heavy car with high torque motors and the steep angle of the half-shafts, over time certain parts inside the half-shaft will fatigue and become marred. Once damaged, the half-shafts rolling over the imperfections are then felt as the “acceleration shudder”. Our Alignment Kit 1 lessens the angle of the half-shafts to reduce binding, which both remedies damaged half shafts from worsening and will prevent the damage in the first place if installed before the shudder is felt.
Tesla themselves do not have a permanent fix for this, as they will likely replace both half shafts and also install a new left front drive unit clevis mount in the event that you bring your car in for service. This will typically solve the shudder problem for a little while but not forever, as Tesla owners report the shudder coming back as quickly as 500 miles and up to 10,000 miles. Tesla may not cover this repair under warranty, as they consider it a “wear and tear” issue much like worn tires or brakes. It is possible to have them replace these parts under warranty, but you may need to put up a fight in order for them to do so.
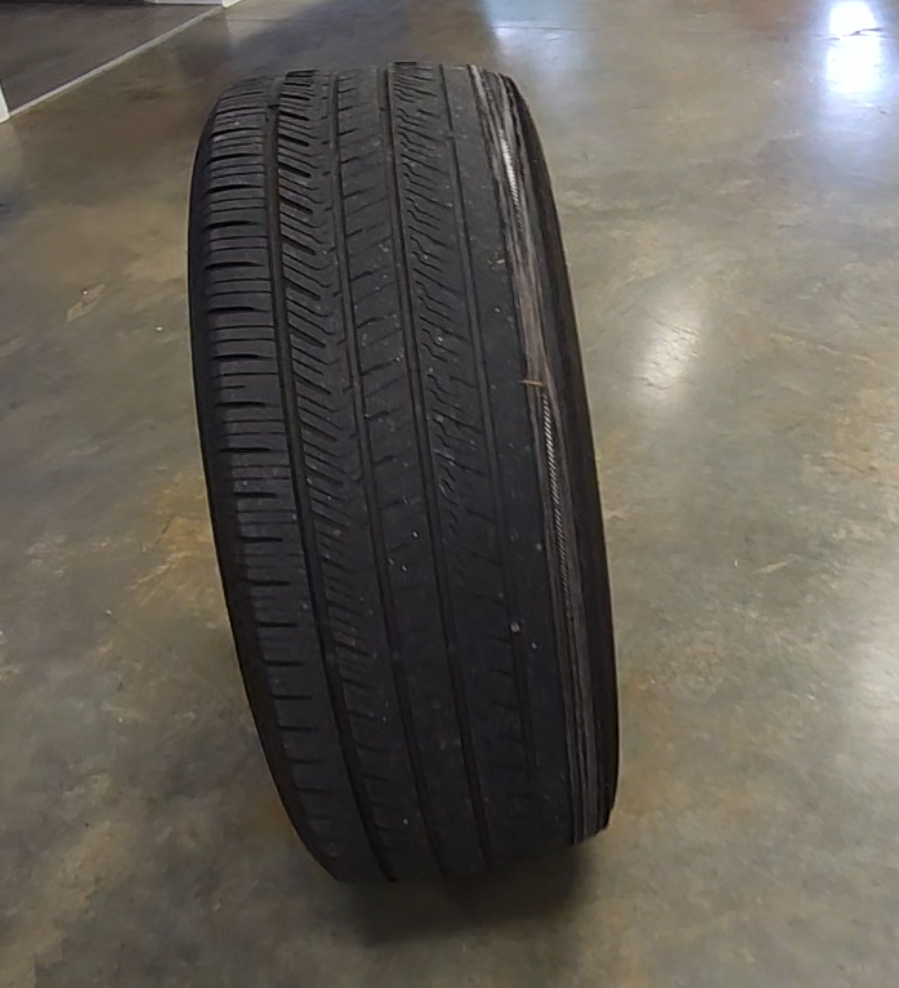
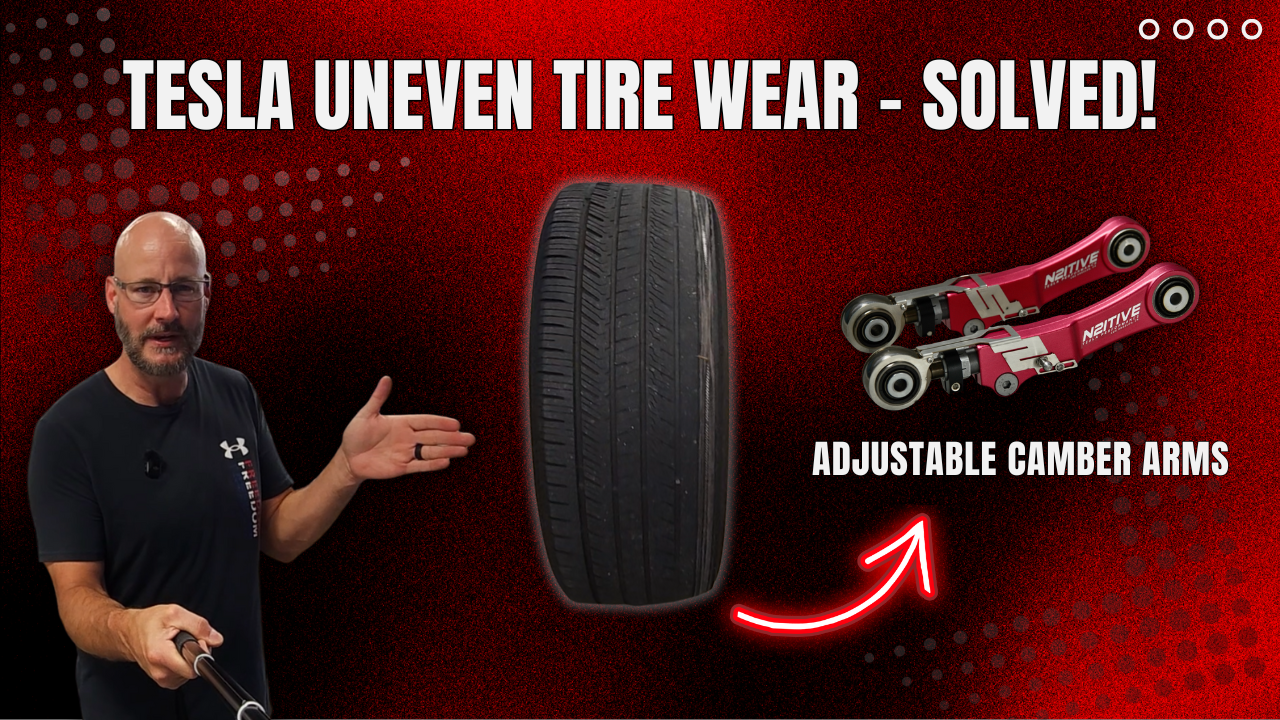
Excessive negative camber and inner tire wear are the other problems you hear with Teslas, with some owners running through tires in as little as 6,000 miles while staying in Tesla’s alignment specifications. If you suffer from this inner tire wear that so many owners experience, you could easily double or triple your tire life as your tires will now be perfectly symmetrical in alignment and wear evenly. Our arms will pay for themselves over the span of a few tires, as our customers usually multiply their tire life by 2-5x after proper installation and alignment. The arms are direct drop-ins for the factory counterparts, meaning they can be installed with ease by an alignment shop or even at home for those who are mechanically inclined. Our installation instructions and videos will also guide you through the process, and we’re always here to help get your Tesla aligned right and driving safe.
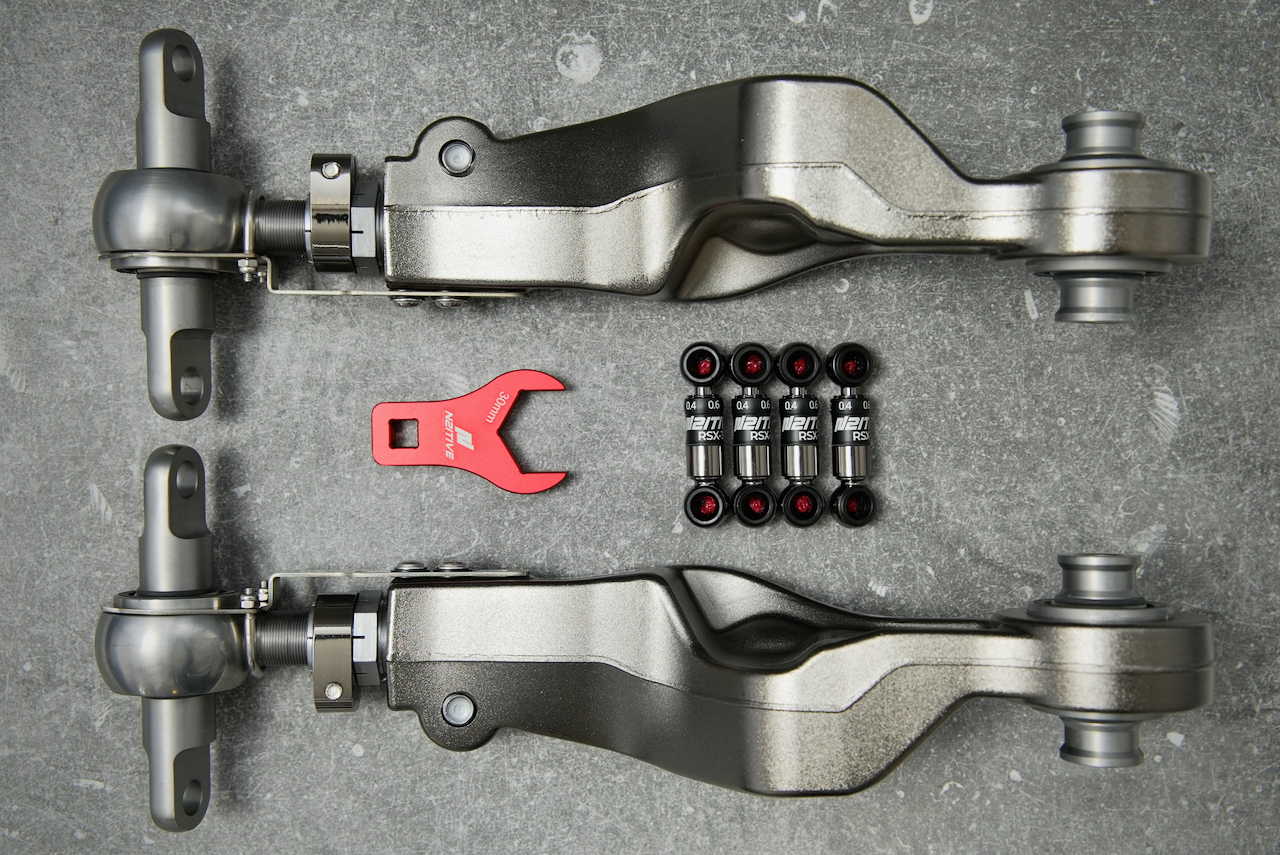
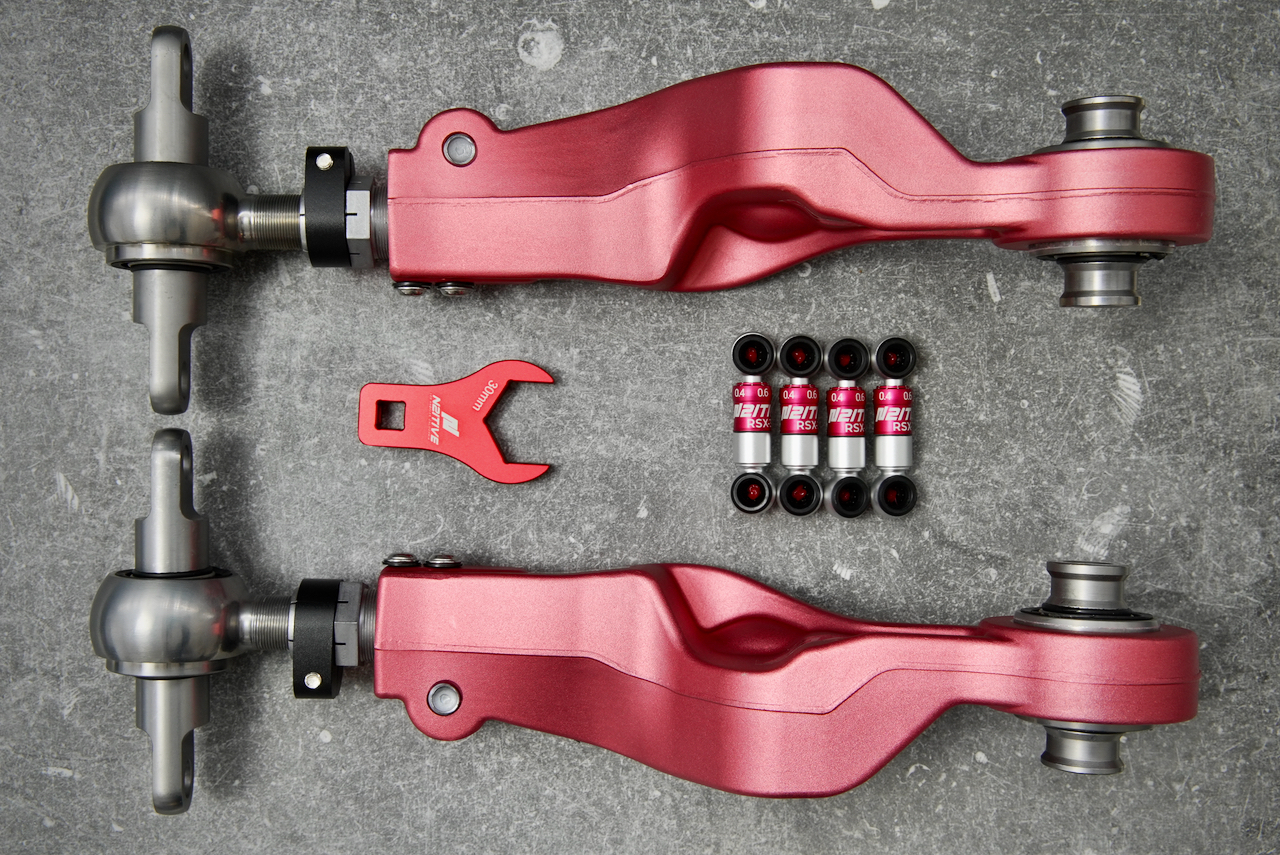
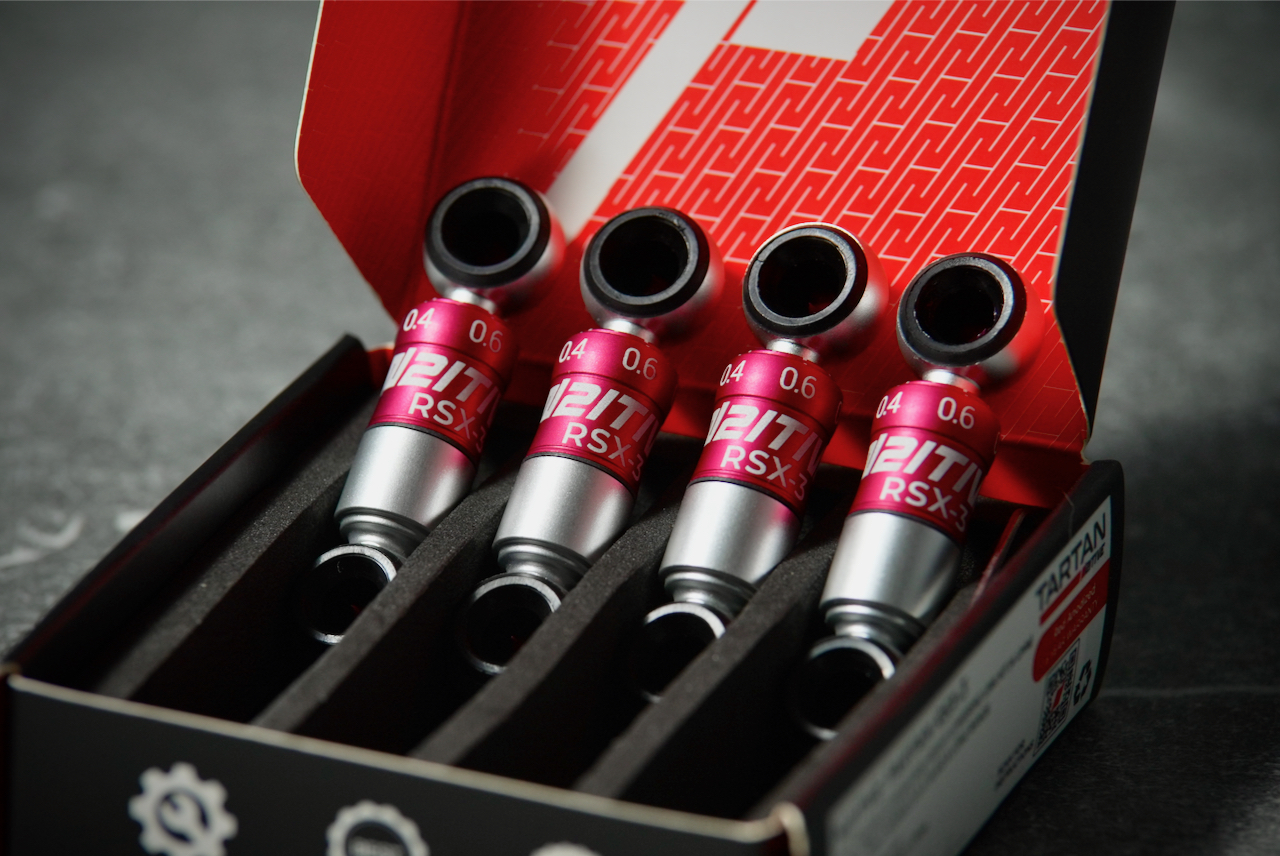
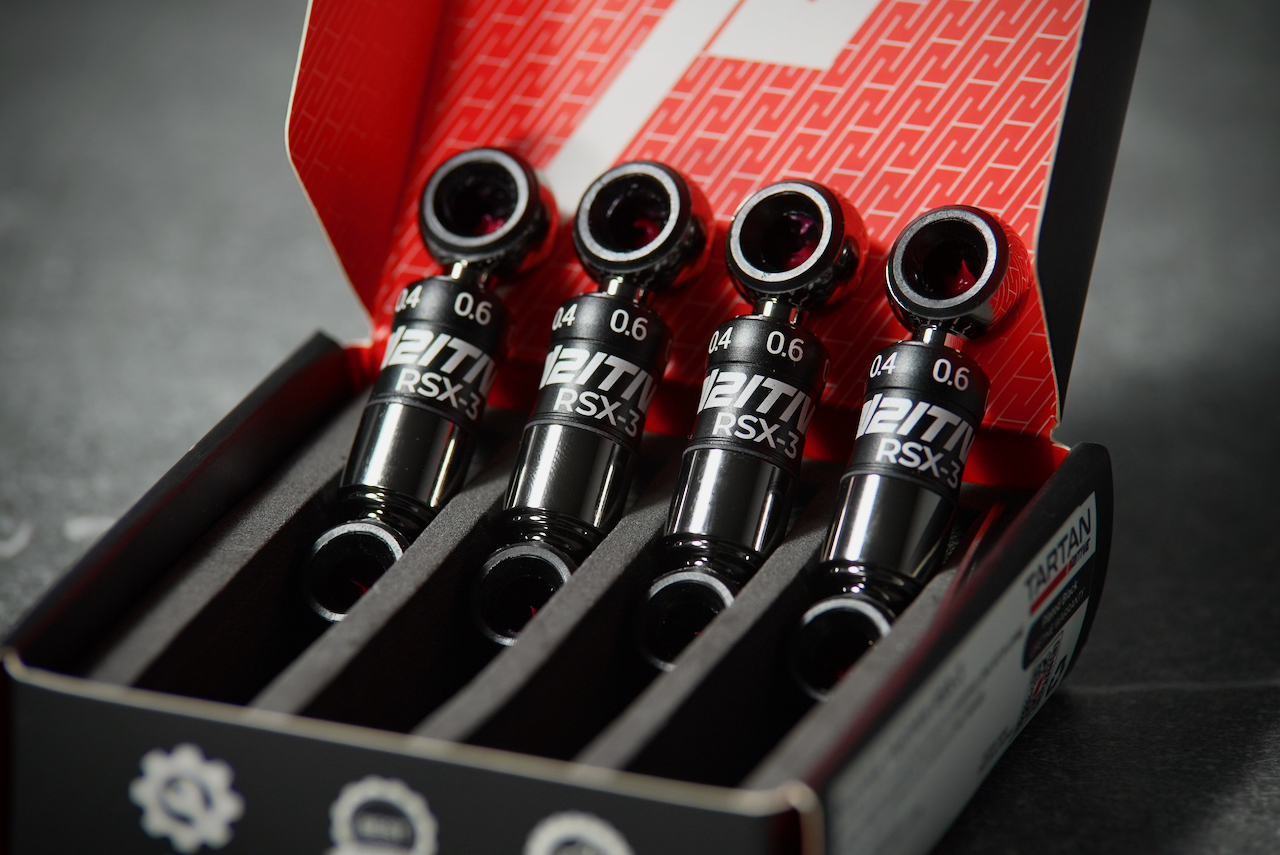
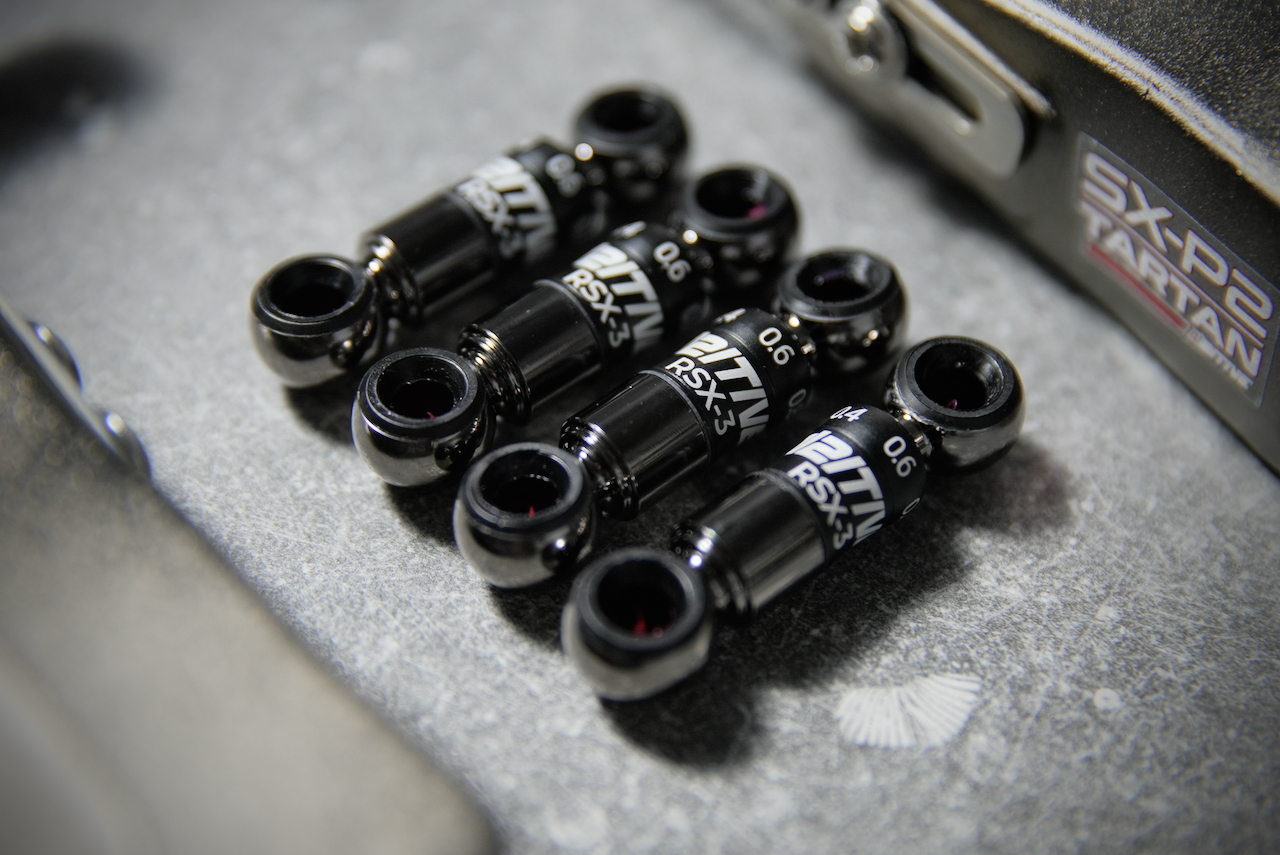
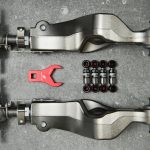
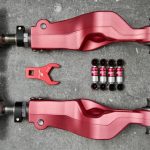
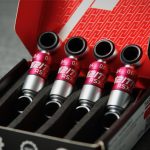
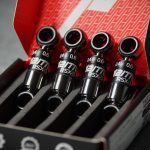
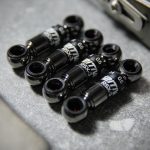
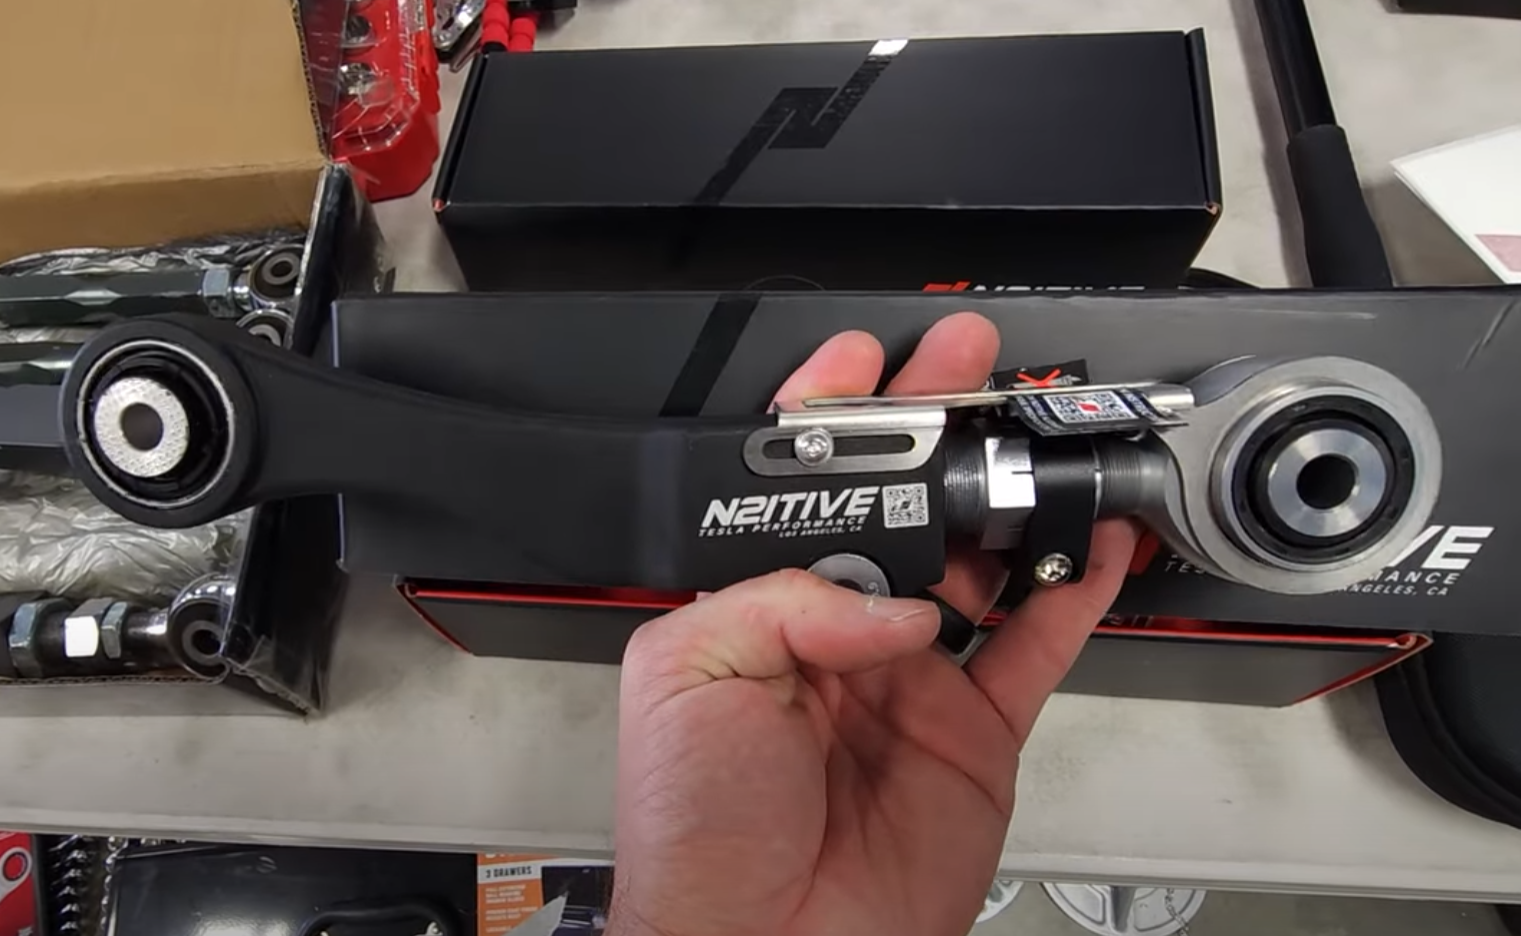
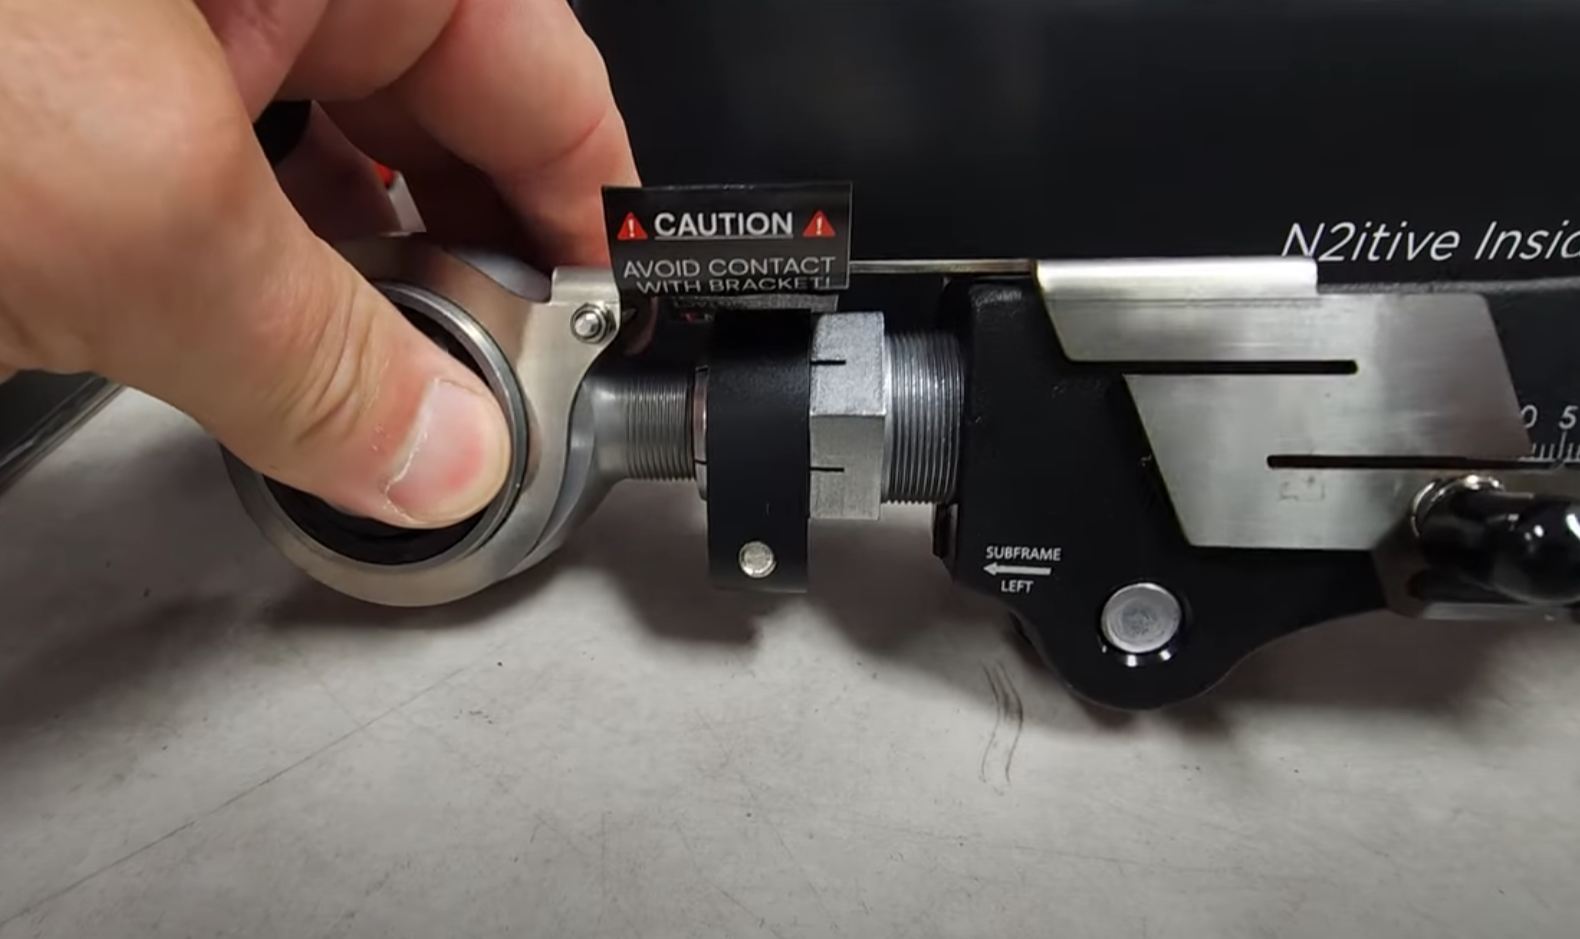
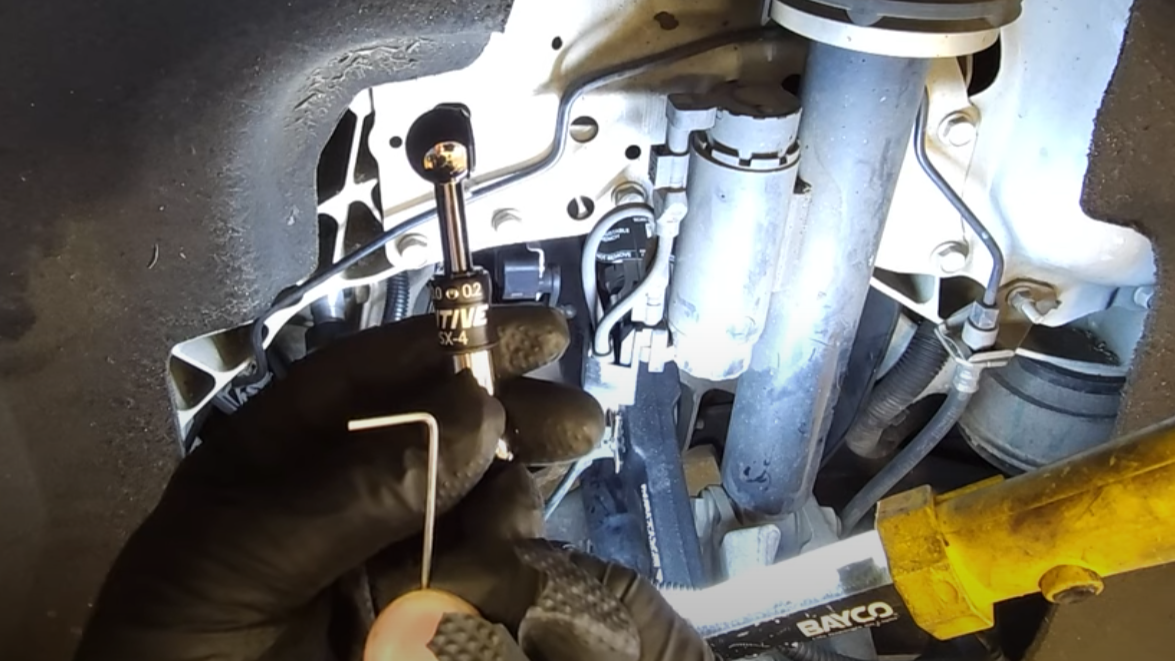
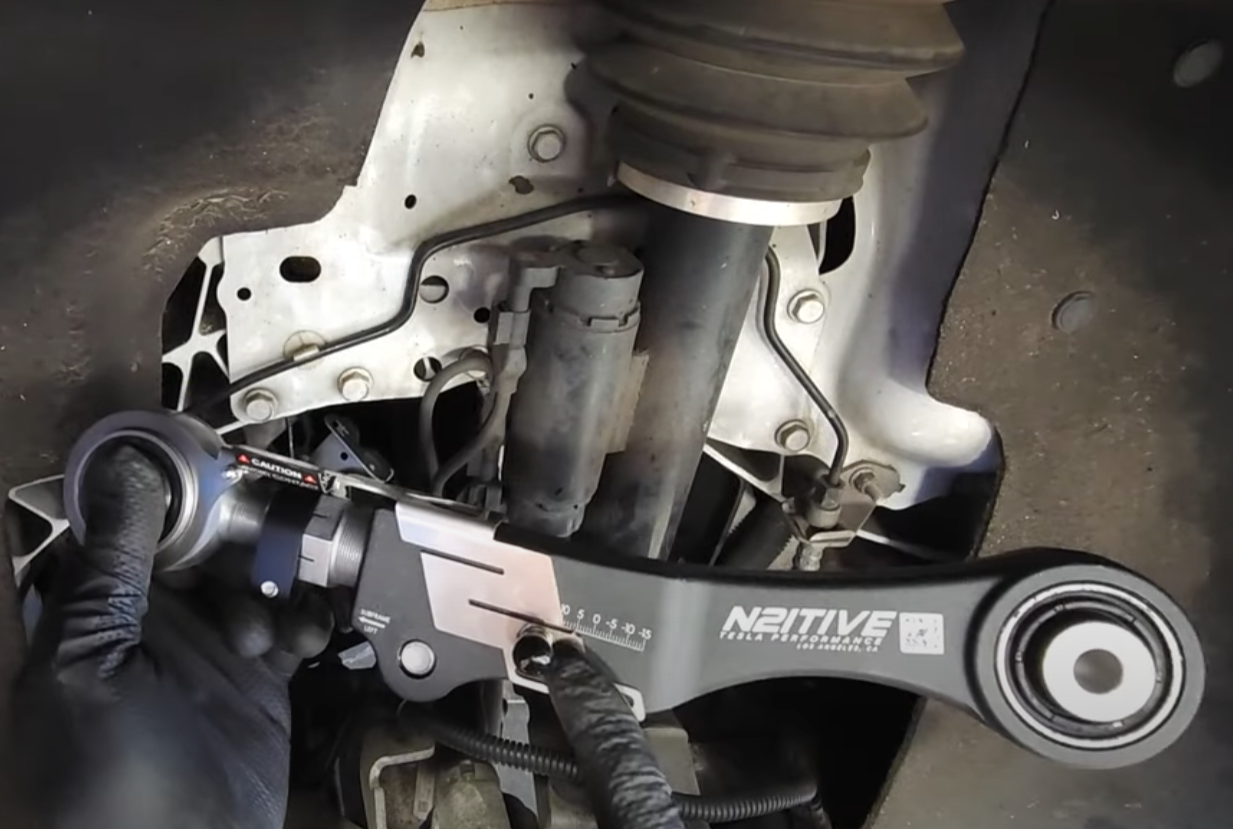
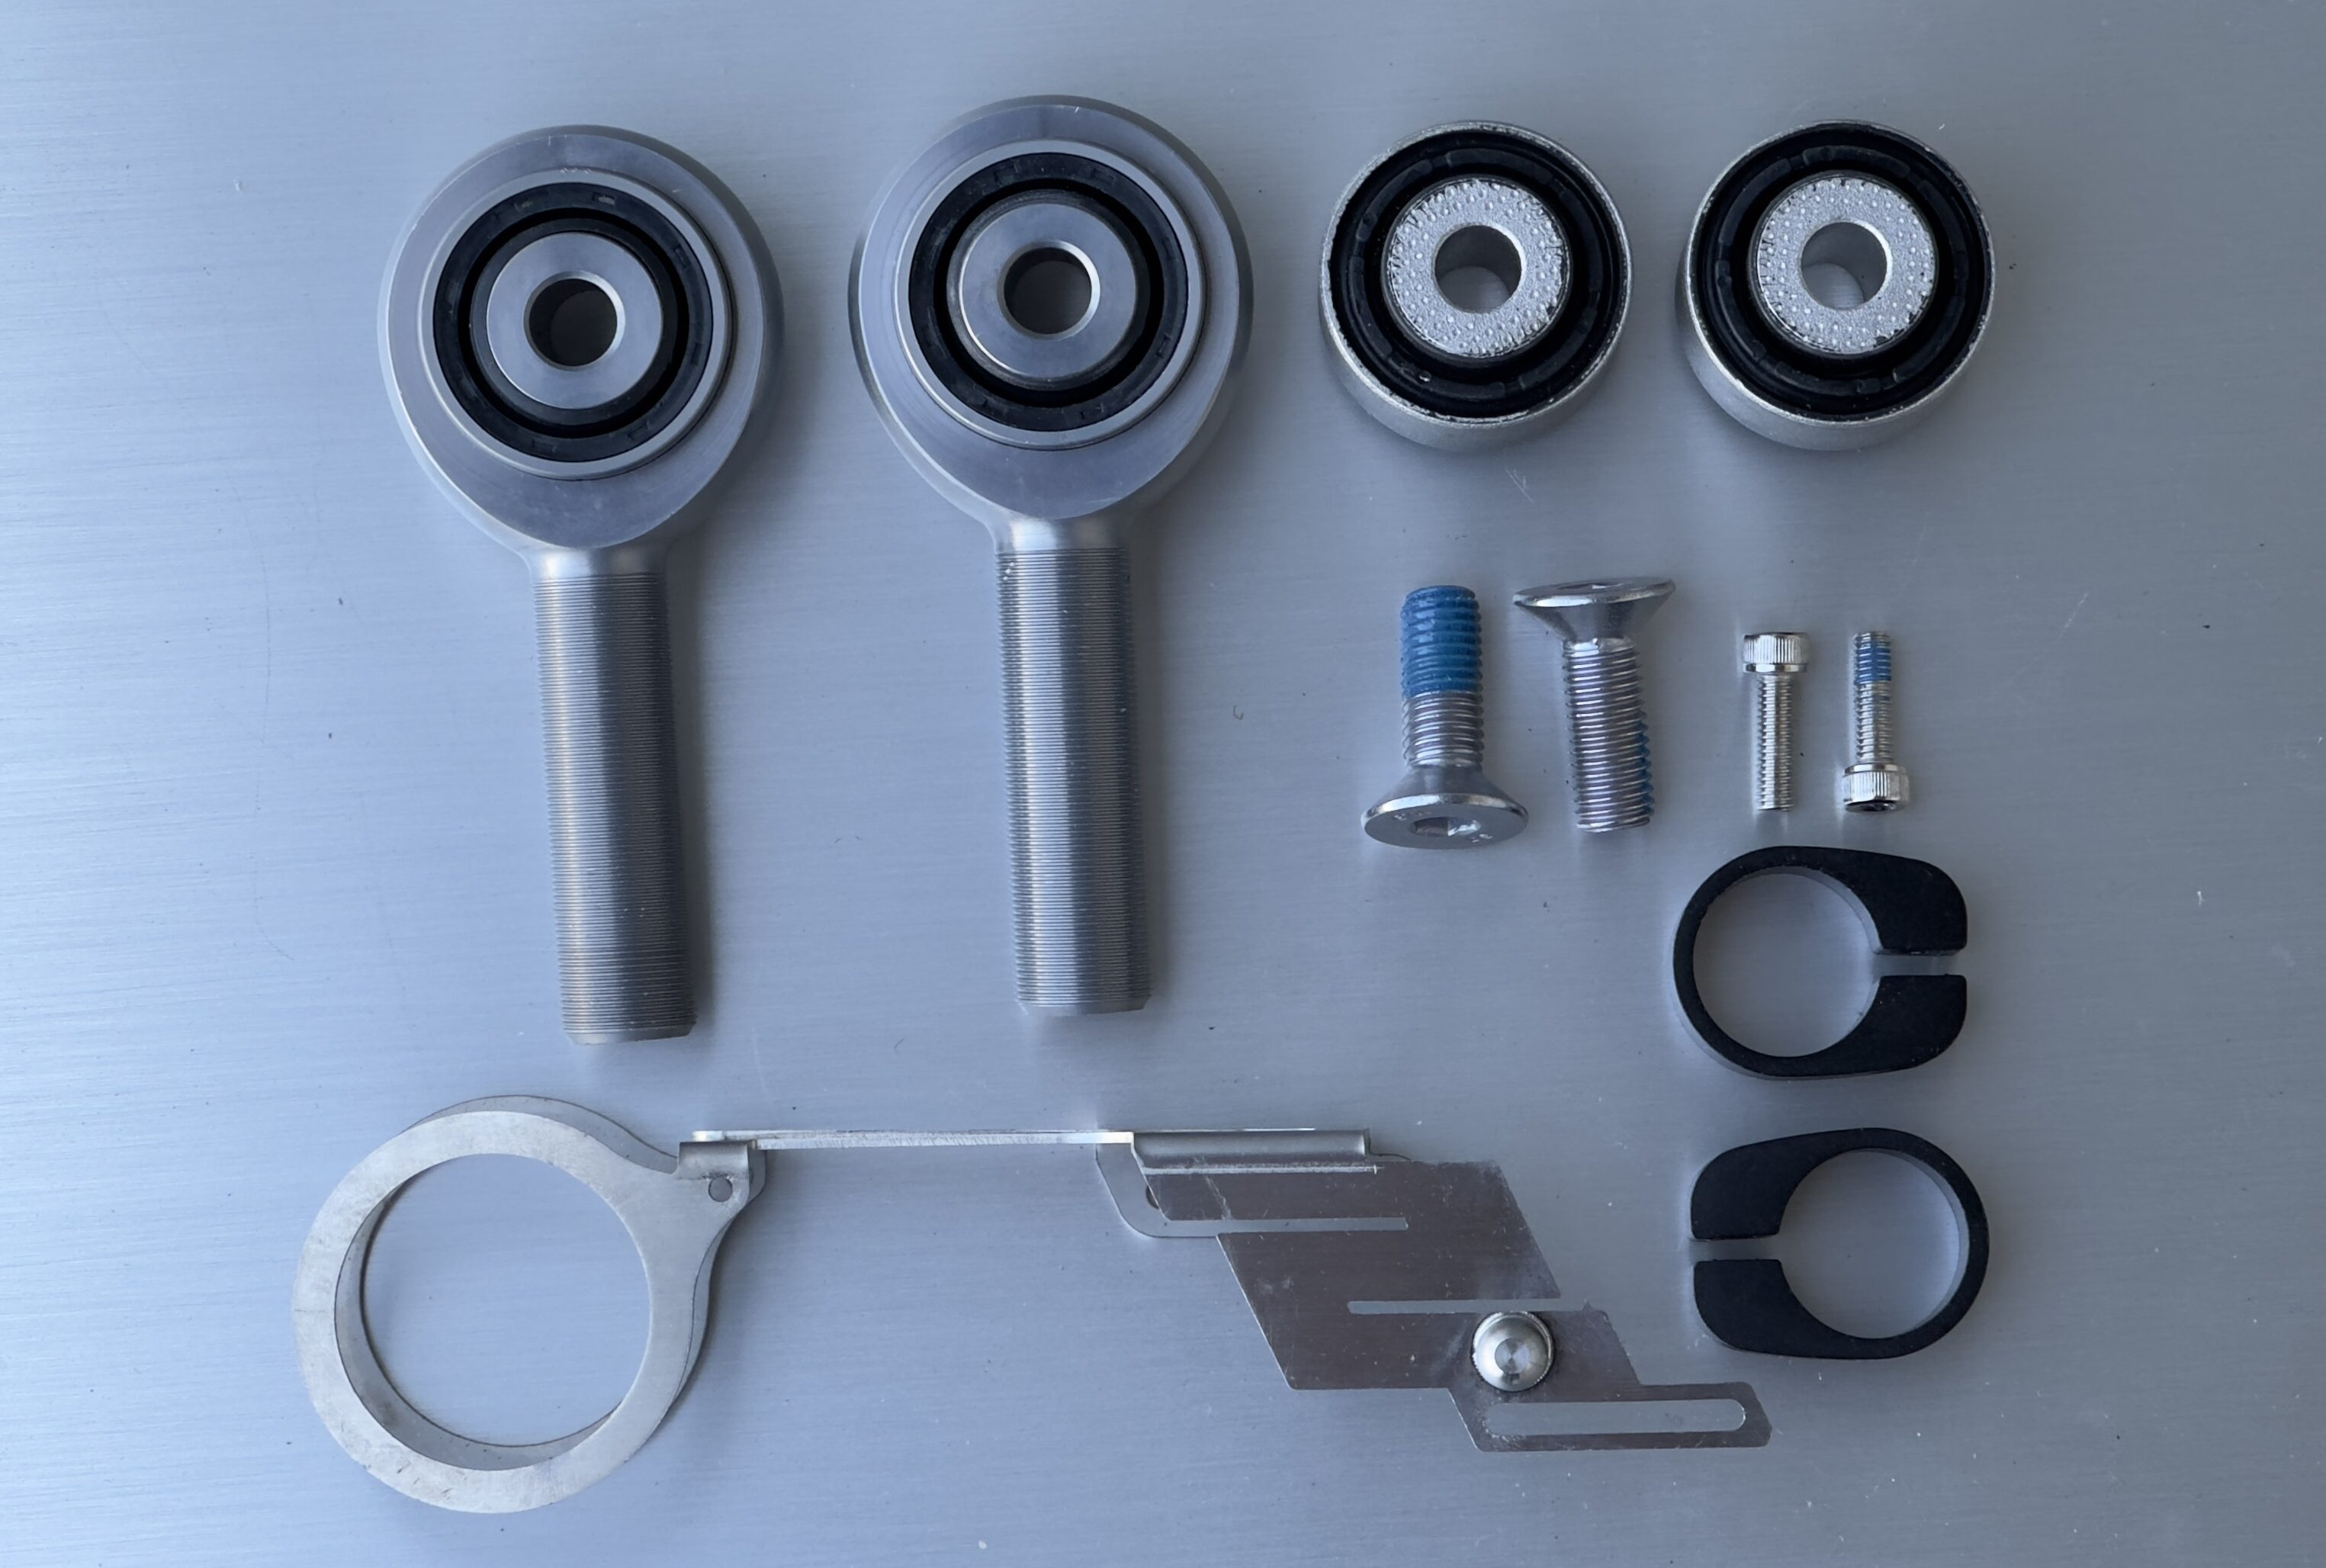
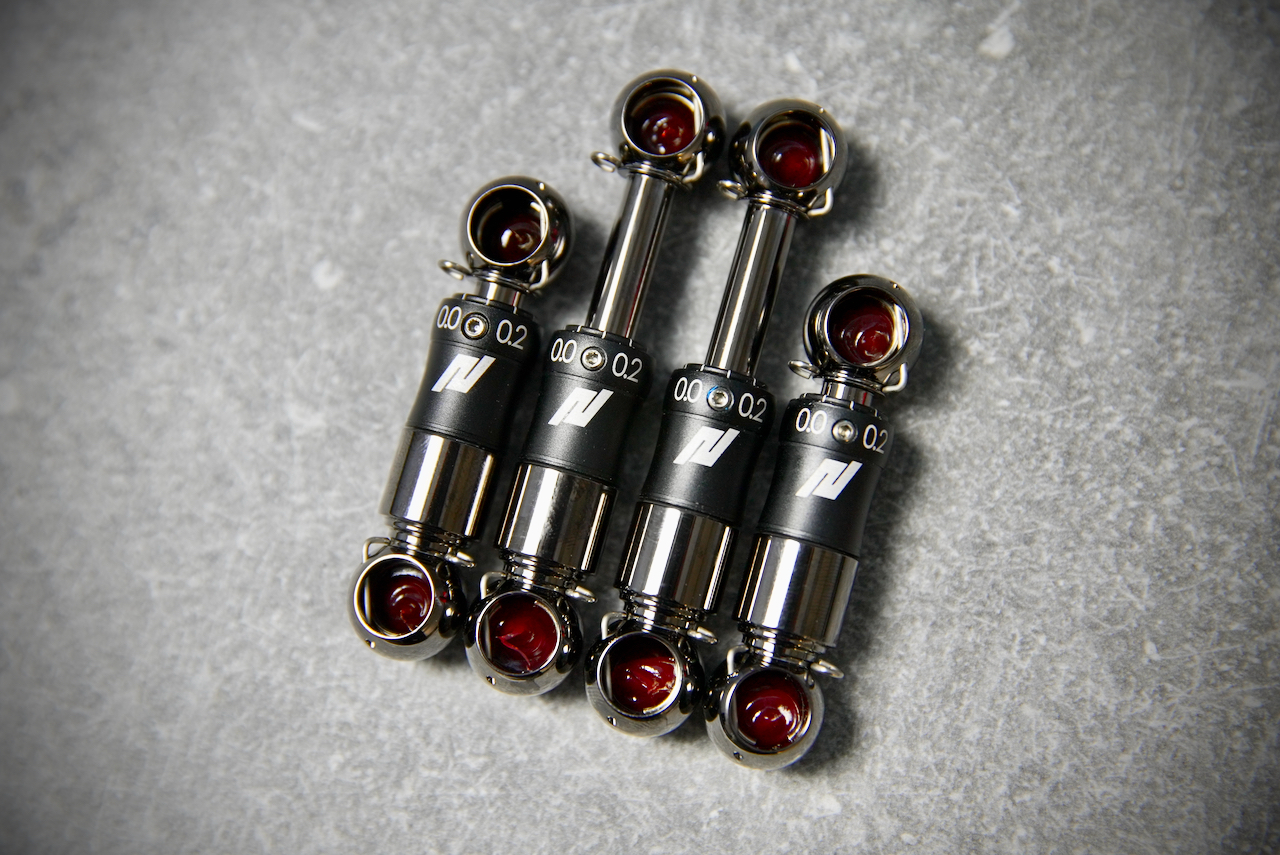
Our Alignment Kit 1 for the Tesla Model S/X includes 2 main pieces for the 02/2021- models. We start with a set of our RSX series ultra-precision lowering links, which allow you to easily and precisely lower your Tesla to help level the angle of the half shaft and reduce binding. We recommend setting them to the -4 setting for half shaft protection, but our links are able to adjust down to -20 for those who are chasing the look. You may notice a drop in ride quality past the -6 setting, and only a slight drop in height is required to reduce wear on your half-shafts. Also in the kit are our SX-P2 adjustable camber arms. These arms are to be installed in place of your current rear camber arms to allow you to set a perfect alignment. The Palladium S/X come with adjustable toe arms from factory, so there is no need for an N2ITIVE toe arm for these models.
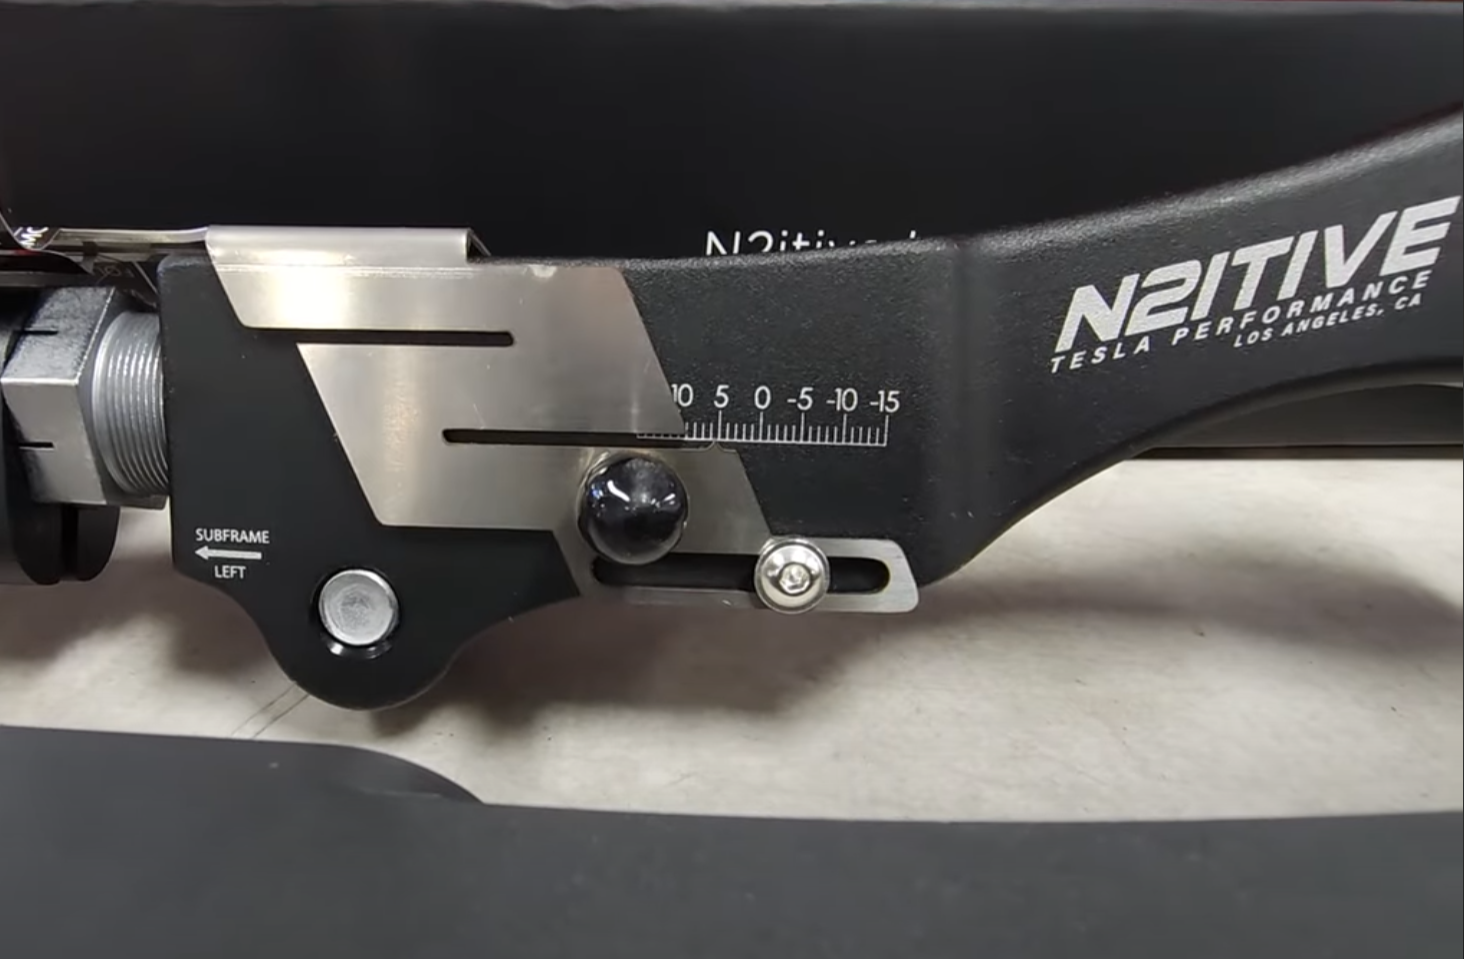
Our Kits come in three variations, fabricated primarily of a forged and heat treated high grade aluminum and anodized in the matte red, natural, and black finishes for great corrosion resistance. The red and natural versions come with a 3-year warranty, while the black version comes with lifetime warranty. The lifetime warranty version also comes with our new patent pending multi-alignment recall scale, allowing the user to preset multiple alignments and then recall them without the need to revisit an alignment shop. These are both firsts in the automotive world and quite helpful for those who like to race their cars on the weekends. With our multi-alignment kit installed, you can set alignment for the track, drag strip, and the street at any time.
Why Choose N2ITIVE
At N2ITIVE we give you the highest quality parts and craftsmanship at a reasonable price. Everything we create is meticulously thought-out, precision engineered and tested in both FEA and the real world! All of our components are custom made, nothing off the shelf. Our bushings for example are made in a dedicated factor with high strength steel that’s been electroless nickel plated for amazing wear and corrosion resistance. Each bushing incorporates a Teflon infused Delrin liner for a lifetime of trouble-free, maintenance-free use. You can count on us to only give you the best with our parts, backed with a hassle-free warranty to the original purchaser. Our products are the strongest, safest and most durable aftermarket Tesla parts you can buy, guaranteed! Not to mention that they look incredible…







I couldn’t be happier with the N2itive camber and toe arms on our Model 3 and X Plaid! My first set of stock tires barely made it to 10,000 miles before showing extreme uneven wear. Since upgrading to N2itive, my Yokohama tires are now at 20,000 miles with perfectly even tread wear across the board. The difference is night and day—better handling, smoother ride, and the peace of mind knowing I’m getting the full life out of my tires. These arms are a must-have for any Tesla owner looking to protect their investment. Highly recommend!
My 2020 Model X Performance wore out the inside edge of my rear tires at an alarming rate due to negative camber. I got tired of wasting money replacing tires that still had 60% tread left, but was showing thread/steel on the inner edge, so I ordered adjustable camber arms from another company only to have the bushings quickly fail. My research brought me to N2itive, and I installed their Alignment Kit and Lowering Links. The quality of their components and the adjustability are impressive, and I couldn’t be happier with them. Not only did it solve my negative camber tire-wear issue, the shuddering I sometimes felt when accelerating in Ludicrous mode is gone, and it just seems to drive better. Check out my install video: https://youtu. be/32iYH0HZvgI
Tory Hornsby
Tesla Tips & Tricks – Group Admin
N2itive has found the solution to the dreaded premature front end shudder and premature inside tire wear issue for my MS Plaid.
I installed the adjustable rear camber arms and lowering links. I had P-tuning; a local Washington, DC metro area tuning shop located in Manassas, VA install the parts and perform the alignment to N2itive ‘s recommended specs for the Tesla Model S.
N2itive promptly answered every question I had about installation, and shipping. They even called the shop to ensure that they were dialing in the suspension correctly. A customer would be hard pressed to find a higher level of aftermarket support. N2itive stands firmly behind their products .
They have made a believer out of me. The results were amazing! 7k miles later and hardly any additional tire wear. The inside edge of the rear tires still look great. N2itive’s suspension components have paid for themselves , and will continue to save me money over time by reducing the amount of tire set purchases I will need to make.
Get these parts If you have a Model S or X
Having done my research, I read about the non-adjustable rear camber arms on the Tesla Model S Plaid. When I upgraded from my 2016 to the 2023 Plaid, I knew I wanted to maximize my range by lowering it. N2itive provided the adjustable lowering kit arms, which were simple enough to install and did the trick. However I wanted the tires to wear evenly and that’s why I purchased the adjustable N2itive rear arms. Oddly enough they were gorgeous! Anodized red. . . even though no one would really be able to see them – other than the mechanic! I installed them myself but then had the Tesla Service center complete a full alignment. I just replaced the tires after 32,000 miles and they wore perfectly. So perfectly I never even rotated them! Thanks for a great after market solution!
Last year, I purchased a set of your camber arms for my 2024 Tesla model S. The car had about 3000 miles on it at the time so no appreciable wear on the tires. The installation shop followed your recommendations for alignment as well. About a month ago, with 11,000 miles on it, I swapped my tires left and right and found no abnormal wear. The tread, both front and back looked great. I am not an aggressive driver and this is my daily driver. Looking forward to continued great performance. These are expensive tires.