


Description
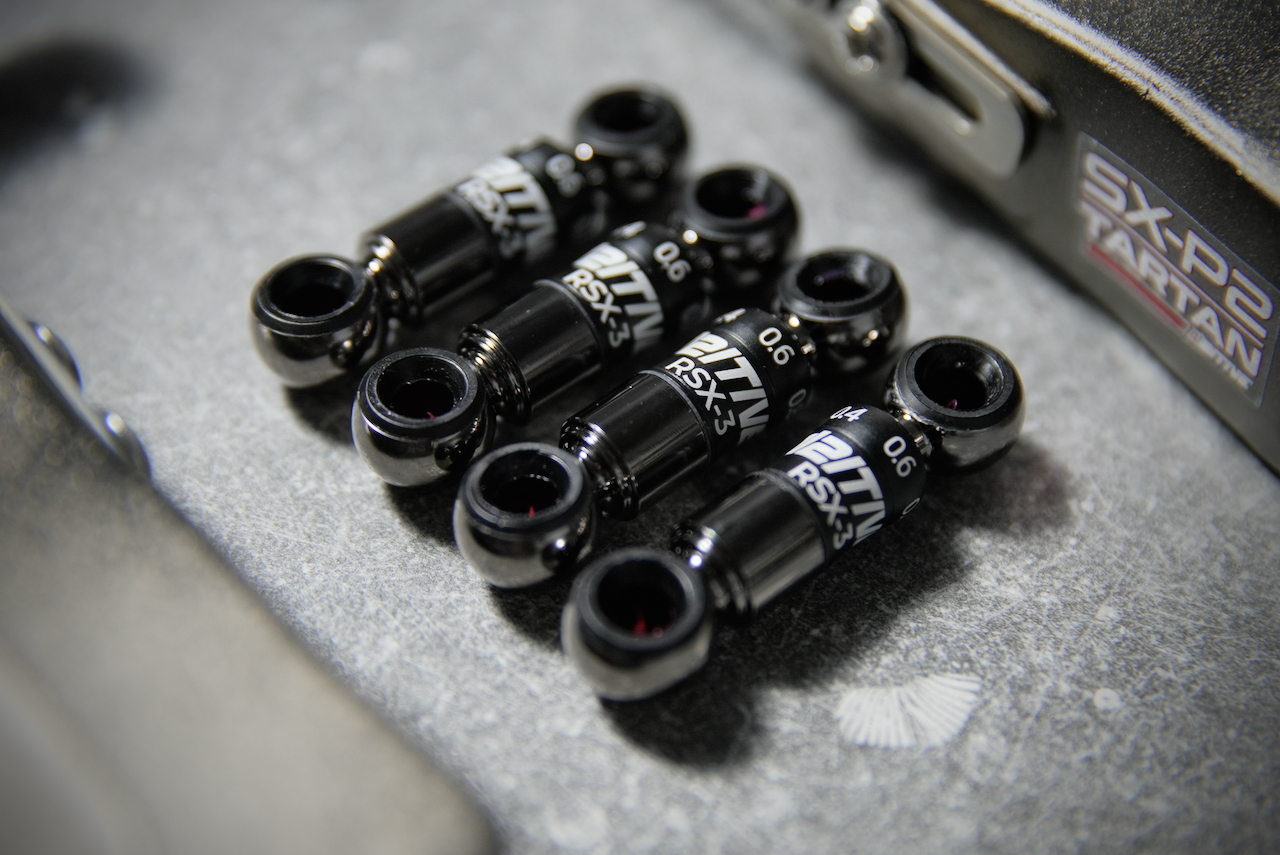
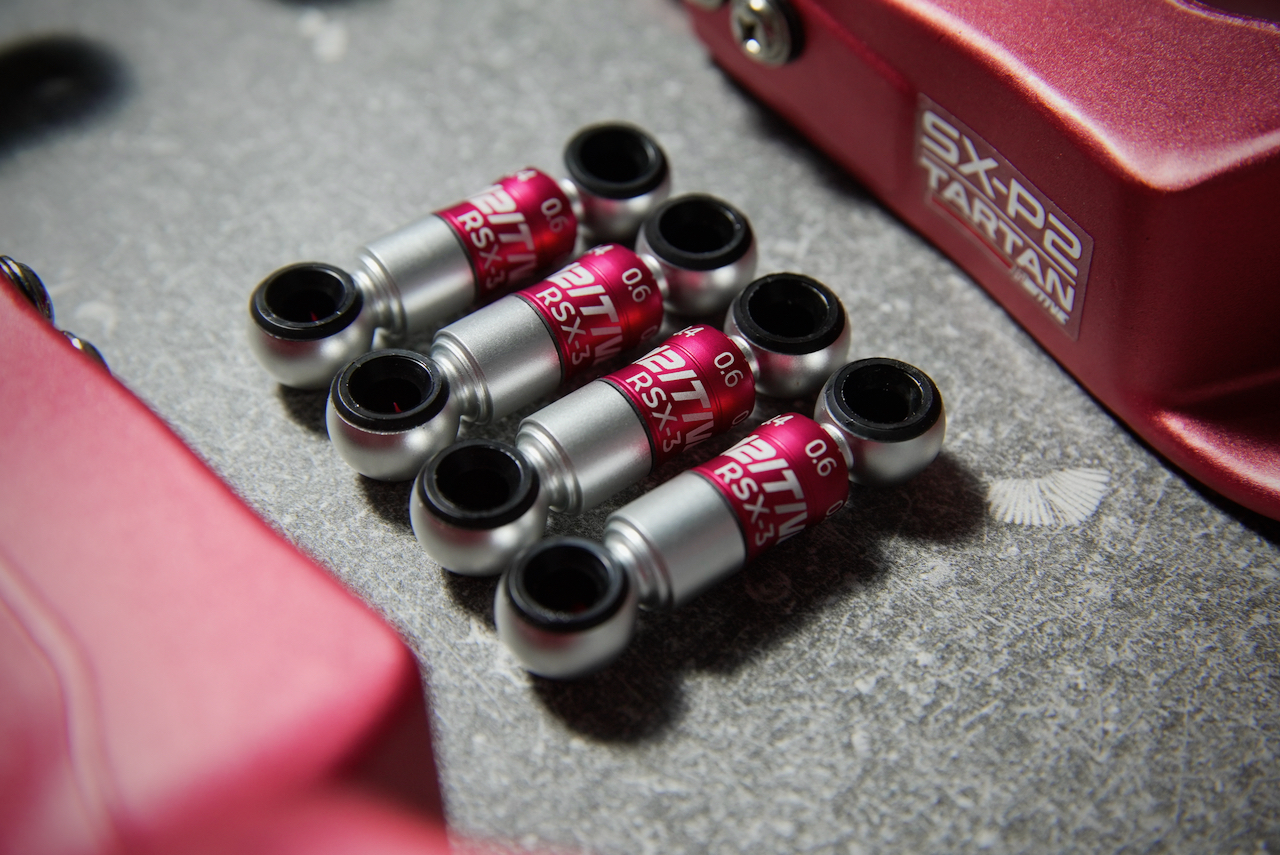
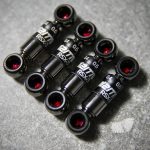
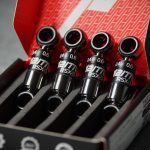
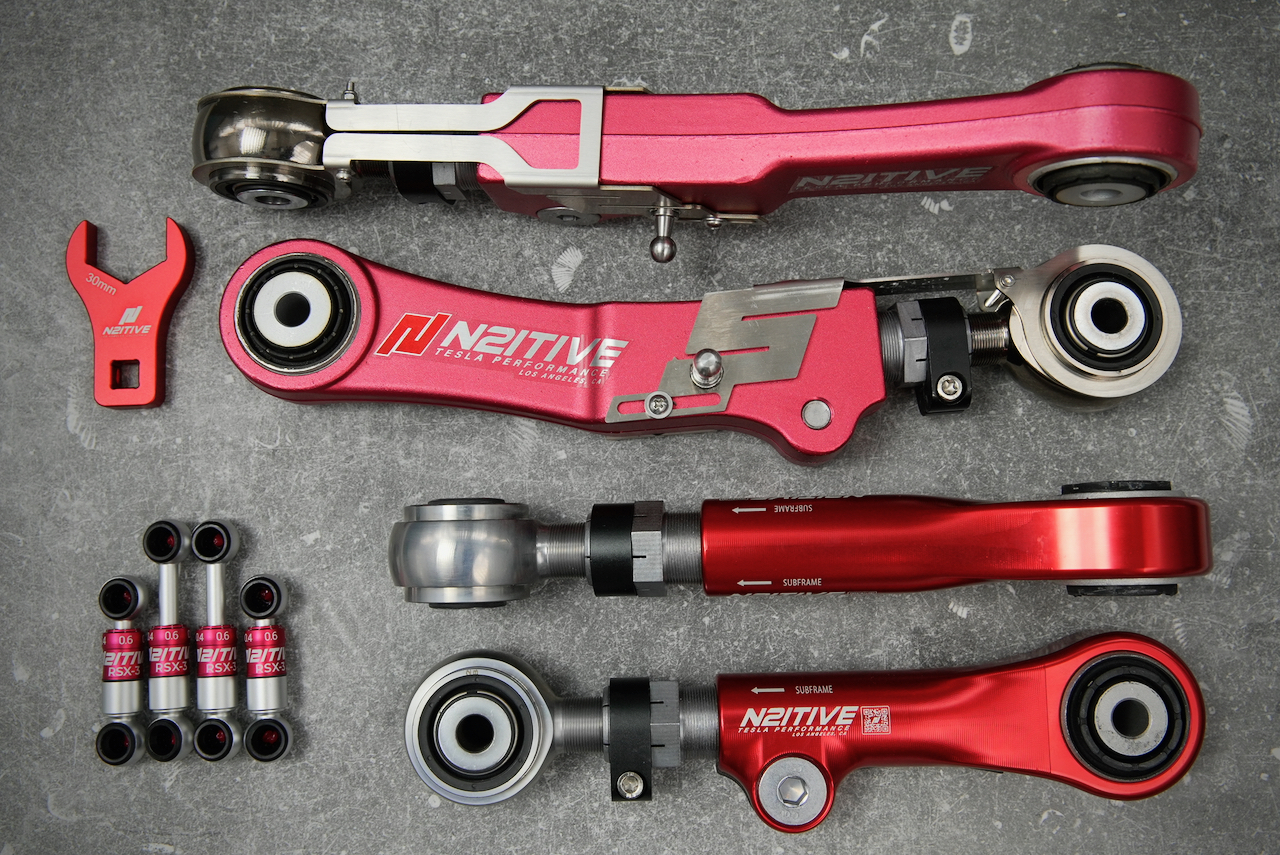
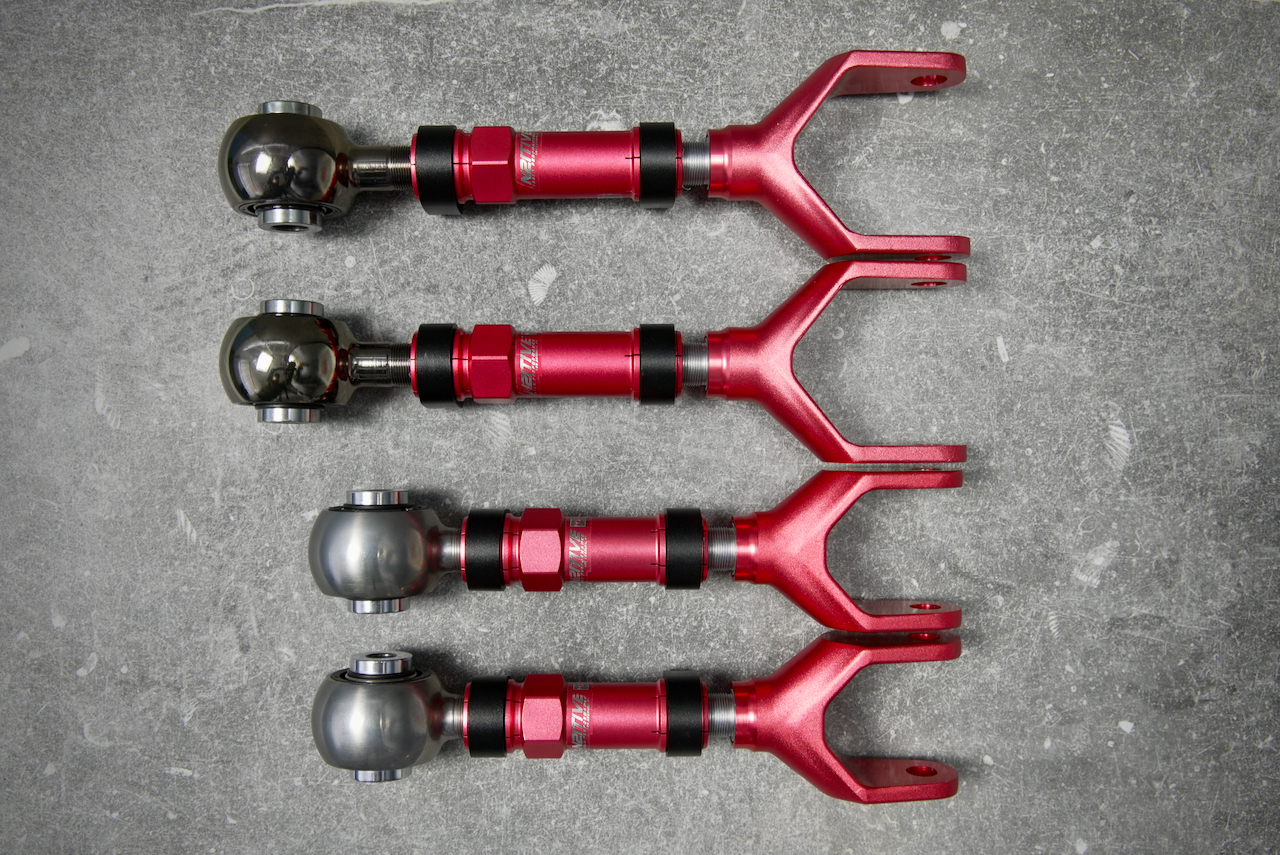
N2itive’s performance RSX-4 ride height adjustment links are the most advanced lowering links for the Tesla Model S or X on the market. Our links allow you to fully retain your active suspension dampening and software ride height adjustability with each setting now lower than before. Our links allow for the most minute of changes, as the built in scale measures your adjustments down to a 1/10th of a millimeter. With the built-in Vernier scale you can always check the length of each link, making sure all links are at exact settings for a precise ride height. No need to use a caliper every time you want to change your height or make adjustments by feel. Our links offer the ability go anywhere from a subtle drop to a completely slamming your Model S or X.
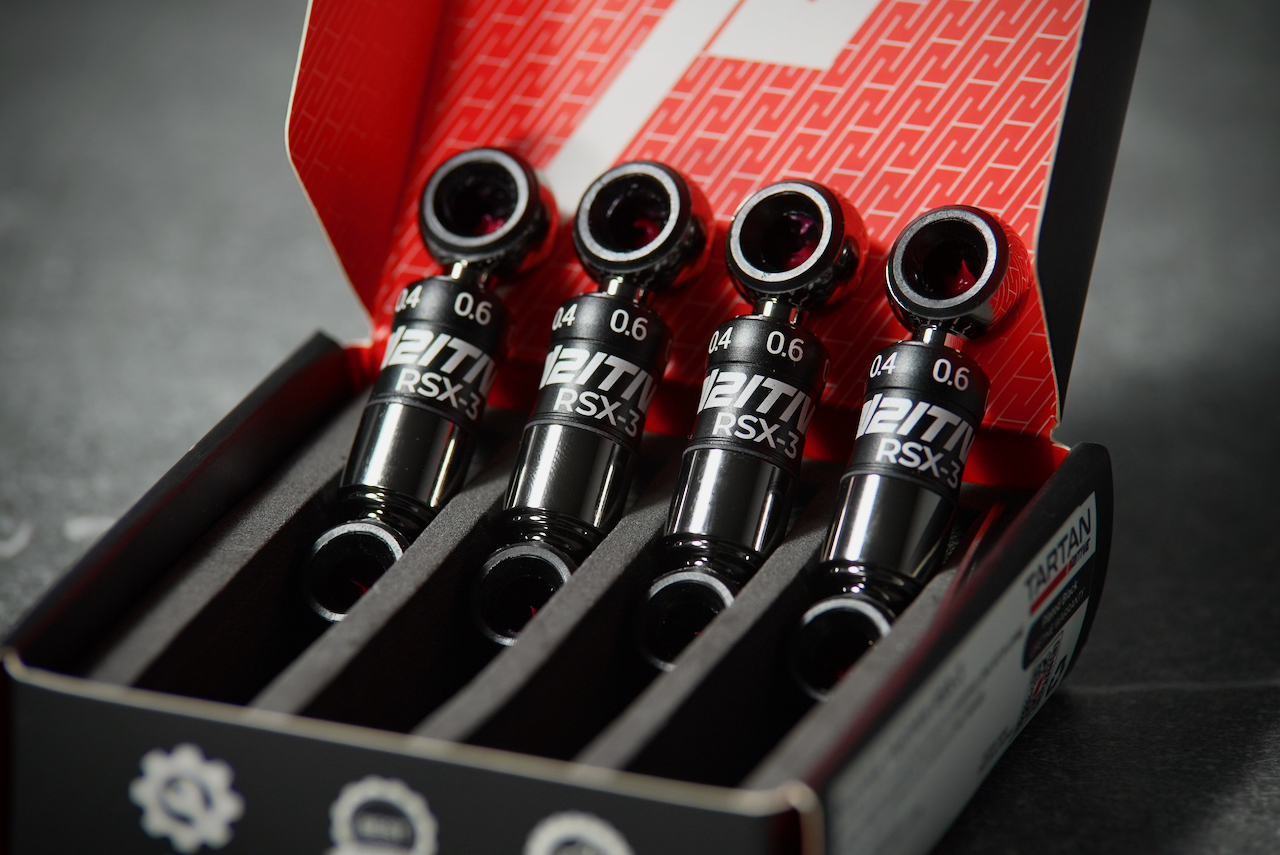
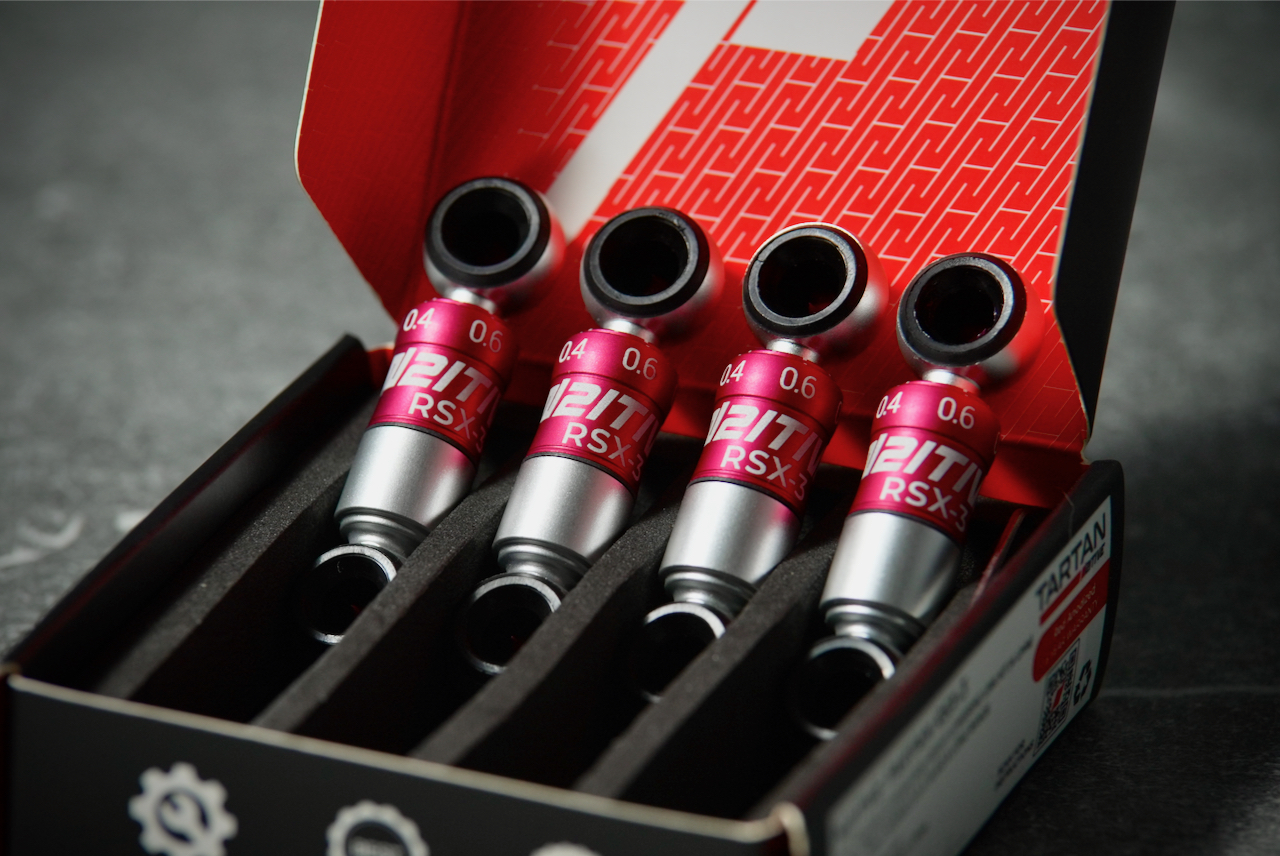
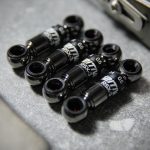
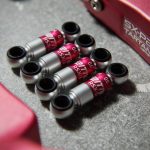
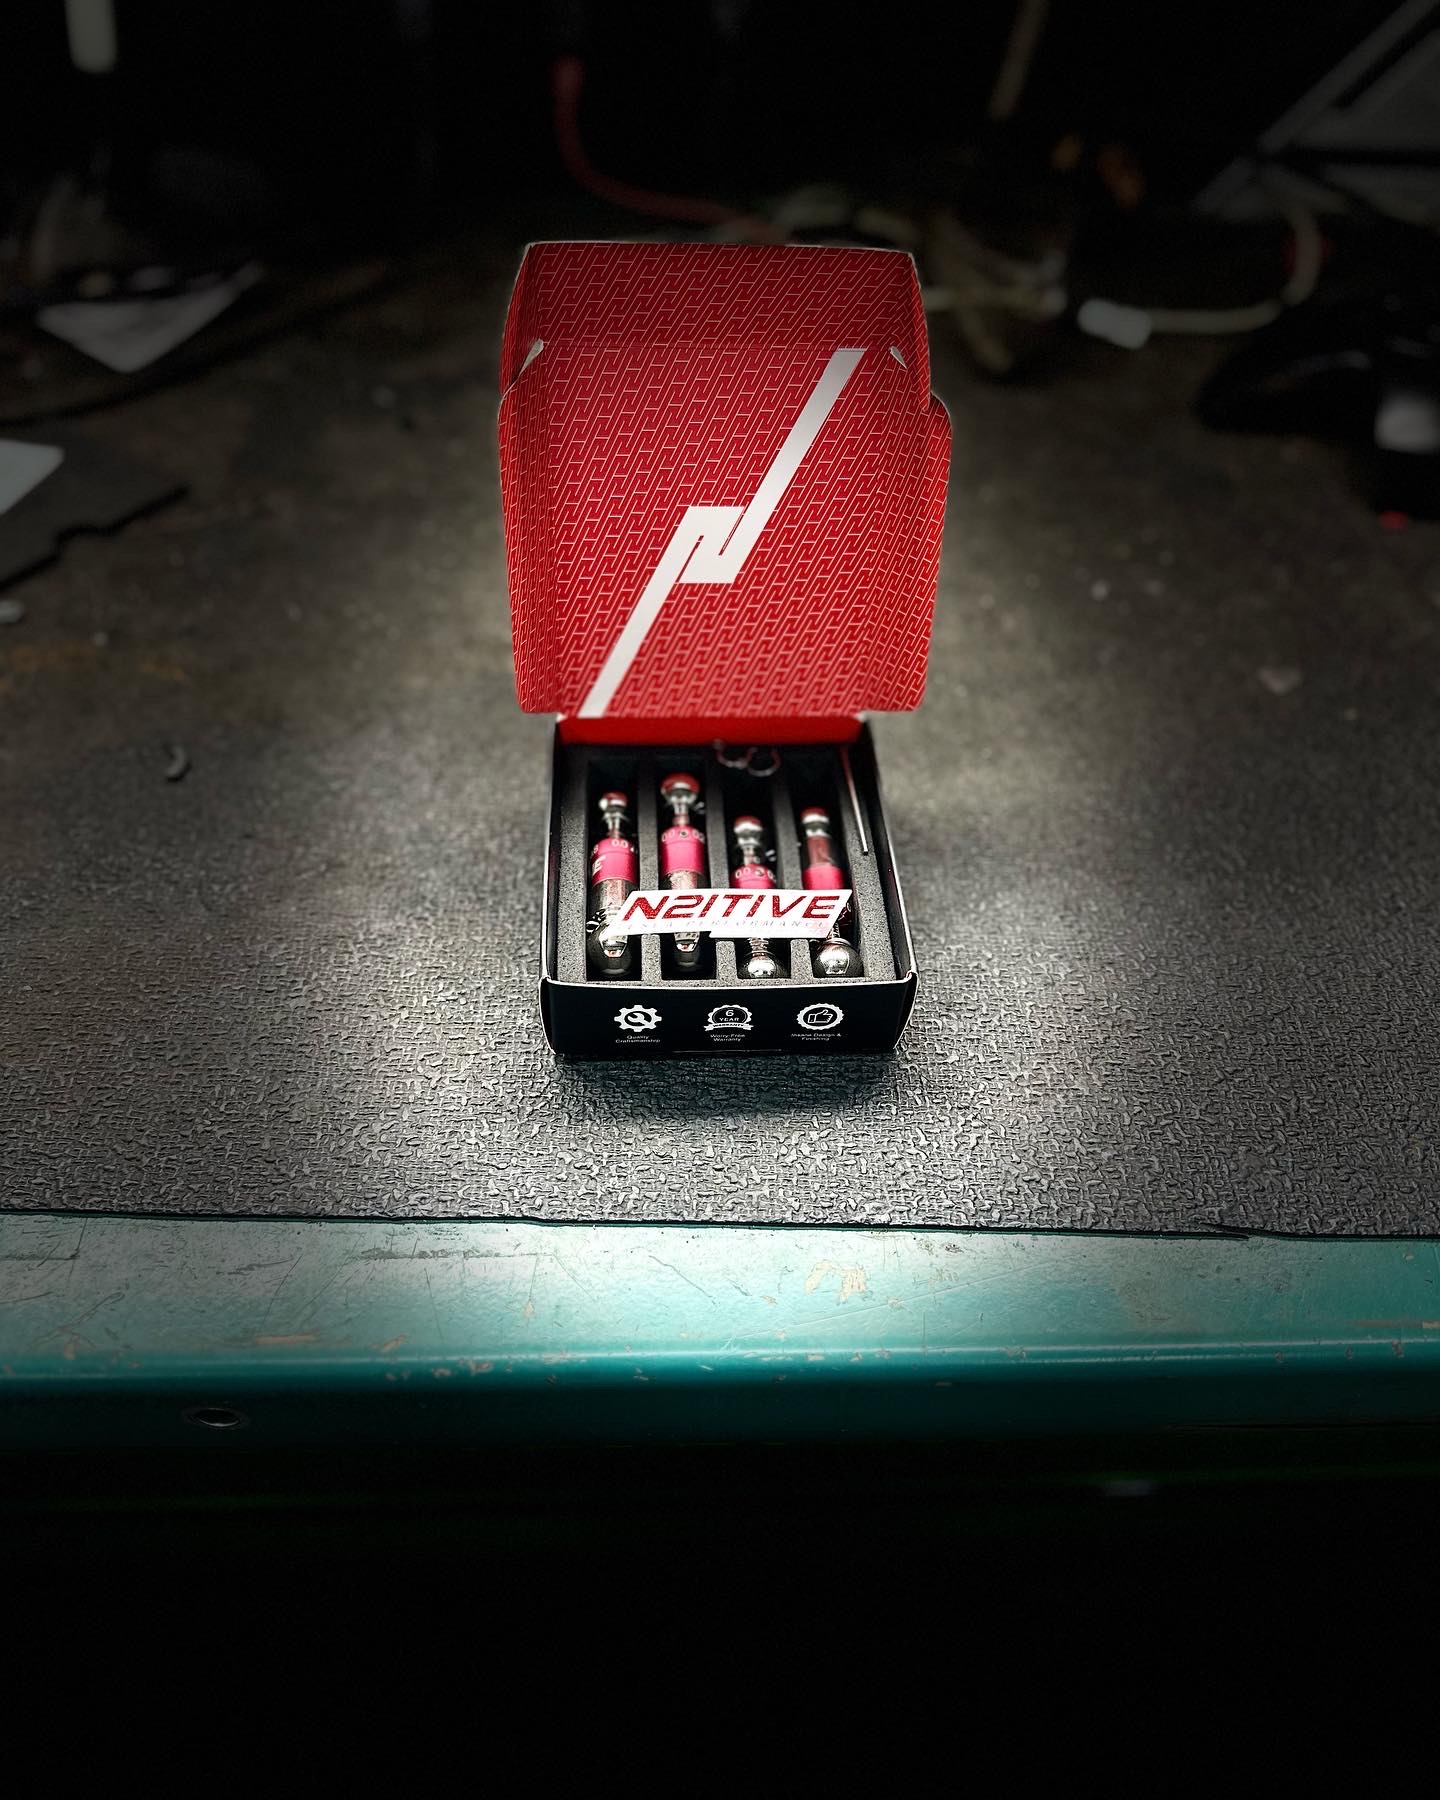
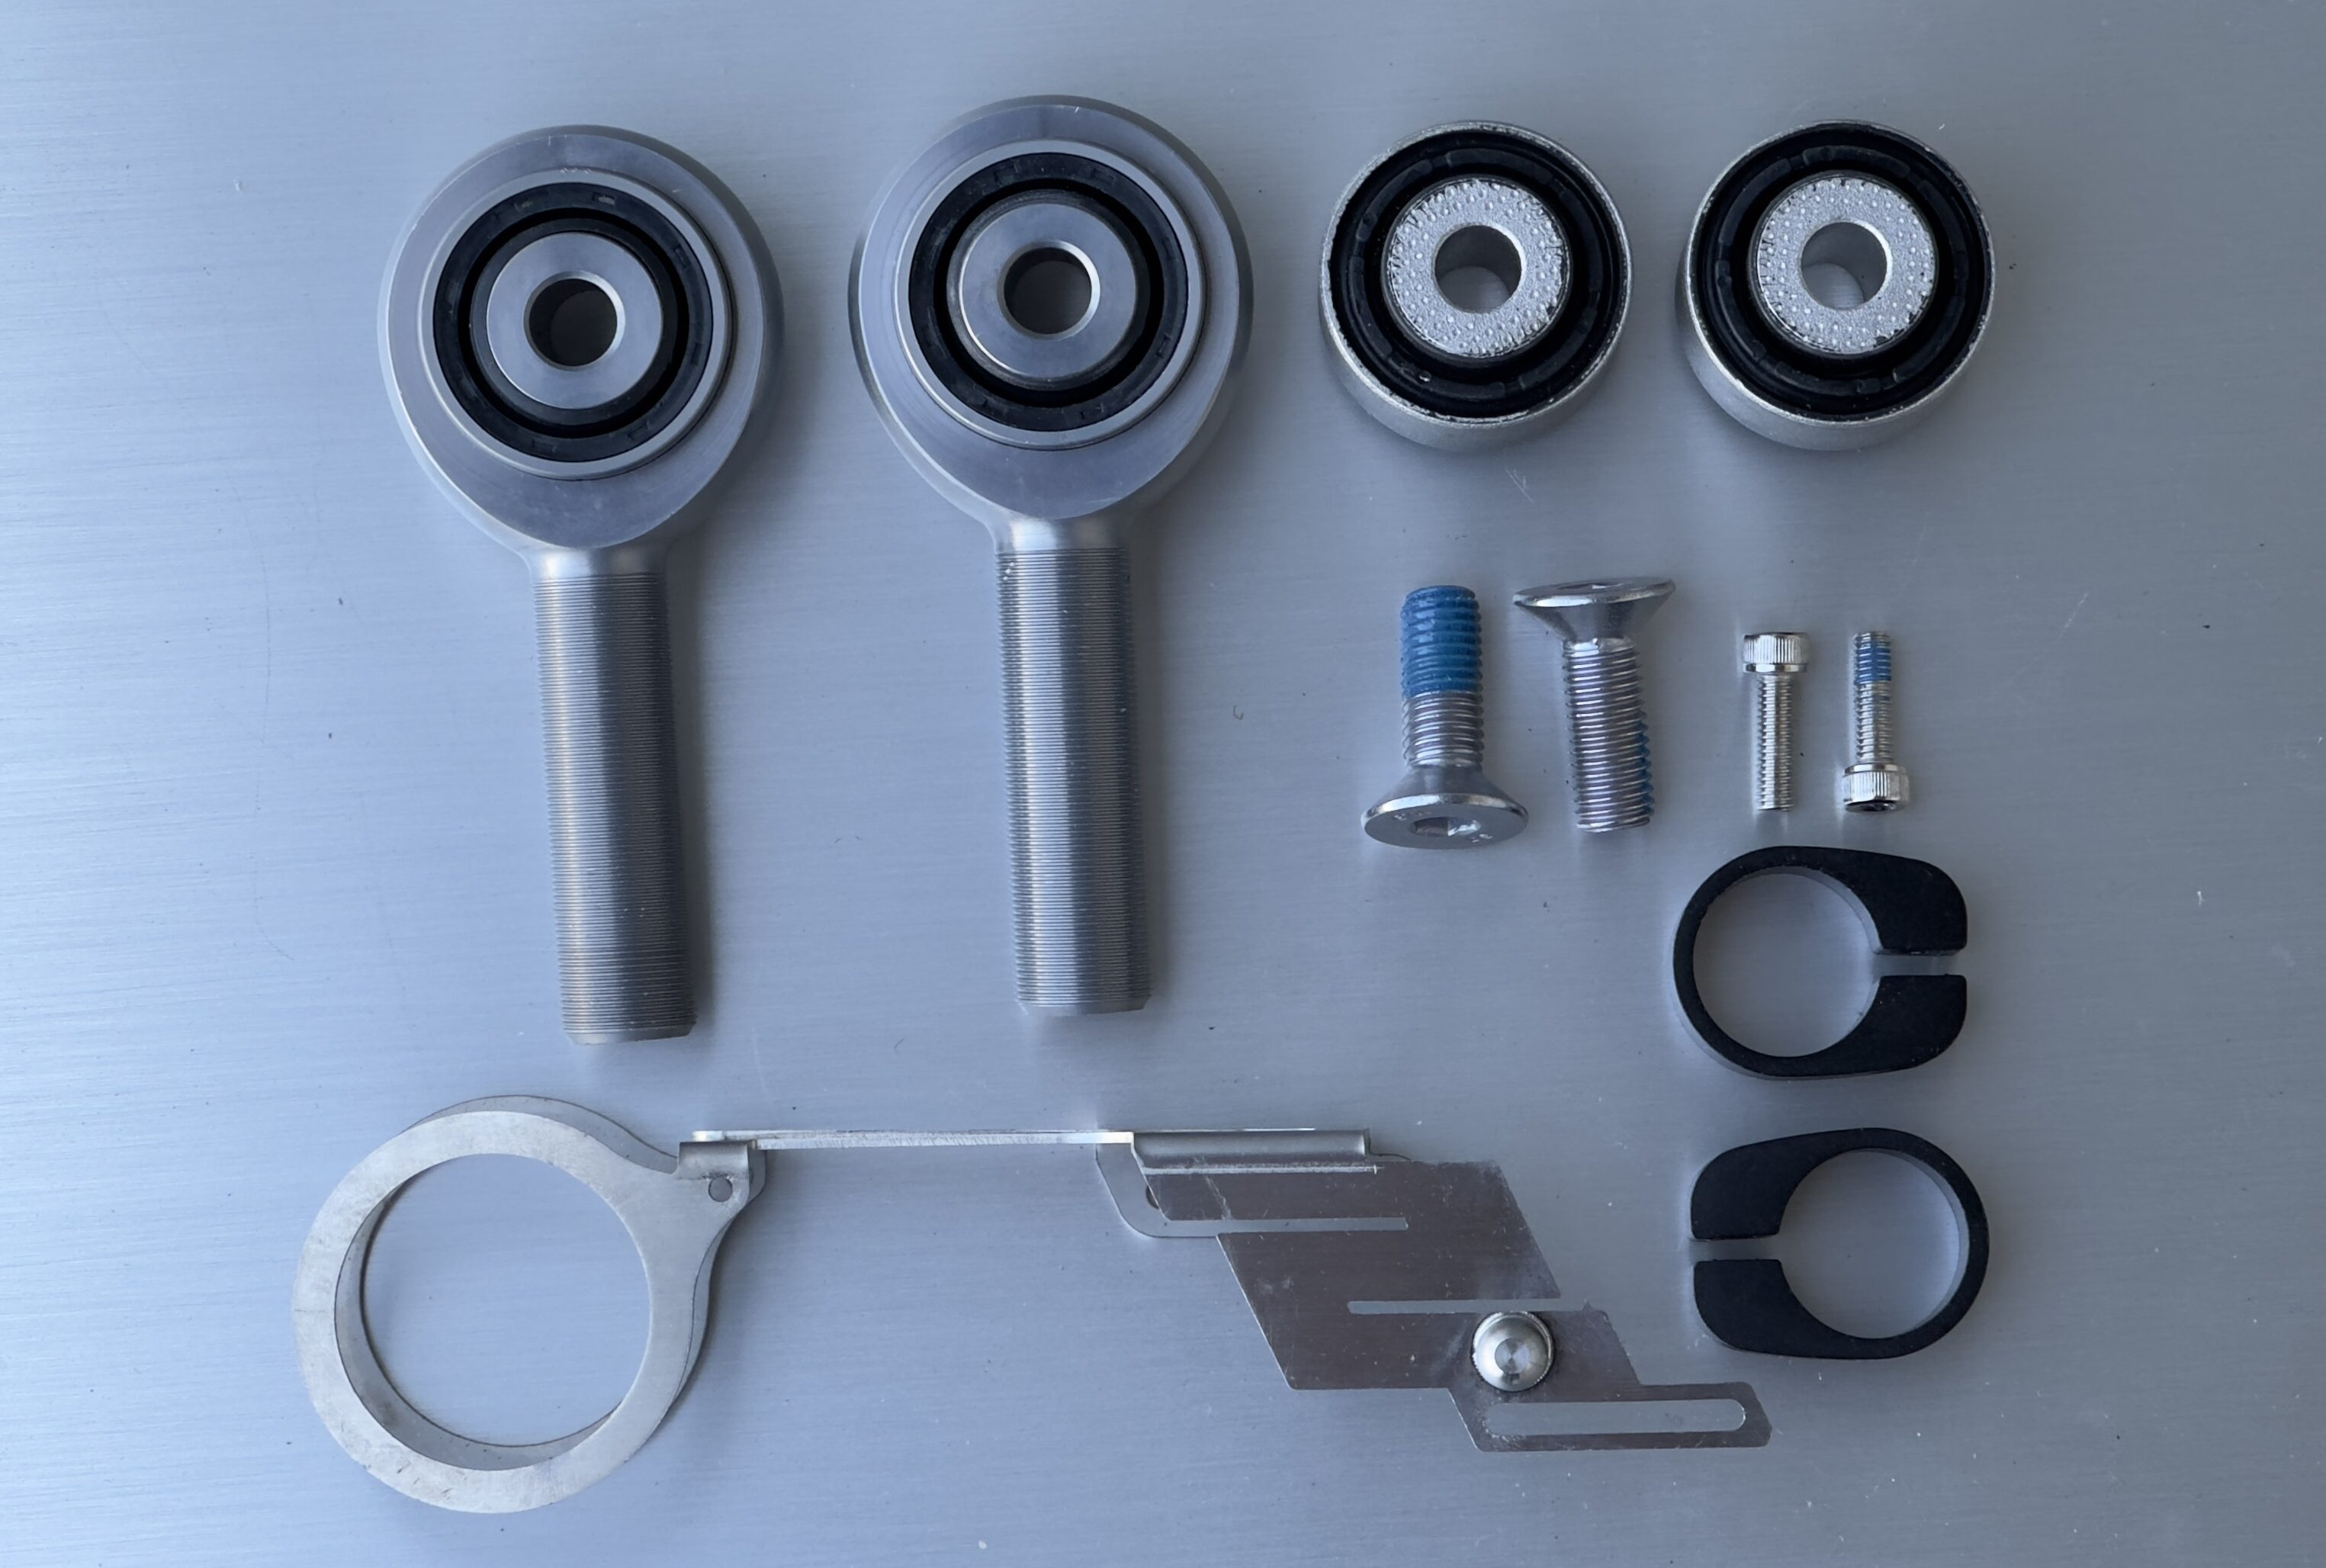
The RSX-4 ride height adjustment links/lowering links come in two variations. Our anodized red version with a 3-year warranty and our black on black electroless nickel plated finish with a LIFETIME WARRANTY. They are the perfect match for our SX-P2 control arms, allowing you to get both the ideal look and accurate alignment for your Model S or X while eliminating acceleration shudder and inner tire wear. Each set comes with 4 links, and installation takes only 30 minutes and can be done with just a jack and simple pry tools.
Please note that installing lowering links on your Tesla could cause inner tire wear if you don’t also install our adjustable control arms to reduce the excess negative camber that occurs when lowering the car. Inner tire wear can cause an unexpected blowout so please keep an eye on the inside of your rear tires and follow our alignment specs on the installation pages. We recommend installing our Alignment Kit 1 which comes with the lowering links and both toe and camber arms as a set.
5 Reasons To Choose Our RSX-4 Tesla S/X Lowering Links
- Dial in the perfect height: N2itive’s adjustable lowering links for the Tesla S/X allow precise adjustment down to 1/10thmm that can easily be replicated on all links. No longer is lowering your Tesla a guessing game, making small adjustments multiple times only to leave one side of the vehicle higher than the other. Just rotate the adjustment dial to match the same setting, no need to unplug/disconnect the links first. You can easily adjust them while they’re still on the car!
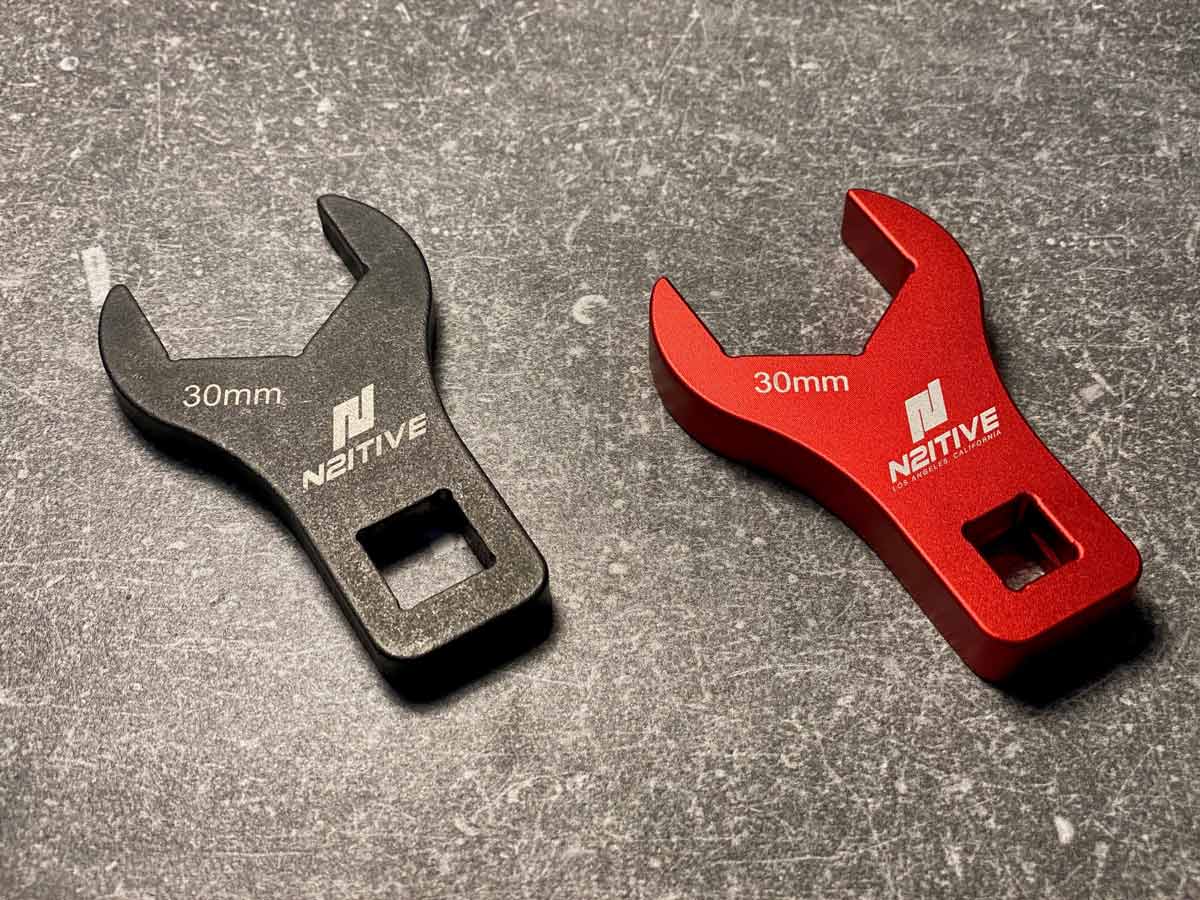
- Simple locking mechanism: We have a single setscrew that allows you to easily make adjustments with the 1.5mm Allen wrench included in the box. To change the length of your links you can slightly loosen the Allen screw, dial in the ride height, and re-tighten the Allen screw. This is superior to similar links on the market that require you to remove the links, use two wrenches to loosen separate lock nuts, then make a blind adjustment, and finally re-tighten both locking nuts again and hope you got the correct and even height all around.
- Easy calibration: If your sensors need to be re-calibrated from Tesla, our links can easily be reset to 0mm, or factory length. After the calibration is done the links can be reverted back to the preferred setting with no guess work involved. No other lowering links offer this, and most lowering brackets will require reinstallation of the original brackets before re-calibration.
- Design & Quality: Our thought process on our performance RSX-4 lowering links was to use the highest quality materials and a really well thought out design to create something from the ground up. We wanted to create something that was really nice both in function and aesthetics, especially being that they’re made for a the most amazing cars on earth.
- Corrosion resistance. All of our parts are either anodized or electroless nickel plated and have Viton® seals to prevent water/salt intrusion for the longest durability. Now shipping with our new German made TPU end sockets!
Please note that lowering your Tesla brings the vehicle closer to the ground which could potentially make the undercarriage including the battery more vulnerable to damage. While we haven’t had any complaints we wanted to give you a heads up of the possibility. N2itive, LLC is not responsible for any damage caused to your vehicle.


Producto de maxima calidad, muy sencillo de instalar y con un resultado perfecto, no se puede pedir mas!
Pd: Magnifico soporte de atención al cliente
5 stars! The links were well made, easy to set, and even easier to install. Really nice work from N2itive!
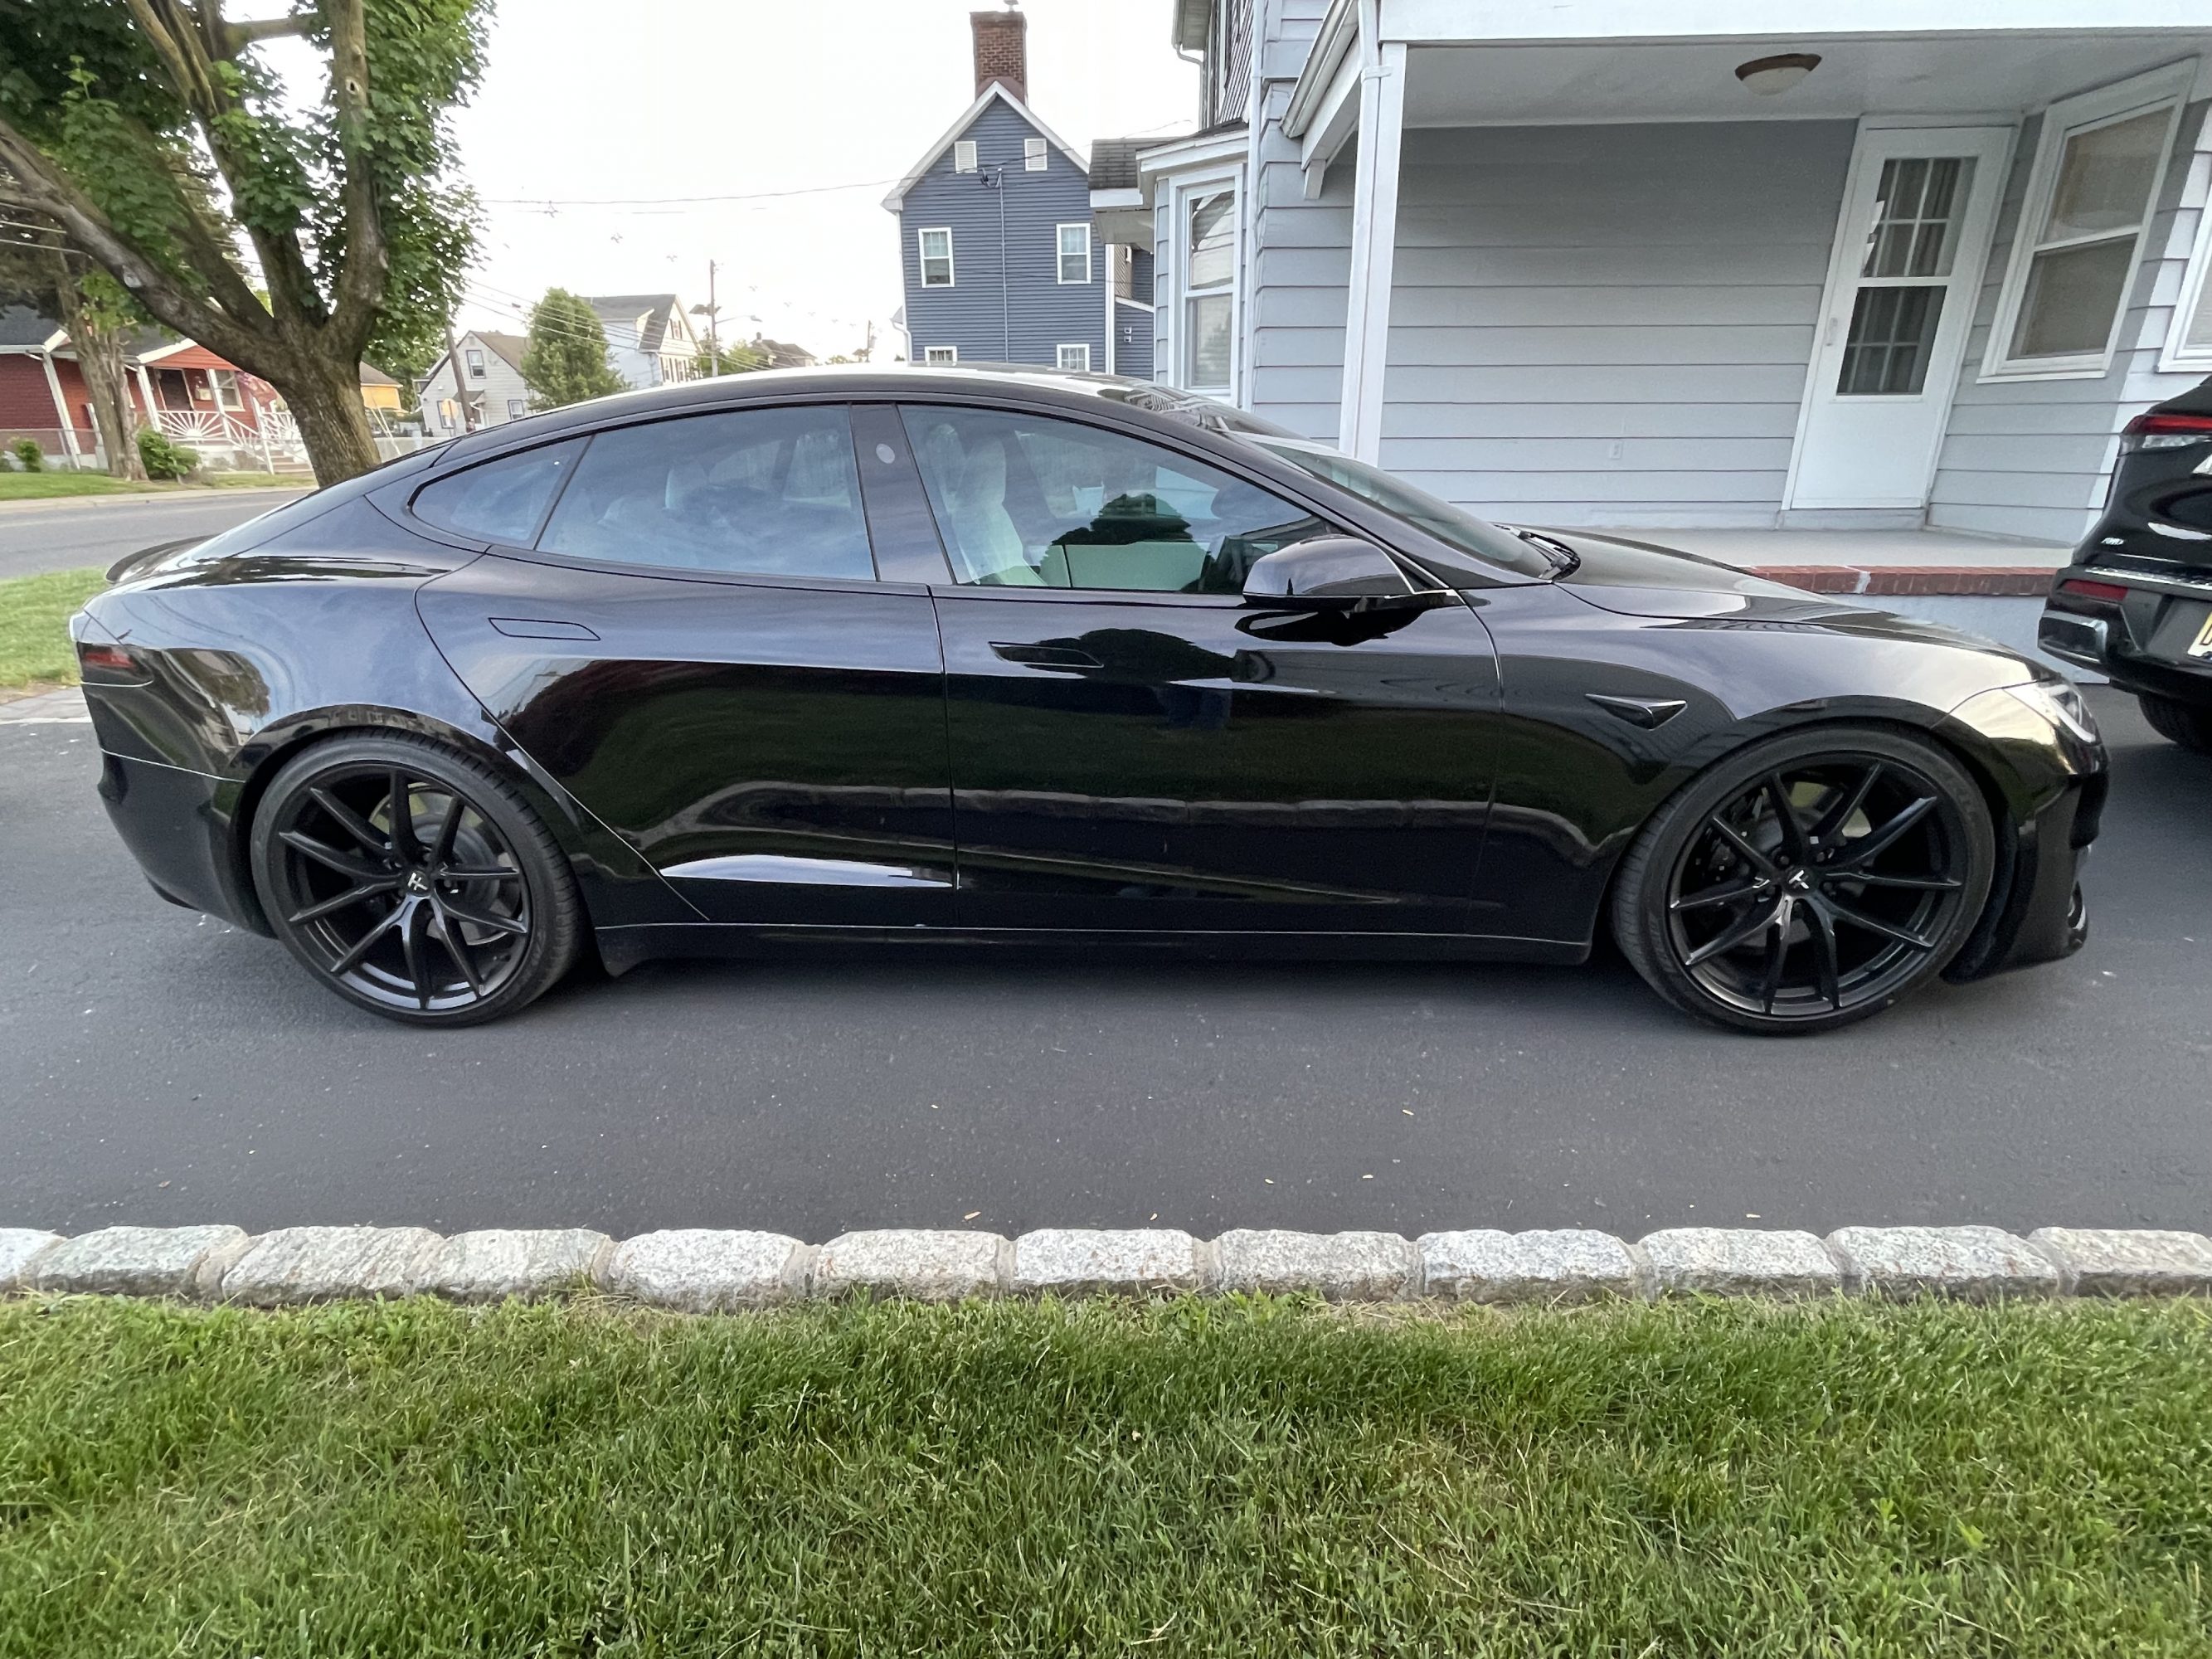
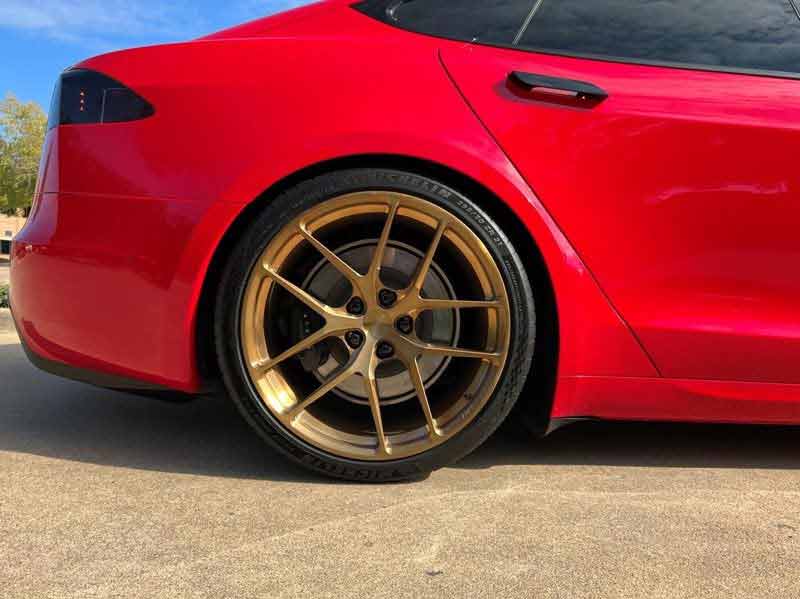
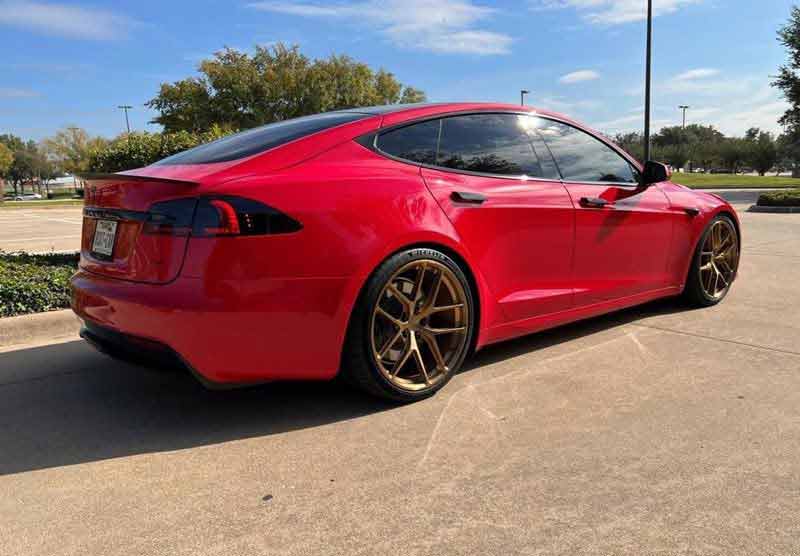
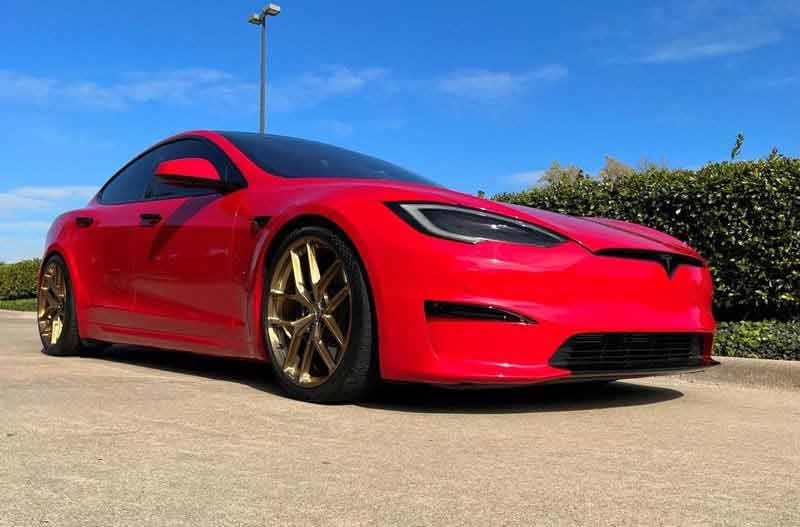
Shipping was very quick, pricing I thought very fair considering what these easily DIY links do for the look and handling of my model s plaid. Start to finish probably took around 1 hour, and given the ultra adjustability I was able to tune the ride height to exactly the look I wanted. I combined these links with spacers and the factory 21” arachnid wheels and the look I think is fantastic.
In todays climate I had a hard time finding many companies who make an outstanding product, fit PERFECT and are willing to talk to you through the day and evening to help answer questions about the install; Then I met N2itive. Don, Tim and the crew have gone above and beyond to create an amazing set of products and then pile on killer customer service. Don was willing to assist with the purchasing to working with me to get the finishing touches for lower links. The S Build we are working on it one step closer to riding smooth and in style. Don’t skimp for other cheaper links.
Thanks to the N2itive team! 10/10!
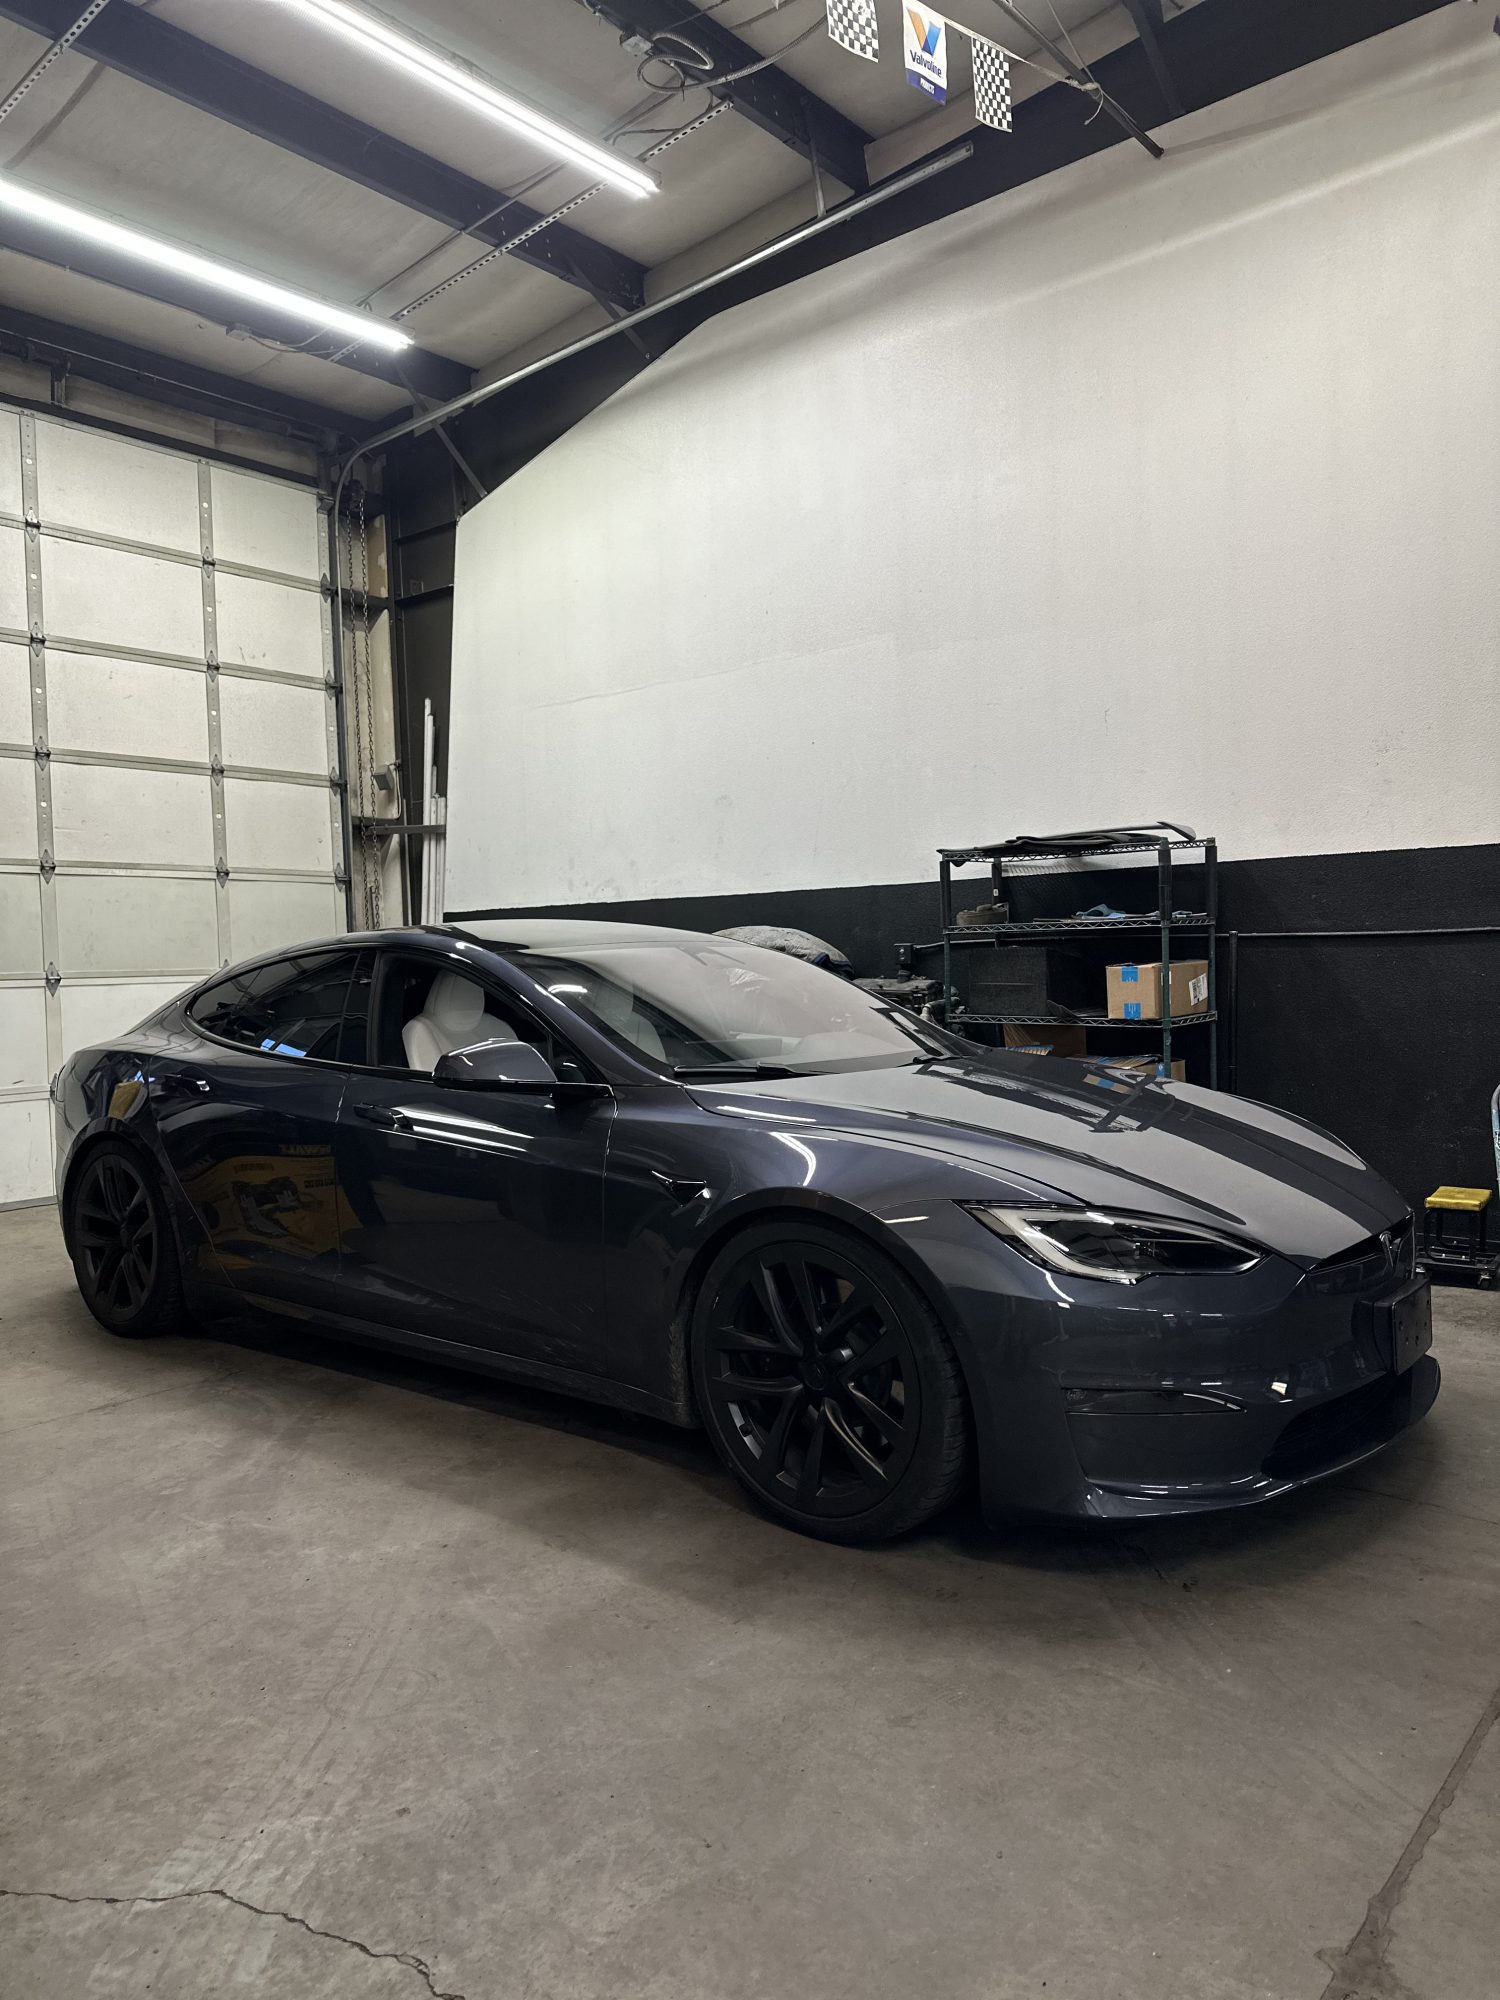
Perfect fitment and very well made. Thanks for the help on installation. Went with 5.5mm all around and sits just right, in my opinion. Running in aftermarket 21” wheels with stock summer tire staggered set up and 5mm spacers in back.