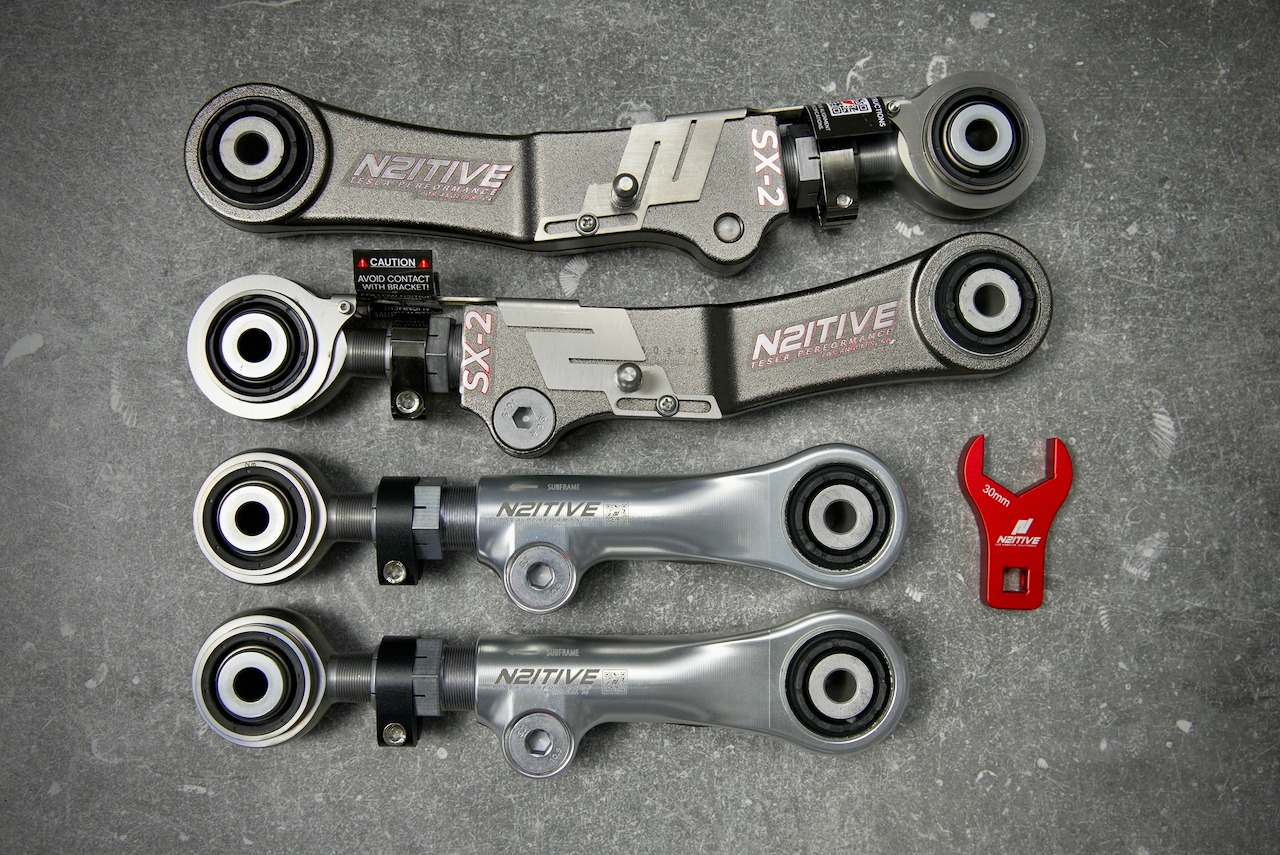
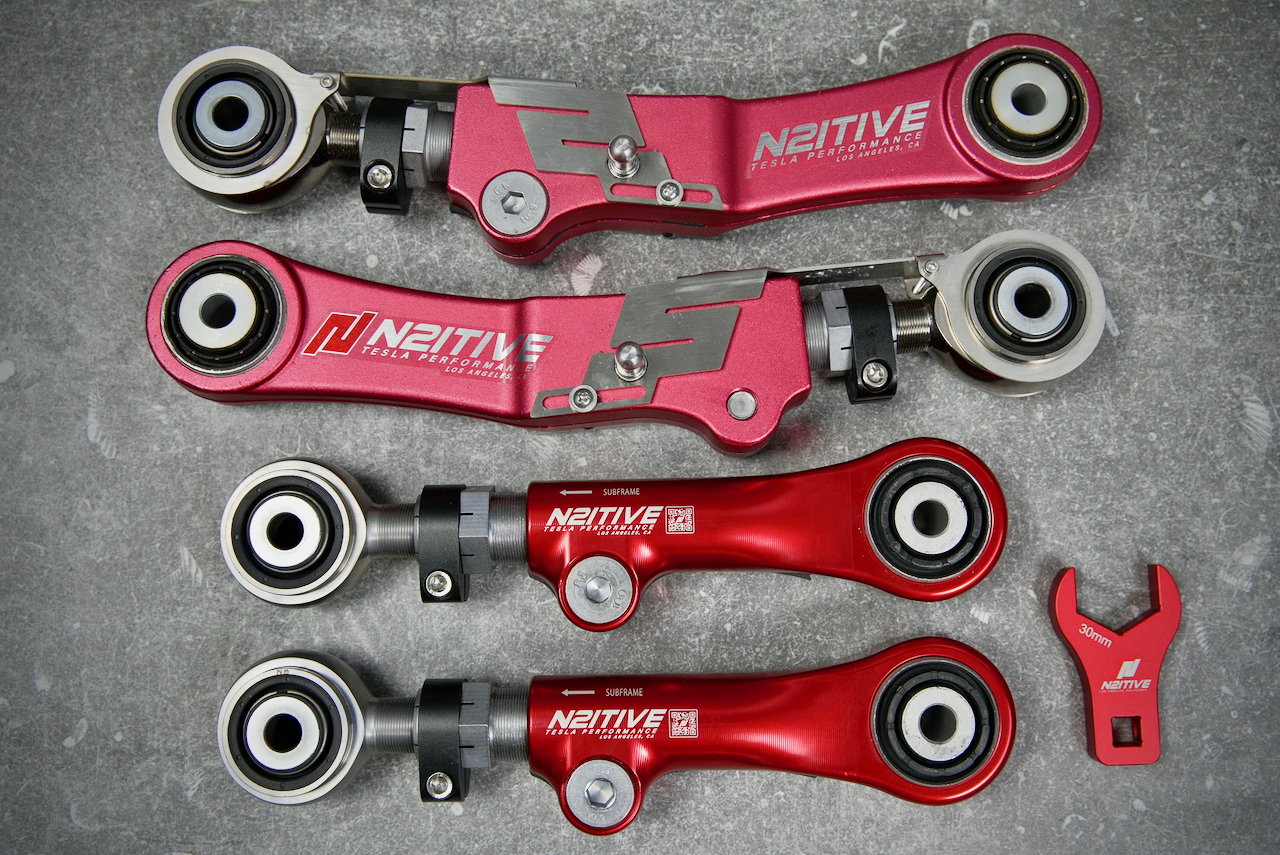
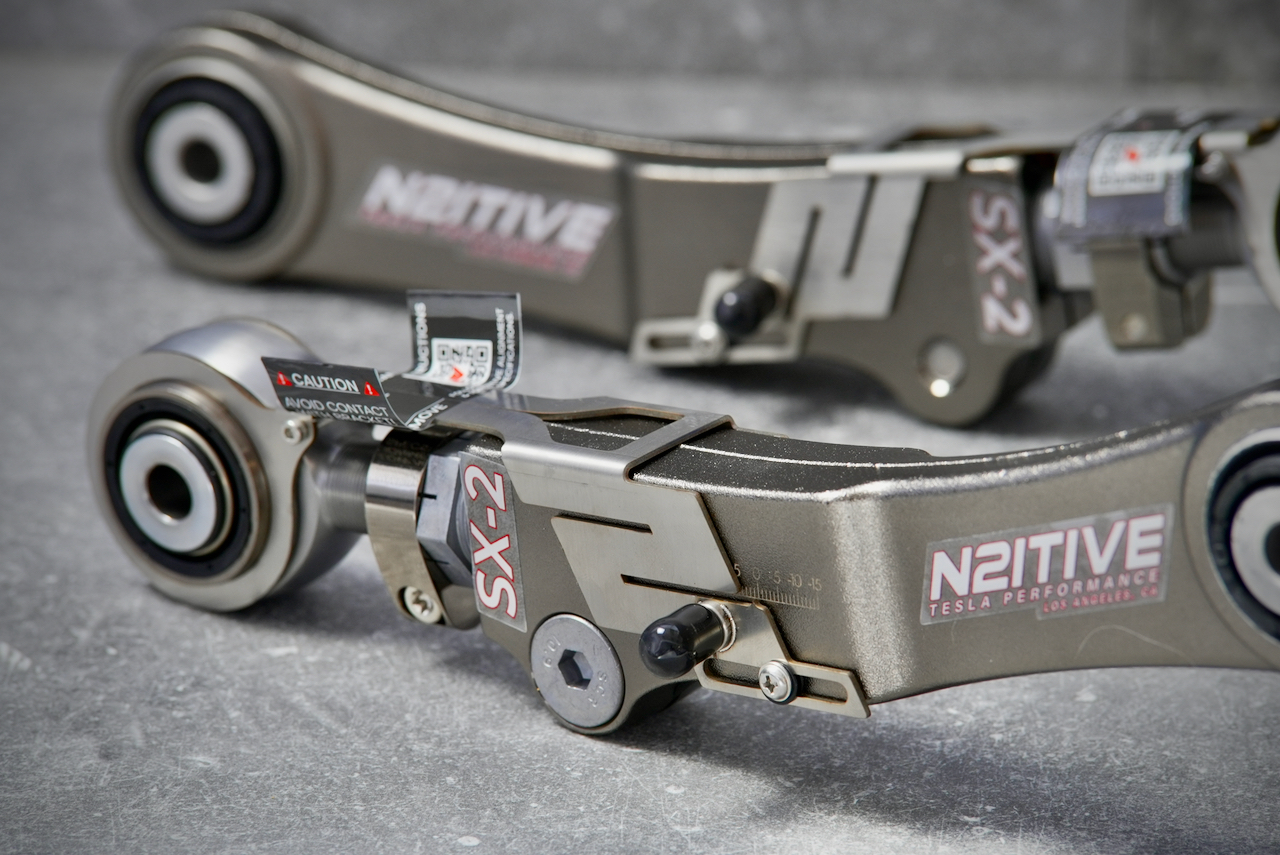
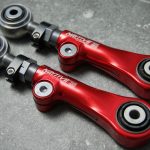
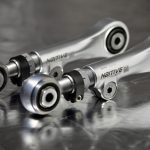
INSTALLATION INSTRUCTIONS: SX-2
Estimated Labor: 1-2 hours
Parts and Tools Necessary:
-15mm, 18mm, 21mm wrenches and sockets
-T30 Torx bit
-8mm Allen key
-Screwdriver or other small prying device
-Torque Wrench
-Nylon lock nut (Part #2007076, Tesla recommendation)
BEFORE INSTALL:
-If the vehicle is equipped with air suspension, activate “Jack Mode” through the touchscreen before lifting the vehicle. The air suspension will attempt to self-level otherwise, which may cause serious damage, bodily injury, or death.
-Make yourself familiar with the proper way to jack and lift your Tesla before attempting installation.
REMOVAL:
1. Jack the vehicle up from the appropriate lift areas, as shown below. Using lift pads between the jack and the vehicle’s frame is highly recommended in order to avoid damaging the vehicle.
2. Loosen the lug nuts (21mm) and remove the wheel.
* Take note of the position that the sensor link sits at. The link must be re-installed in the same position, as the vehicle may not read the ride height correctly otherwise.
3. Pry off the short sensor link from the ball attached to the original camber arm. This can be done with a large flat head screwdriver or small pry bar, gently using the original camber arm as a fulcrum point. Always exercise caution when dealing with the links, as they have many points of failure.
4. Remove the bolt that connects the camber arm to the knuckle (15mm).
5. Remove the nut and bolt that connect the camber arm to the subframe (18mm).
6. Remove the camber arm from the vehicle. If you are having trouble removing the camber arms, rocking the knuckle/hub may aid in loosening and removing the arm.
INSTALLATION:
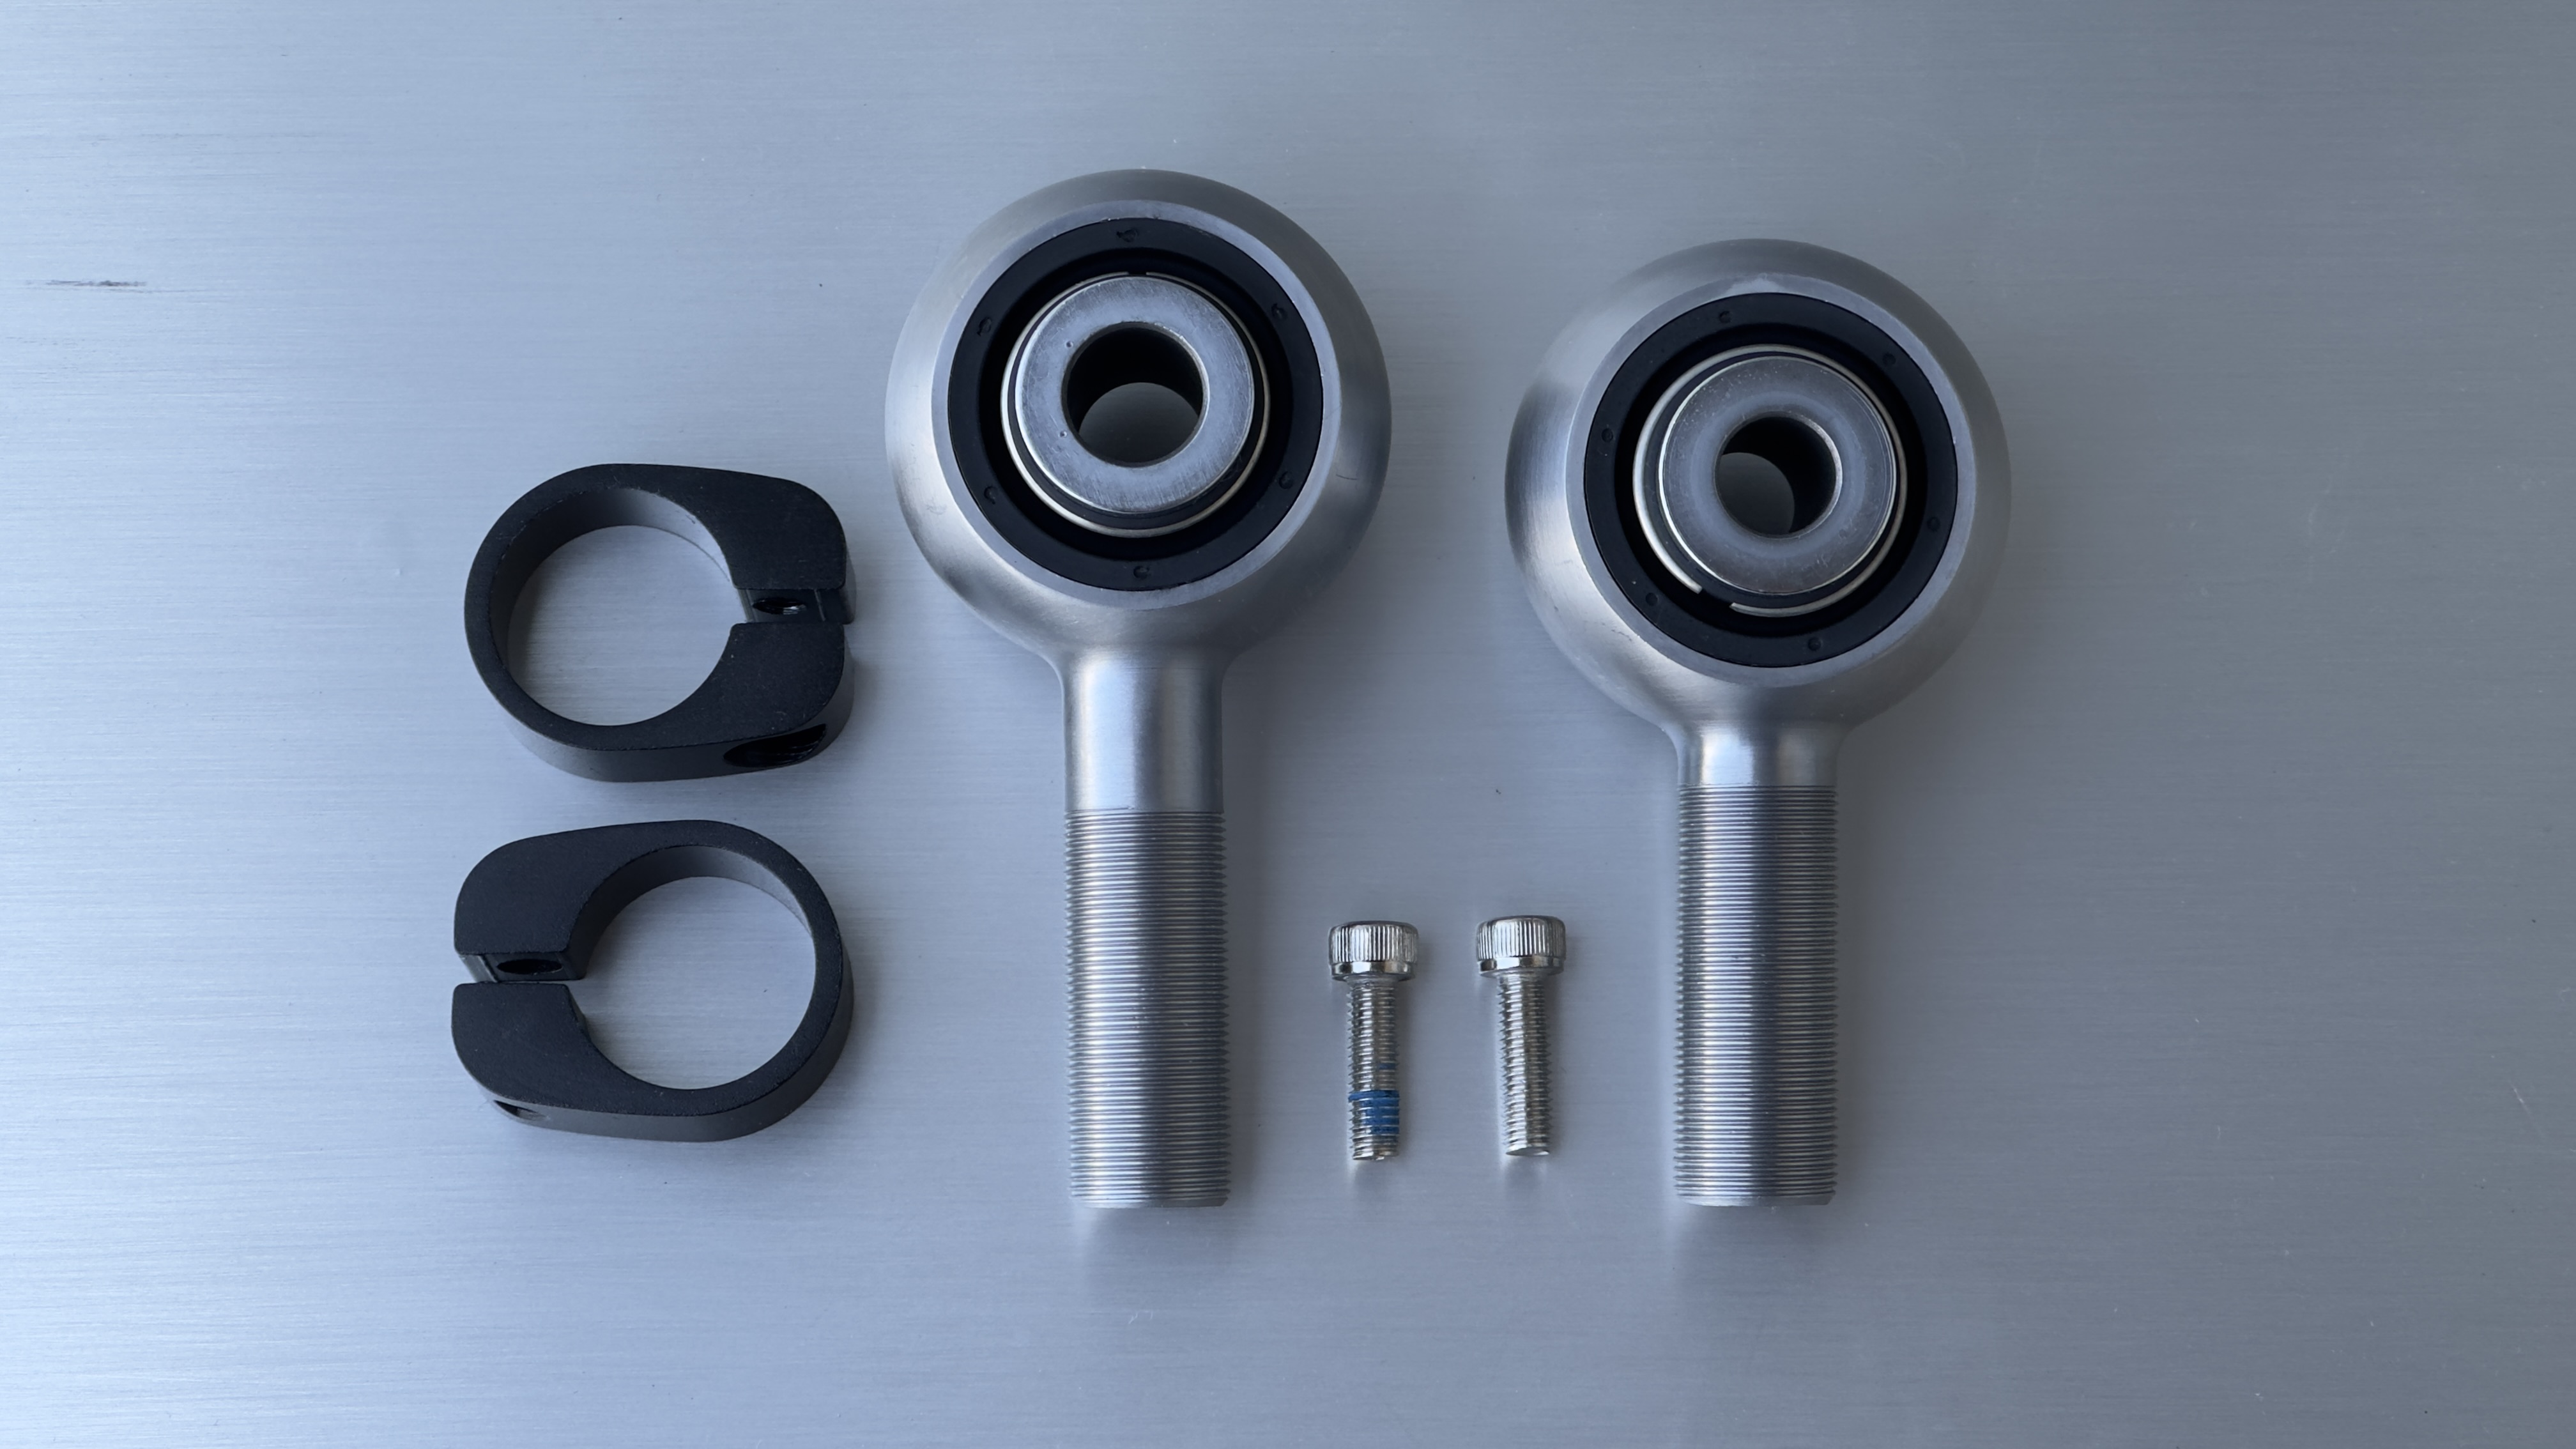
1. Verify that the arm being installed is correct, as the SX-2 is mirrored for the driver and passenger sides. The SX-2 should be around the same length of your stock arm, which can be verified by passing a bolt through both bushings. The rod-end bushing is to be installed on the subframe side, and the ball stud for the sensor link should be facing forward.
2. Realign and hand-tighten the nuts and bolts in their original positions. DO NOT torque the nuts or bolts at this stage. Note that aligning the hub side first will result in an easier install.
3. Preload the suspension before torquing down the bolts. This can be done by jacking the knuckle up until the suspension is fully loaded. The car itself should feel like it is about to lift and the hub should be positioned as if the car was sitting on the floor. This step is critical in ensuring the bushings are correctly positioned when you drive the car.
4. Once preloaded, torque the bolts down to their appropriate settings. The bolt towards the subframe should be torqued to 96 ft/lbs (130Nm), and the knuckle side to 103 ft/lbs (140Nm).
5. If installing back original links, apply a small amount of white lithium or other appropriate automotive grease in the socket. Carefully press the link back onto the camber arm. N2itive RSX-3 links come pre-greased so there would be no need to apply extra grease if installing them.
6. Remount the wheels back on the vehicle and torque down the lug nuts to 129 ft/lbs (175 Nm). Make sure to remove all jack stands and tools from under the vehicle before you let it down.
ADJUSTMENT:
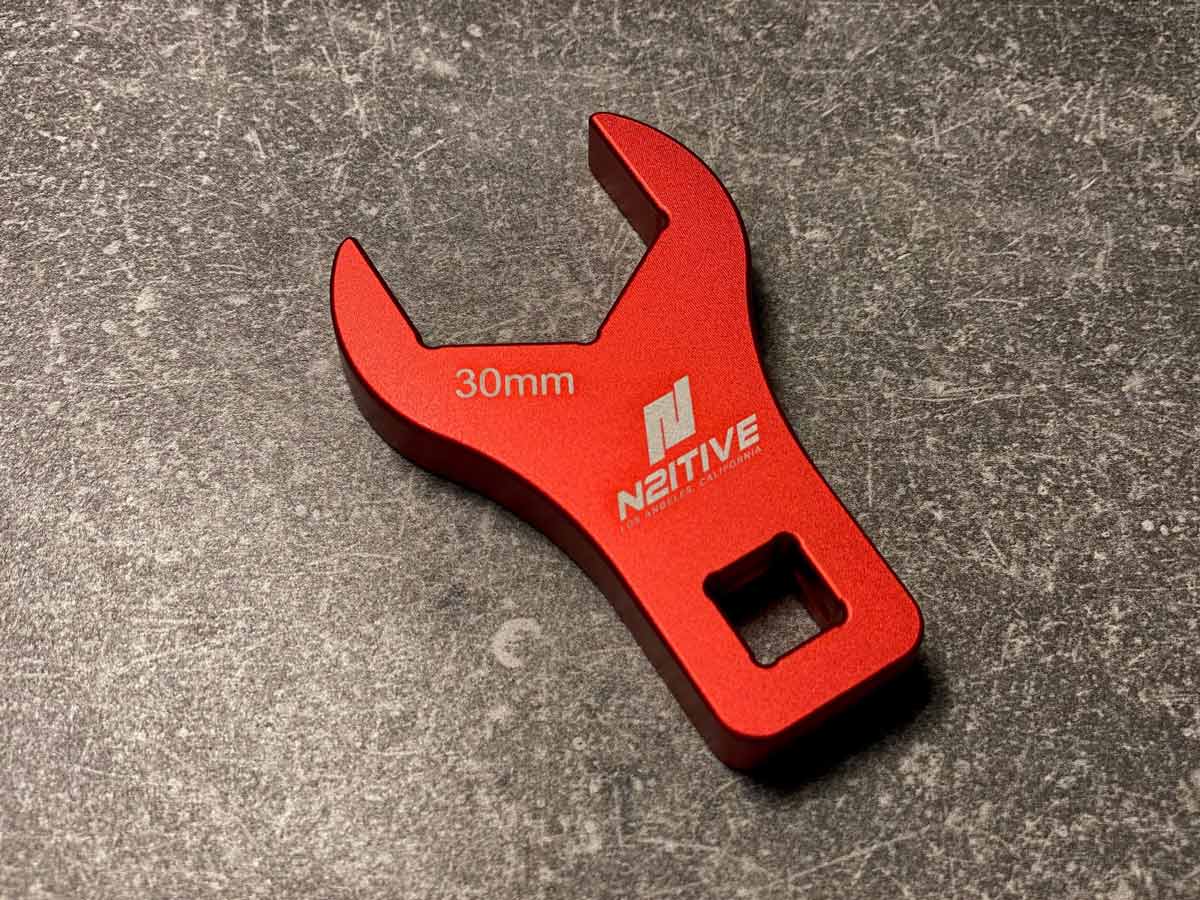
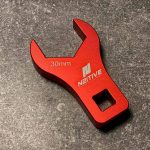
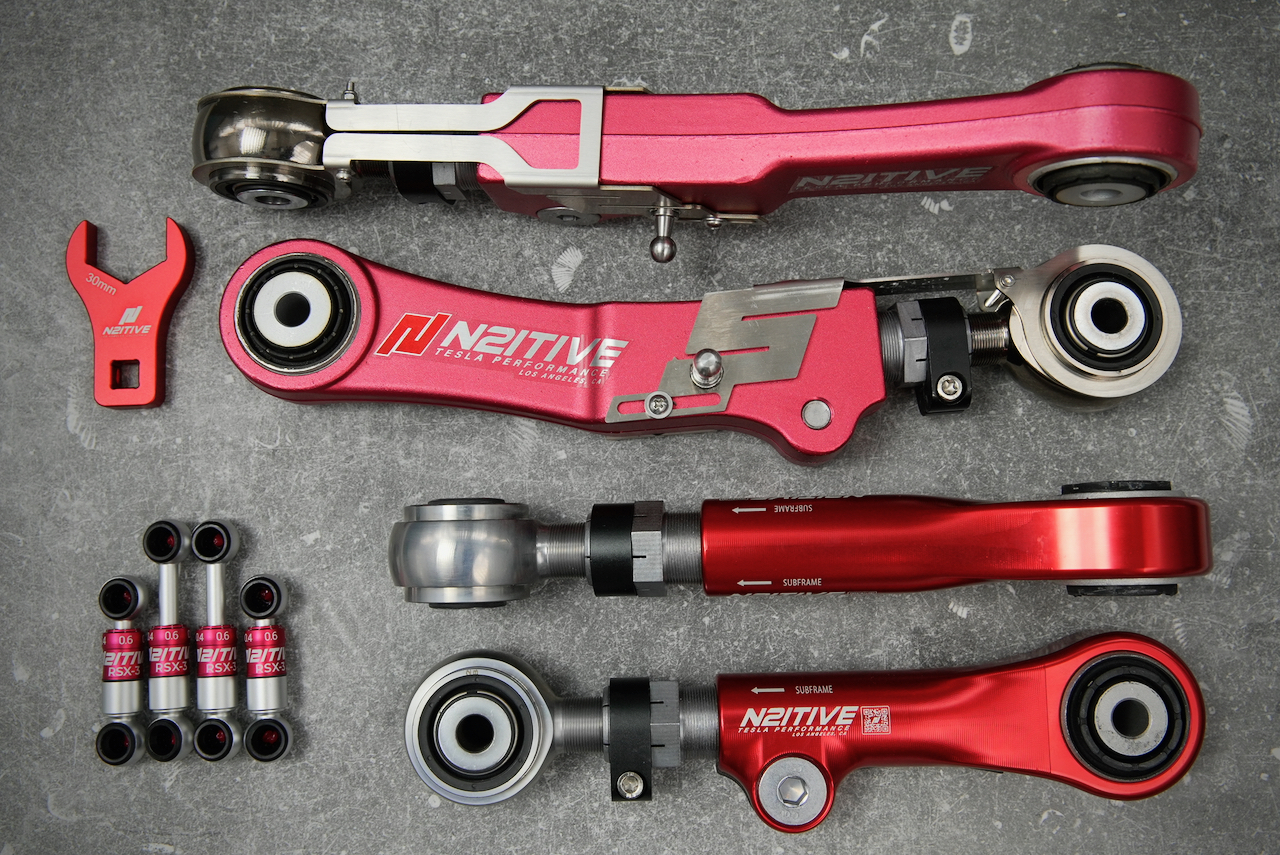
-Adjustment of the SX-2 is to be made using the 30mm wrench provided along with the arms. Other wrenches will likely be too large and damage the bracket, which may result in an inaccurate reading on the engraved scale.
-Loosen the T30 Torx bolt on the black collar as well as the 8mm allen bolt on the body of the arm. Both of these bolts must be loose for adjustment to be made.
-Tighten or rotate the adjuster clockwise in order to increase negative camber. Loosening or rotating the adjuster counter-clockwise will reduce negative camber.
-Once you are done adjusting, torque the 8mm and T30 bolts to spec. The 8mm allen should be tightened to 24 ft/lbs or 32.5 Nm, and the T30 Torx to 8 ft/lbs or 11 Nm. Make sure the collar with the T30 is aligned with the rod end to avoid damage while driving.
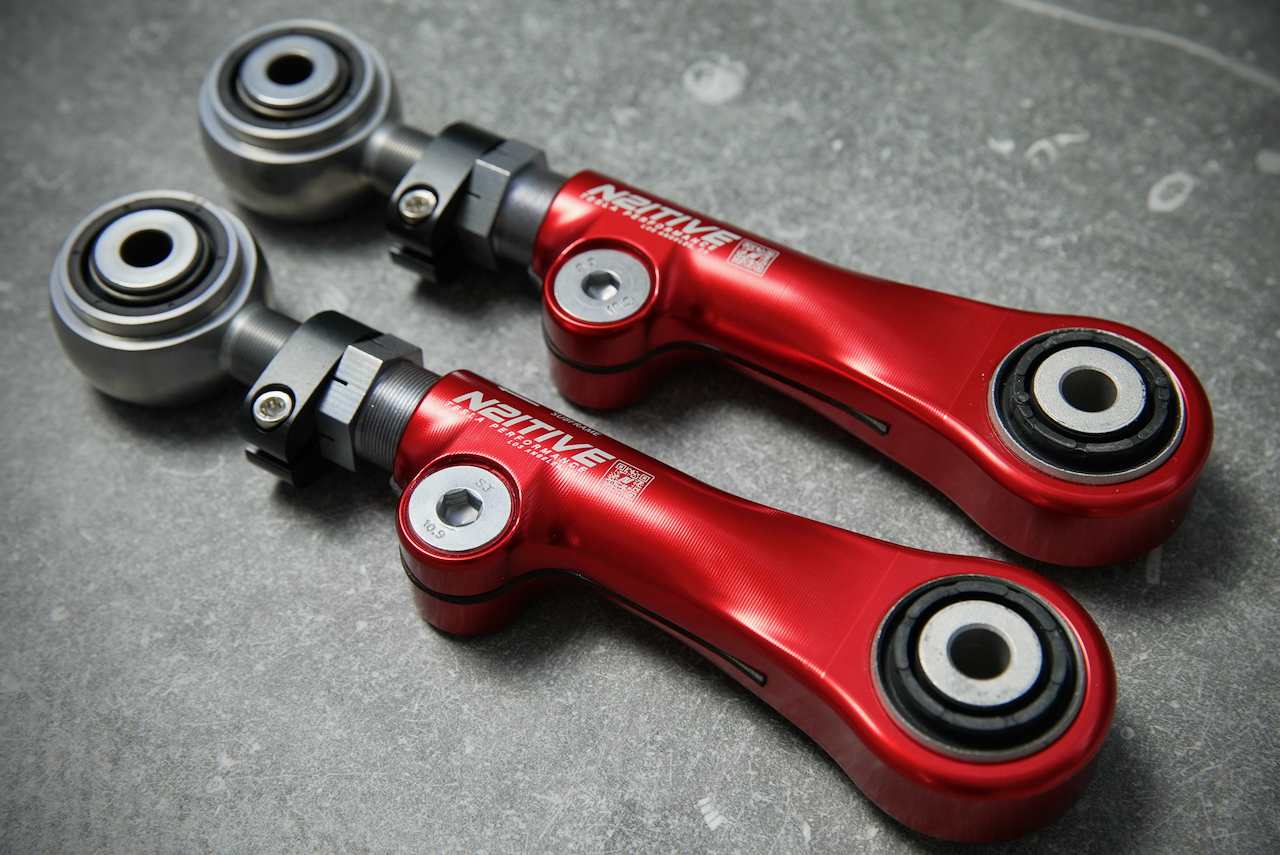
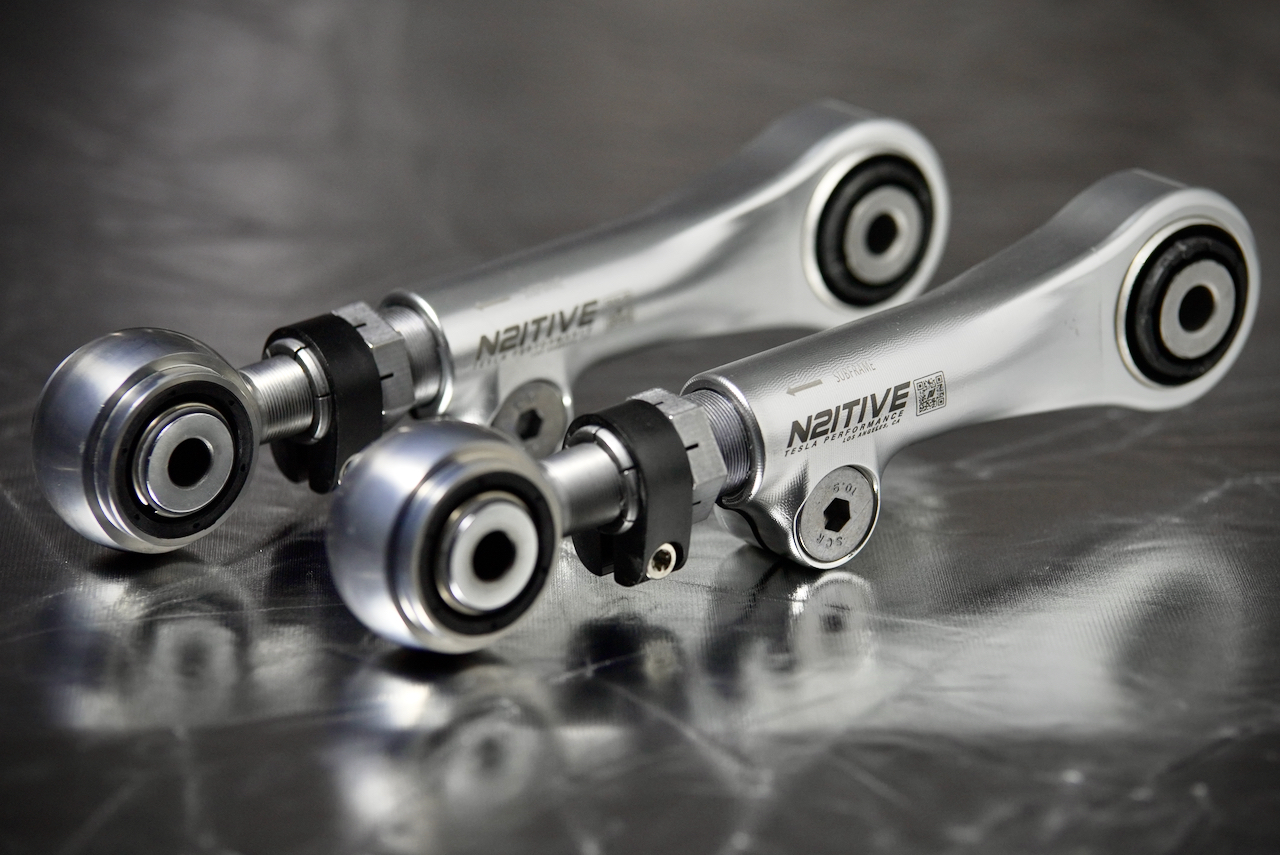
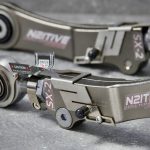
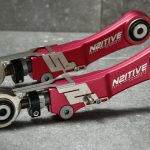
INSTALLATION INSTRUCTIONS: TSX-2
Estimated Labor: 1-2 hours
Parts and Tools Necessary:
-18mm, 19mm, 21mm wrenches and sockets
-T30 Torx bit
-8mm Allen key
-Torque Wrench
– Nylon Lock Nut (Part #2007063-00-B, Tesla recommendation)
*Electric saw (may not be necessary depending on model)
BEFORE INSTALL:
-If the vehicle is equipped with air suspension, activate “Jack Mode” through the touchscreen before lifting the vehicle. The air suspension will attempt to self-level otherwise, which may cause serious damage, bodily injury, or death.
-Make yourself familiar with the proper way to jack and lift your Tesla before attempting installation.
REMOVAL:
1. Jack the vehicle up from the appropriate lift areas, as shown below. Using lift pads between the jack and the vehicle’s frame is highly recommended in order to avoid damaging the vehicle.
2. Loosen the lug nuts (21mm) and remove the wheel.
3. Release the clip that holds the electronic parking brake harness to the toe arm.
4. Remove the bolt that connects the toe arm to the knuckle (18mm).
5. Remove the eccentric bolt that connects the toe arm to the subframe (18mm nut side, 19mm bolt side).
* Some models may not be able to remove the eccentric bolt on the subframe without dropping the subframe for clearance. If you are unable to remove the bolt by moving the toe arm upward with the washer removed, then proceed to the next step.
6. Rather than dropping the subframe, we recommend that you cut the end of the bolt instead. Use vise grips to prevent the bolt from rotating and carefully saw off the head on the other side. Use caution to not damage the adjacent brake line, and now you should be able to safely remove the arm from the vehicle.
INSTALLATION:
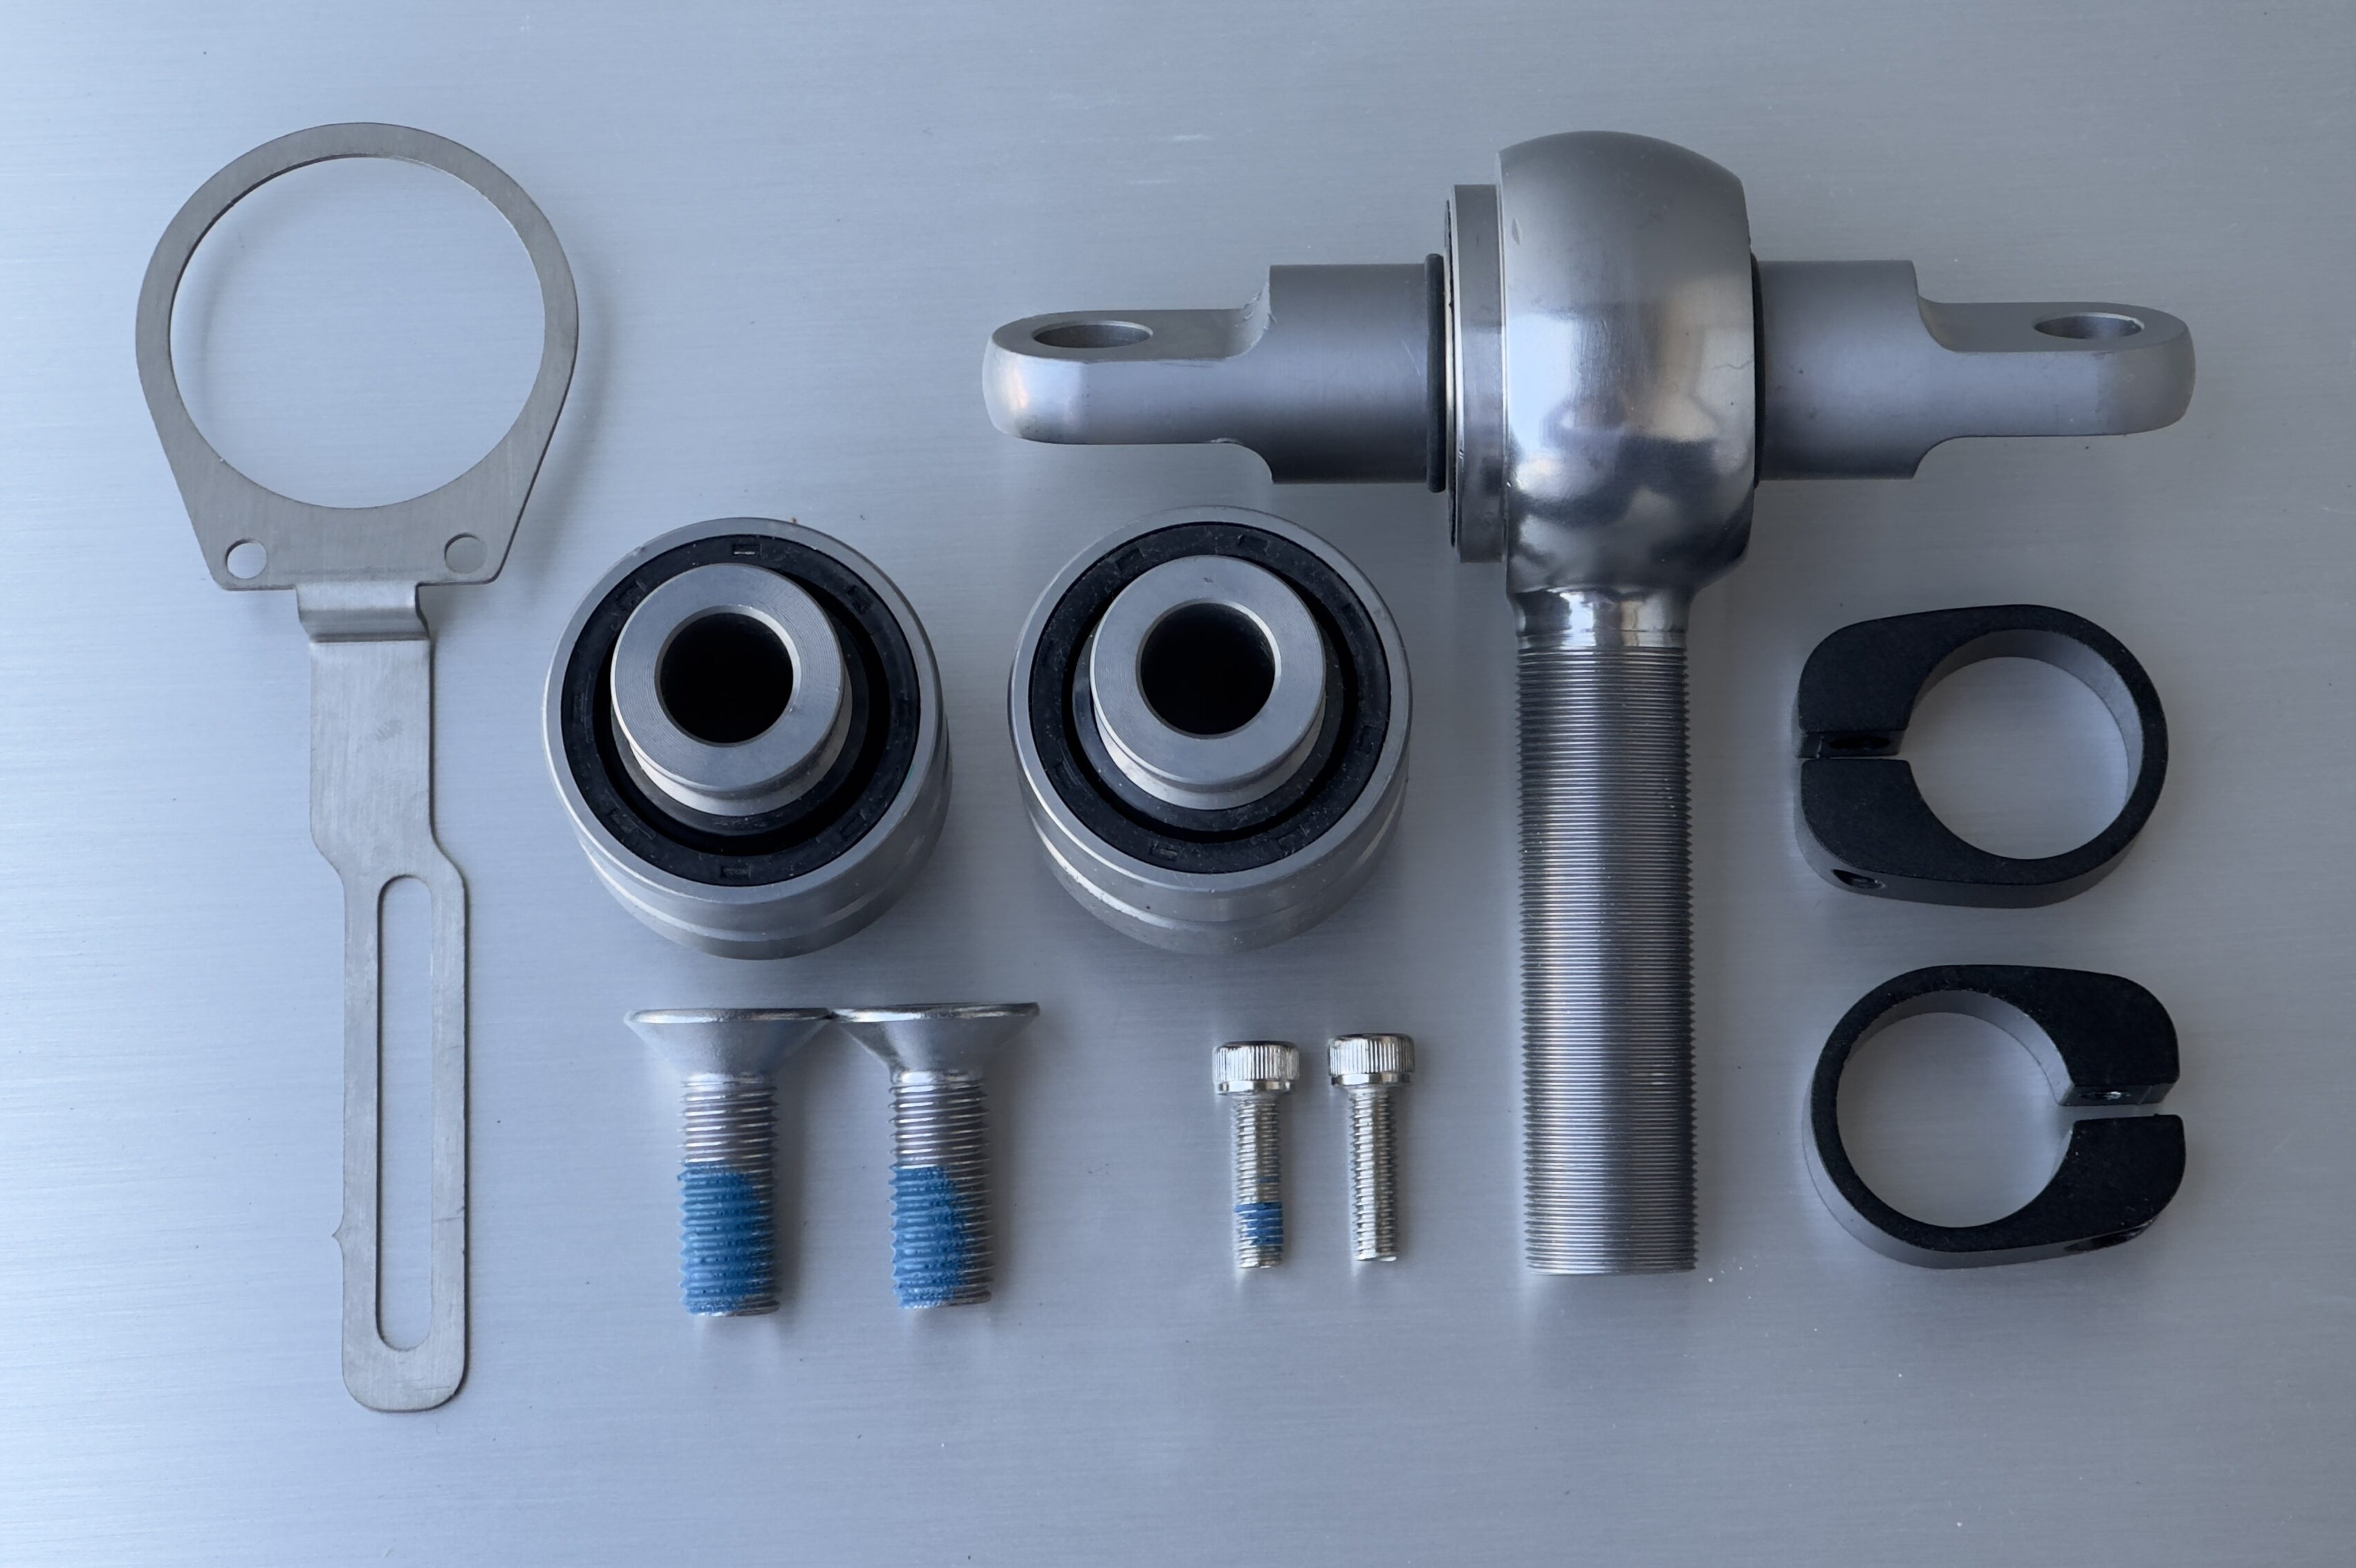
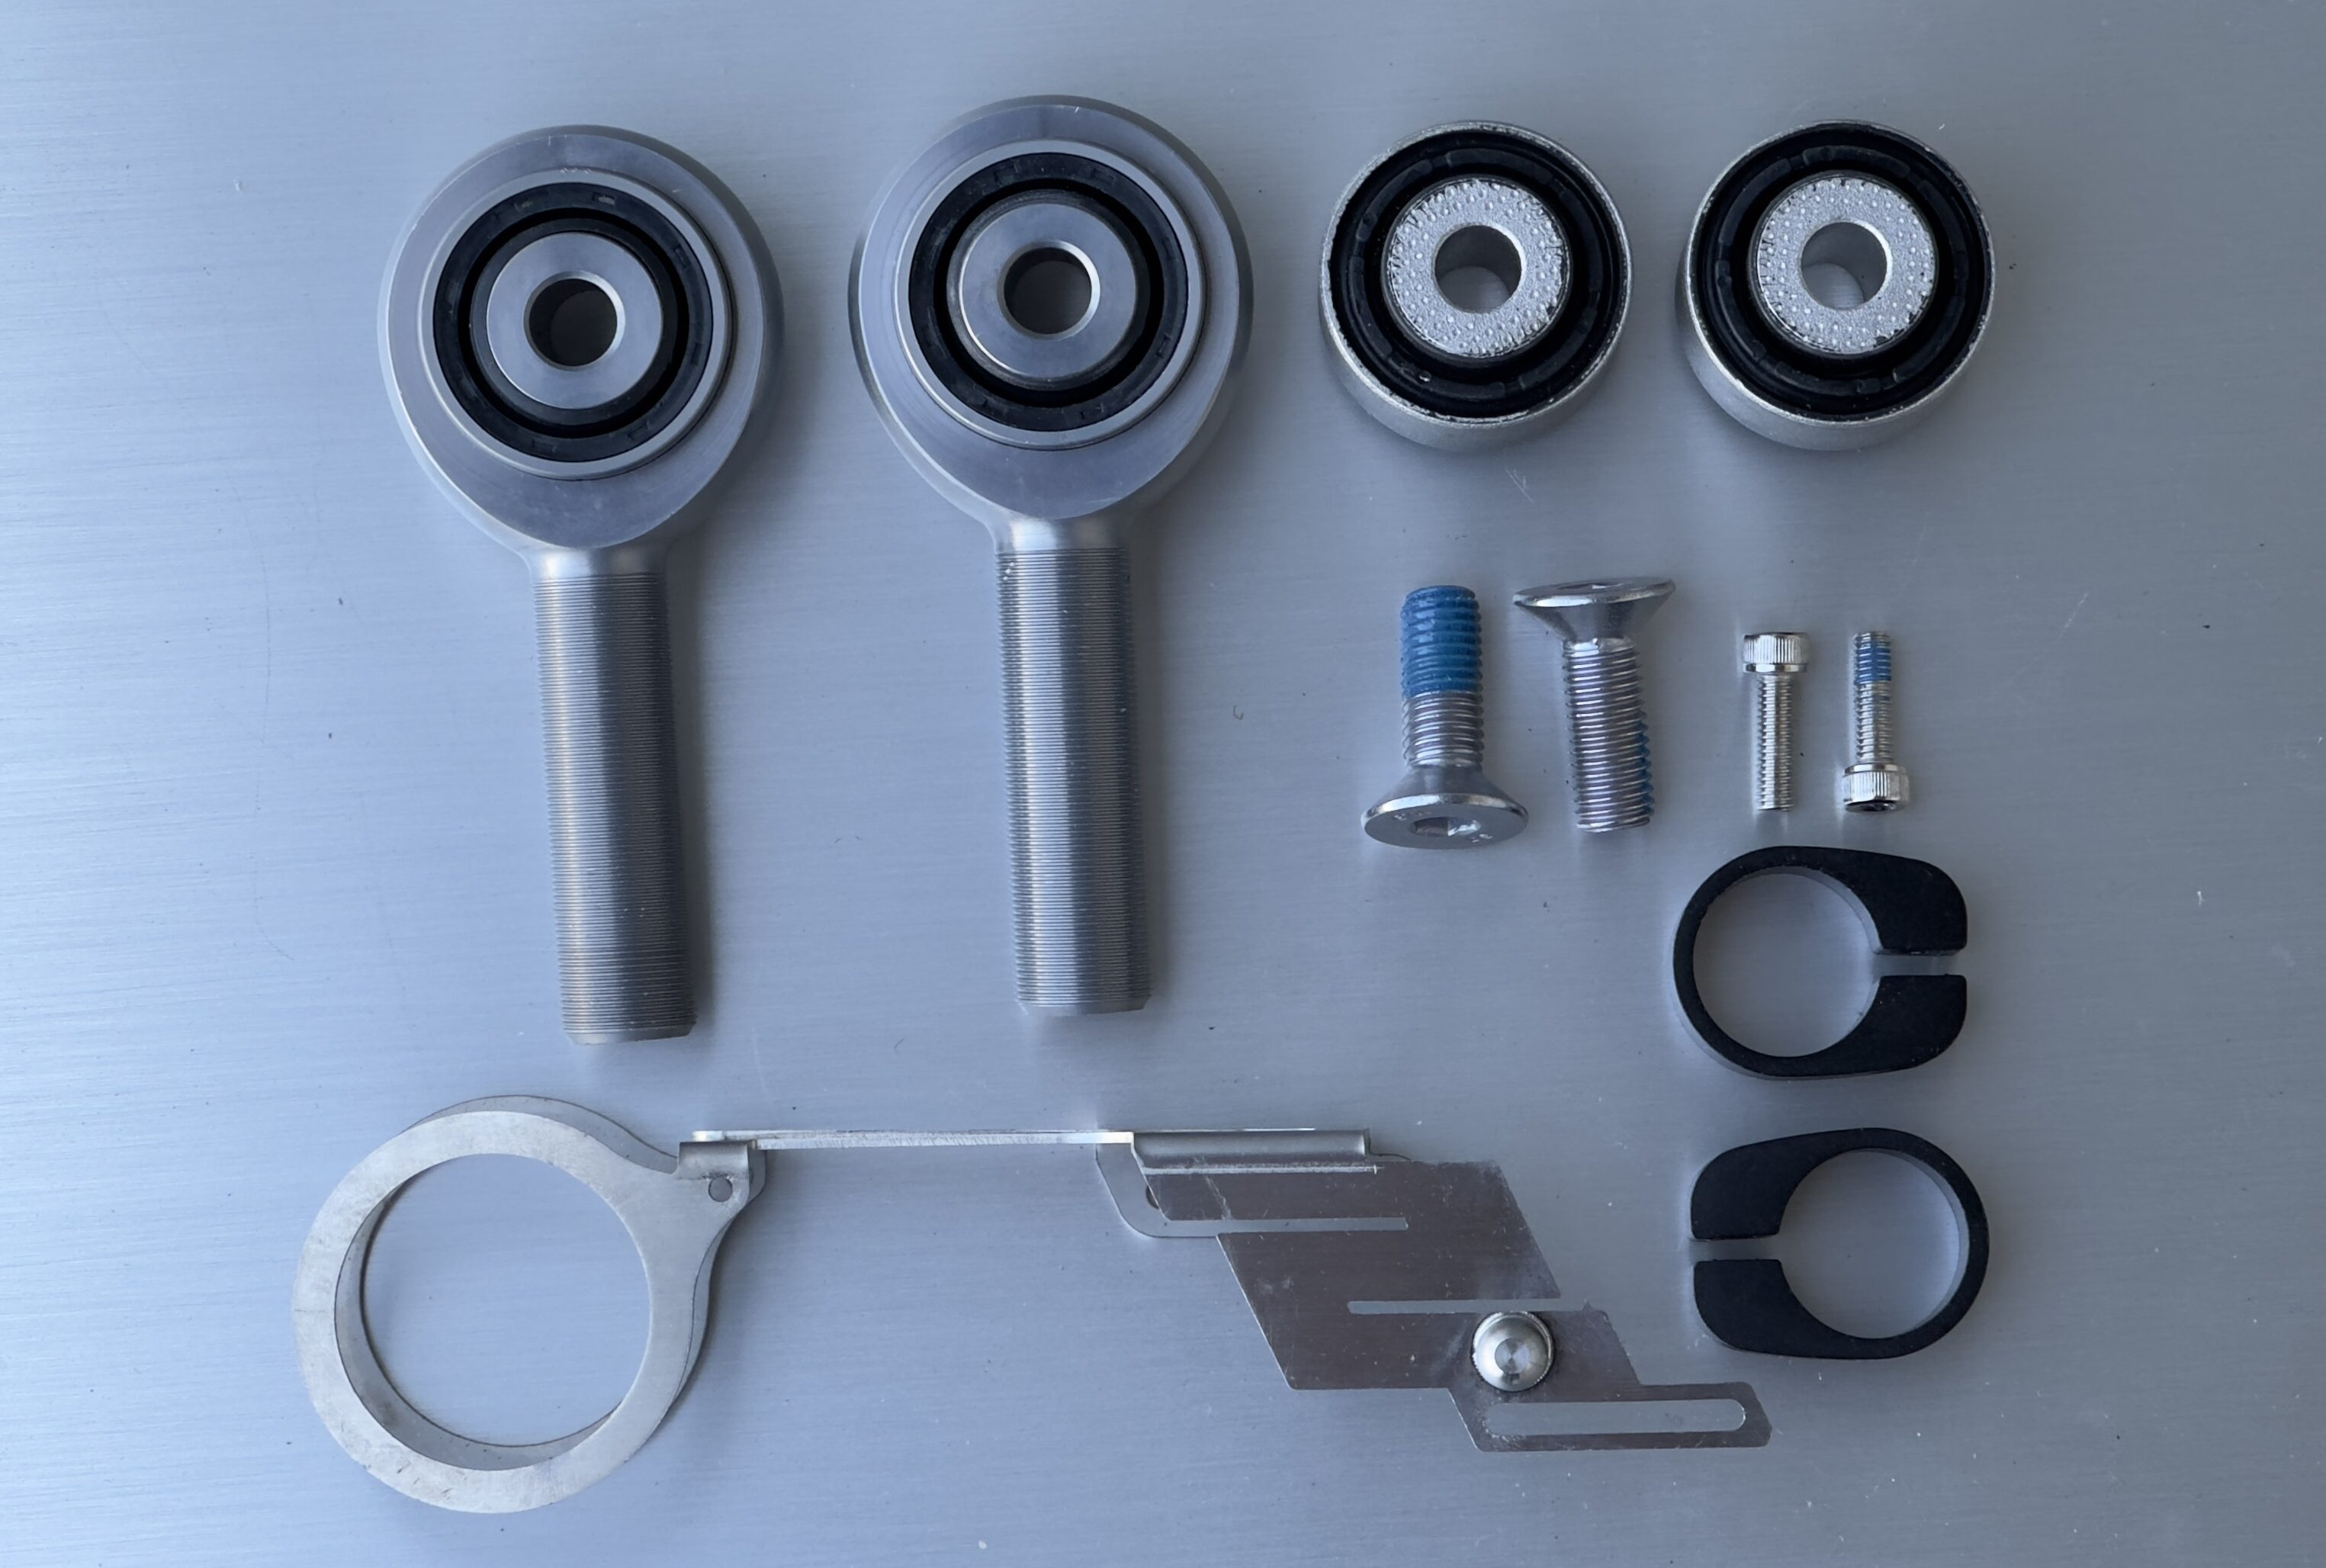
1. Verify that the arm being installed is correct, as the TSX-2 is mirrored for the driver and passenger sides. The TSX-2 should be around the same length of your stock arm, which can be verified by passing a bolt through both bushings. The rod-end bushing is to be installed on the subframe side, and the adjustment allen bolt should be facing towards the rear of the vehicle.
2. Fit the rod-end bushing between the subframe clevis first and begin reassembly using the provided hardware. The square washers, bolts, and nuts will replace the factory eccentric setup. Make sure that the bolt is inserted from the front of the vehicle, opposing the subframe and the original setup.
2. After fitting the toe arm back into the knuckle side, realign and hand-tighten the nuts and bolts in their original positions. DO NOT torque the nuts or bolts at this stage.
3. Preload the suspension before torquing down the bolts. This can be done by jacking the knuckle up until the suspension is fully loaded. The car itself should feel like it is about to lift and the hub should be positioned as if the car was sitting on the floor. This step is critical in ensuring the bushings are correctly positioned when you drive the car.
4. Once preloaded, torque the bolts down to their appropriate settings. The bolt towards the subframe should be torqued to 59 ft/lbs (80 Nm), and the knuckle side should be torqued to 96 ft/lbs (130 Nm).
5. Reattach the electronic parking brake harness to the side of the TSX-2 using the provided zip tie. Attaching the harness to the top may result in harness damage if the air shock bottoms out.
6. Remount the wheels back on the vehicle and torque down the lug nuts to 129 ft/lbs (175 Nm). Make sure to remove all jack stands and tools from under the vehicle before you let it down.
ADJUSTMENT:
-Adjustment of the TSX-2 is to be made using a 30mm or crescent wrench via the adjustor below the clamp.
-Loosen the T30 Torx bolt on the black collar as well as the 8mm allen bolt on the body of the arm. Both of these bolts must be loose for adjustment to be made.
-Tighten or rotate the adjuster clockwise in order to increase negative camber. Loosening or rotating the adjuster counter-clockwise will reduce negative camber.
-Once you are done adjusting, torque the 8mm and T30 bolts to spec. The 8mm allen should be tightened to 24 ft/lbs or 32.5 Nm, and the T30 Torx to 8 ft/lbs or 11 Nm. Make sure the collar with the T30 is aligned with the rod end to avoid damage while driving.


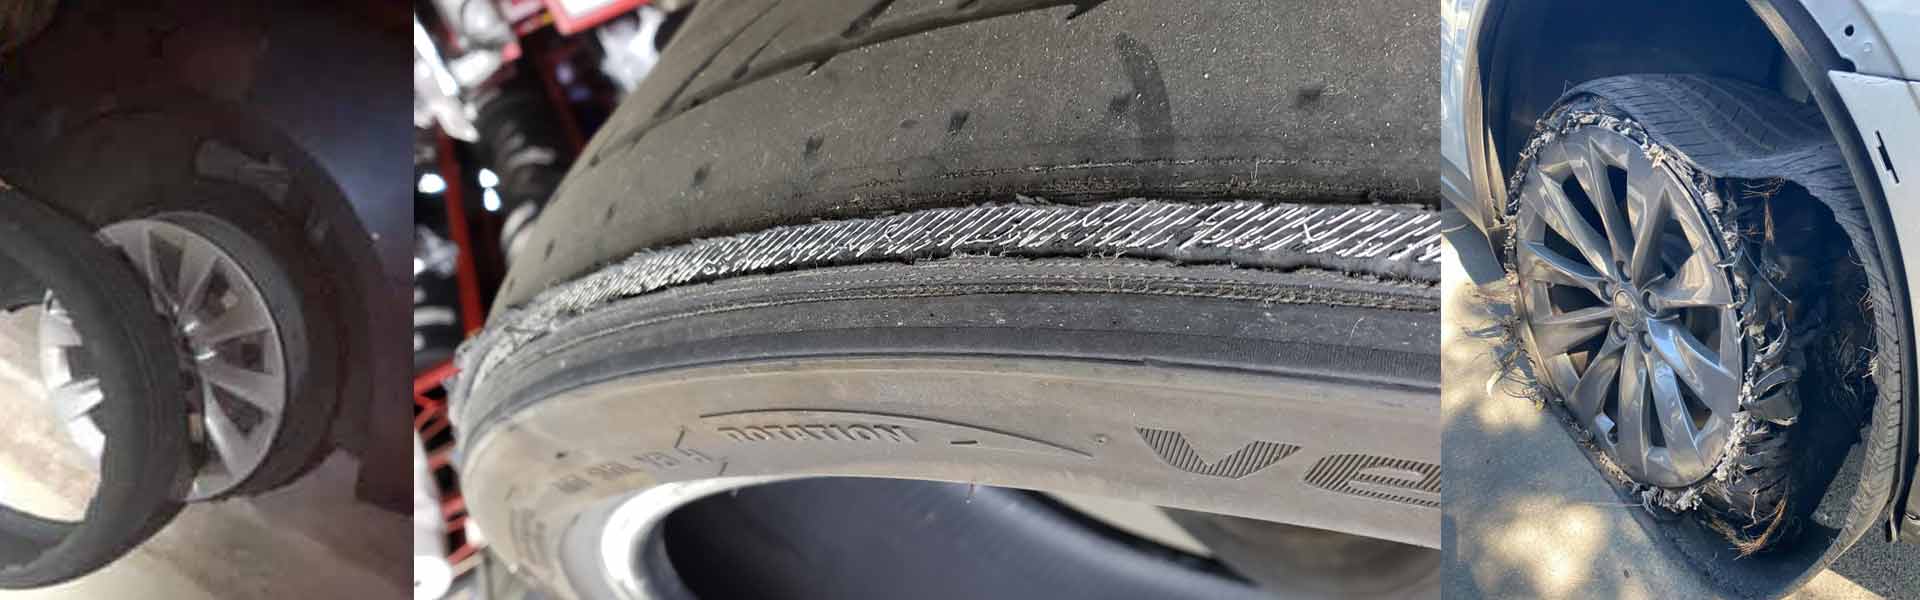


This alignment kit that I bought made me drive a vehicle that I didn’t even know I had! When I first bought the Tesla 2015 P90 used in 2018, the first thing I asked the guy who was selling to me why it was shuddering upon acceleration. And I kept asking the question, why does it shudder? Years of having the vehicle, something just wasn’t quite right with the vehicle. This alignment kit made it right. Hands down, this was the best upgrade I ever did to the vehicle and I upgraded it after having to replace the front half shaft of the vehicle and realizing that this was a very common issue in the Tesla community. Most people that I do speak to about it are clueless how much better the handling, dead quiet acceleration and tire gripping benefits of having this alignment kit are. Even the Tesla tech that I took down the road to show him it was quiet when he realized that the tires were gripping the street way better than any Tesla. On top of that, the wheel when I turn is a lot more smoother and when I take off DEAD QUIET. No shudder, no nothing. When I take friends in the vehicle after I installed the alignment kit, it was EXTREMELY noticeable. The difference was this… Ever drive a Corolla? Now, let’s flip what I just told you. Ever rode in a train? The alignment kit takes you from feeling like you are driving a car to a railroad track. Yes, that smooth. In other words, when you do drive it’s like having a more stable boat. You are pretty much adjusting the vehicle in such a way that everything is perfectly even front to back and in layman’s terms, a car with better feet. One thing I will say that if you do plan on doing the alignment kit yourself, I would try to align the camber arm as much as possible before taking it into an alignment shop. If you are in San Diego, take it to Cherniss Tire World – they are familiar with it after I sent it to them. They are also a very good tire shop. Of note, if you do do it yourself MAKE SURE you get a torque wrench with a FLEX HEAD. You will not be able to tighten the bolts without it. Trust me I tried. And if you can get an angle impact driver like the ones that Milwaukee sells (Milwaukee M12 FUEL 12 V Lithium-Ion Brushless Cordless 3/8 in. Right Angle Impact Wrench) it will go a lot smoother when taking out the bolts. For cutting the bolt, I used a multi tool from Milwaukee and it barely fit so probably using a smaller multi tool would work better with a diamond. Now as far as customer service is concerned, I am pretty sure I asked Don more questions than he was paid money for. But big problems have big answers and hopefully get paid big money. This alignment kit took my car from a car that was built 80% right to a car that was 100%. Don deserves every penny he makes. He’s also fantastic at getting back to you with any questions you need.
One of the most important things I will mention, is there is a lot of focus on the problems with inner tire wear. That may be an issue but it is not by any means the greatest benefit. The greatest benefits I outlined above (greater traction, handling, dead quiet acceleration, etc.). It is the functionality of the vehicle that is drastically improved with this alignment kit. This is not just for a street racer, this is for so much than that. And if you are worried about Tesla techs picking fights with you over after market parts, who cares? They always seem to blame those parts for other issues I’m having on the vehicle even when these parts are noticeably better in almost every aspect. When you buy the alignment kit, you will have a vehicle most will never even experience. On top of all of what I just said, I recently bought a 2021 Tesla Model S Plaid and the first thing I did was message Don and bought a kit. The difference is night and day. Don’t take my word for it, buy it, install it and live the life you are meant to live in the vehicle you are supposed to drive.
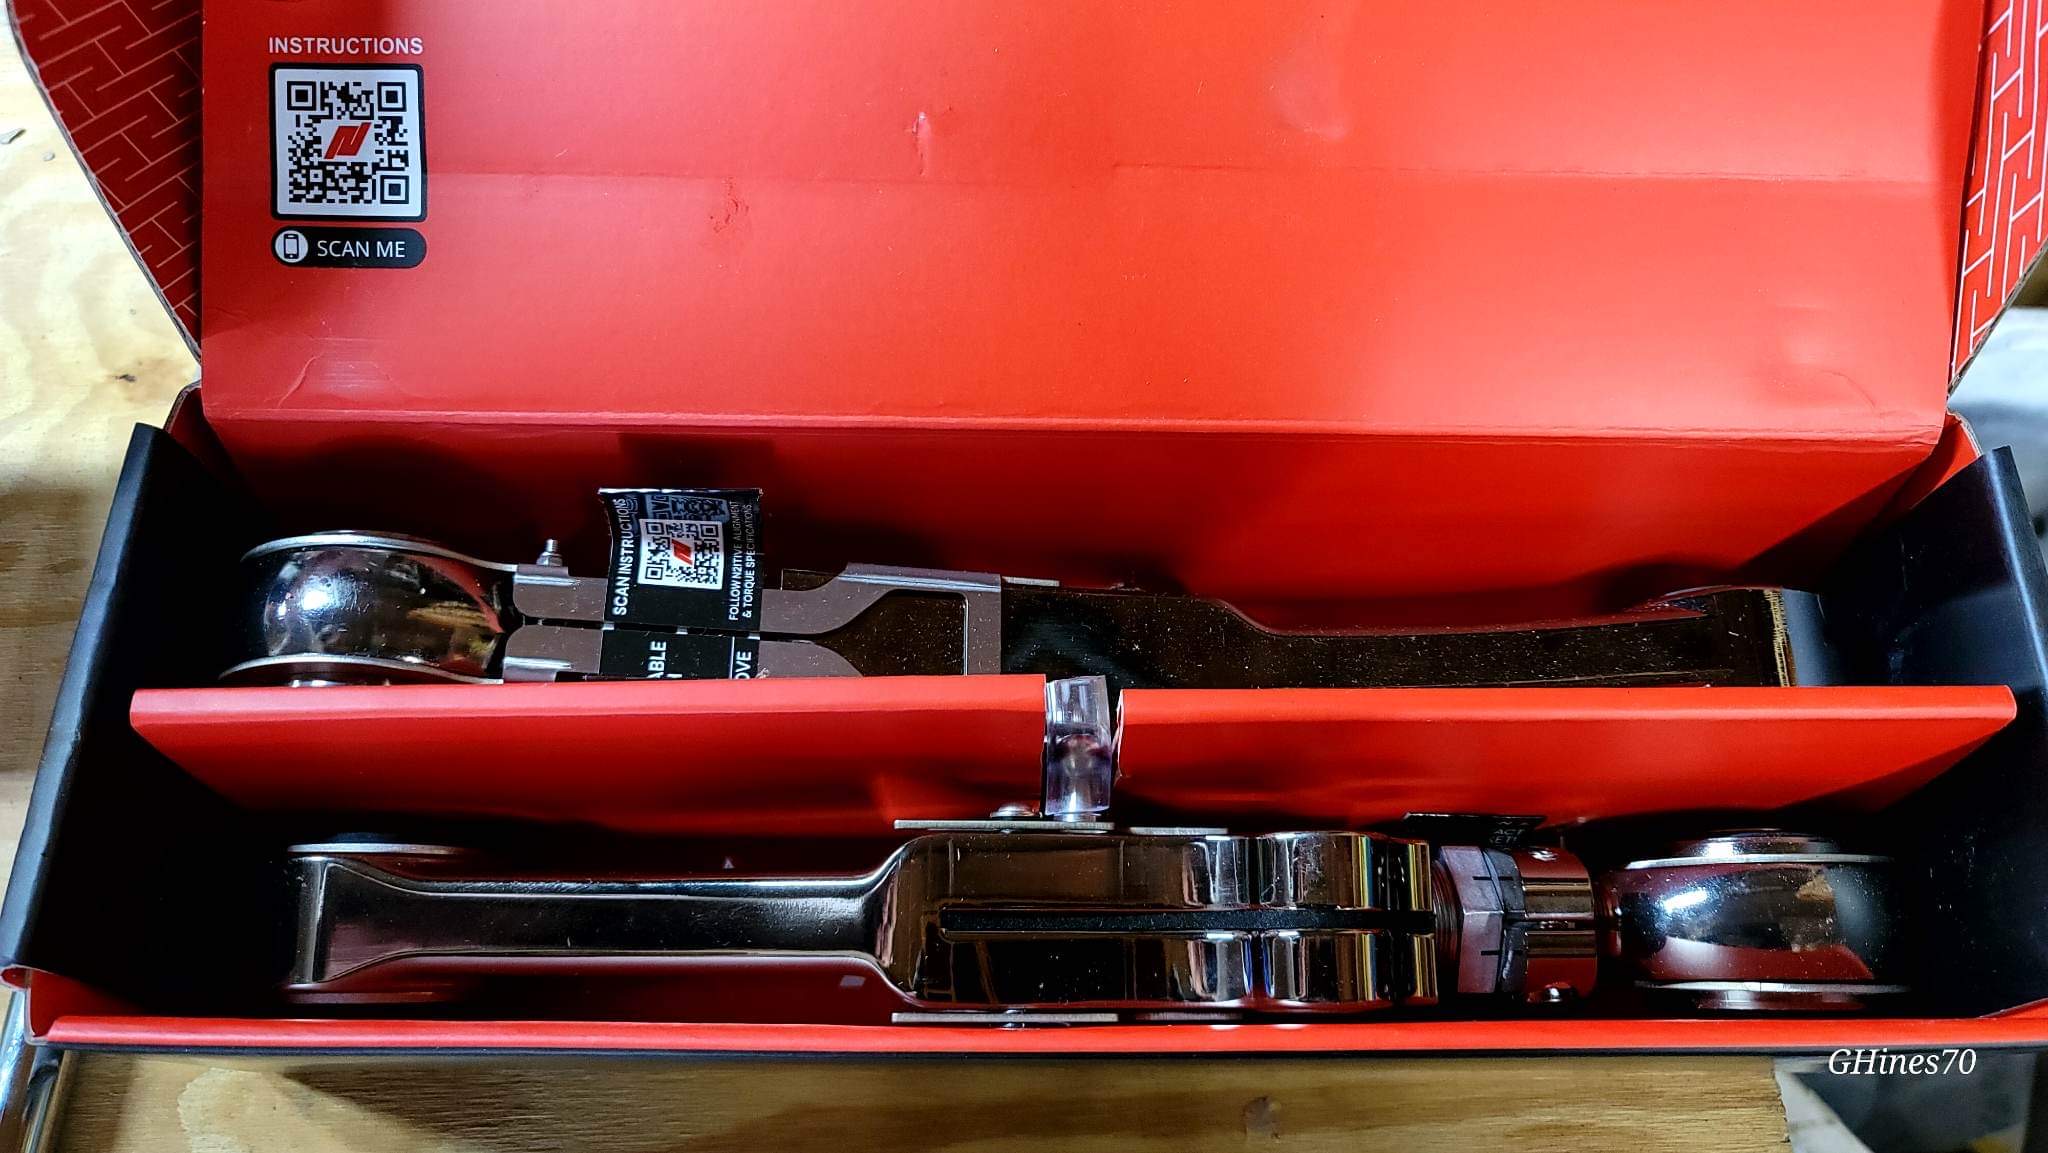
I ordered the alignment kit and I couldn’t be happier. The quality blew me away! I expected it to be high quality and it was better than expected.
The new lowering links are so easy to fine tune the ride height and quick and easy to adjust. Install for the entire kit install went incredibly smooth, the instructions were thorough, and the support was amazing. I’m beyond impressed with the parts, the ordering process, and the customer support.
I can’t recommend this enough. You absolutely need it for your Tesla.
After doing some research on the rear inner side tire wear issue, I decided to give these a try. I do not have a lot of experience with aftermarket suspension parts so I was really happy that I got to speak directly with Don. He explained everything in great detail before I purchased, and gave me a great recommendation for a shop to do the install. After purchase and install, Don was still available to advise me on any issues that came up. There were no problems with the install or with the N2itive components. It was really great to have this kind of after purchase support, to answer all my questions mostly due to my own inexperience. The car drives noticeably better, and tire wear is now even across the tread as it should be. Thanks for the great product and great service. I highly recommend N2itive. They are definitely a company worth your business.
I did a LOT of research looking for a solution for the rear uneven tire wear. I saw that N2itive products were recommended in the forums. I looked at the reviews and I even spoke with another N2itive customer that said he had tried other products and this one is the best. I even got to speak with Don, the owner/manufacturer, and he helped answer all of the many questions I had. He was even available when new questions came up throughout the process. He was also available for the automotive shop doing the install to answer their questions if they had any. Don and N2itive will take care of you and the product is top-notch. The ride in the car even feels better. 5 stars and highly recommend of course!
(This review is originally from 2020)
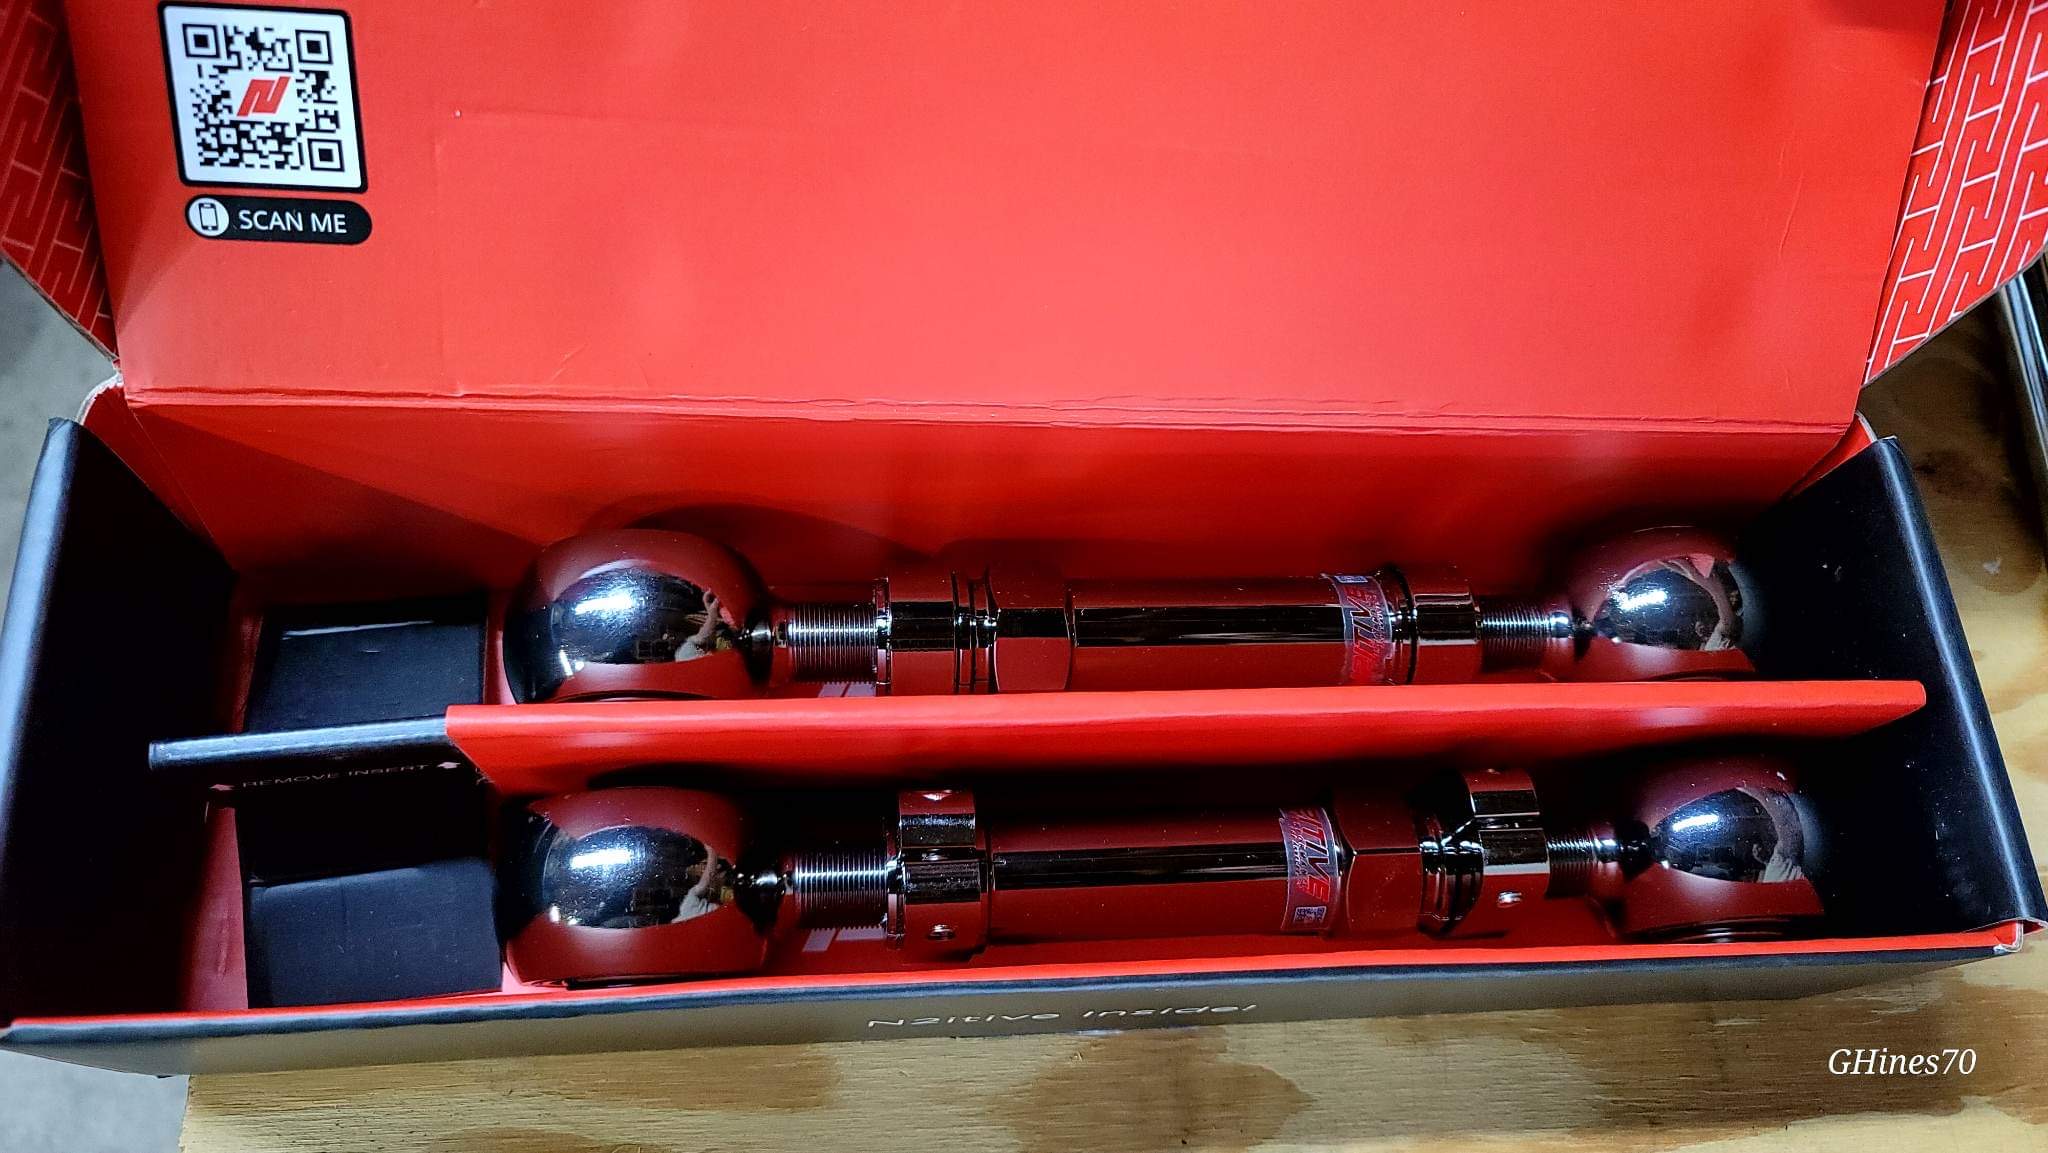
They finally came! Easy to install DIY at home, except for those toe bolts towards the battery. Sawzall is recommended. Too bad no one will see those beautiful arms!